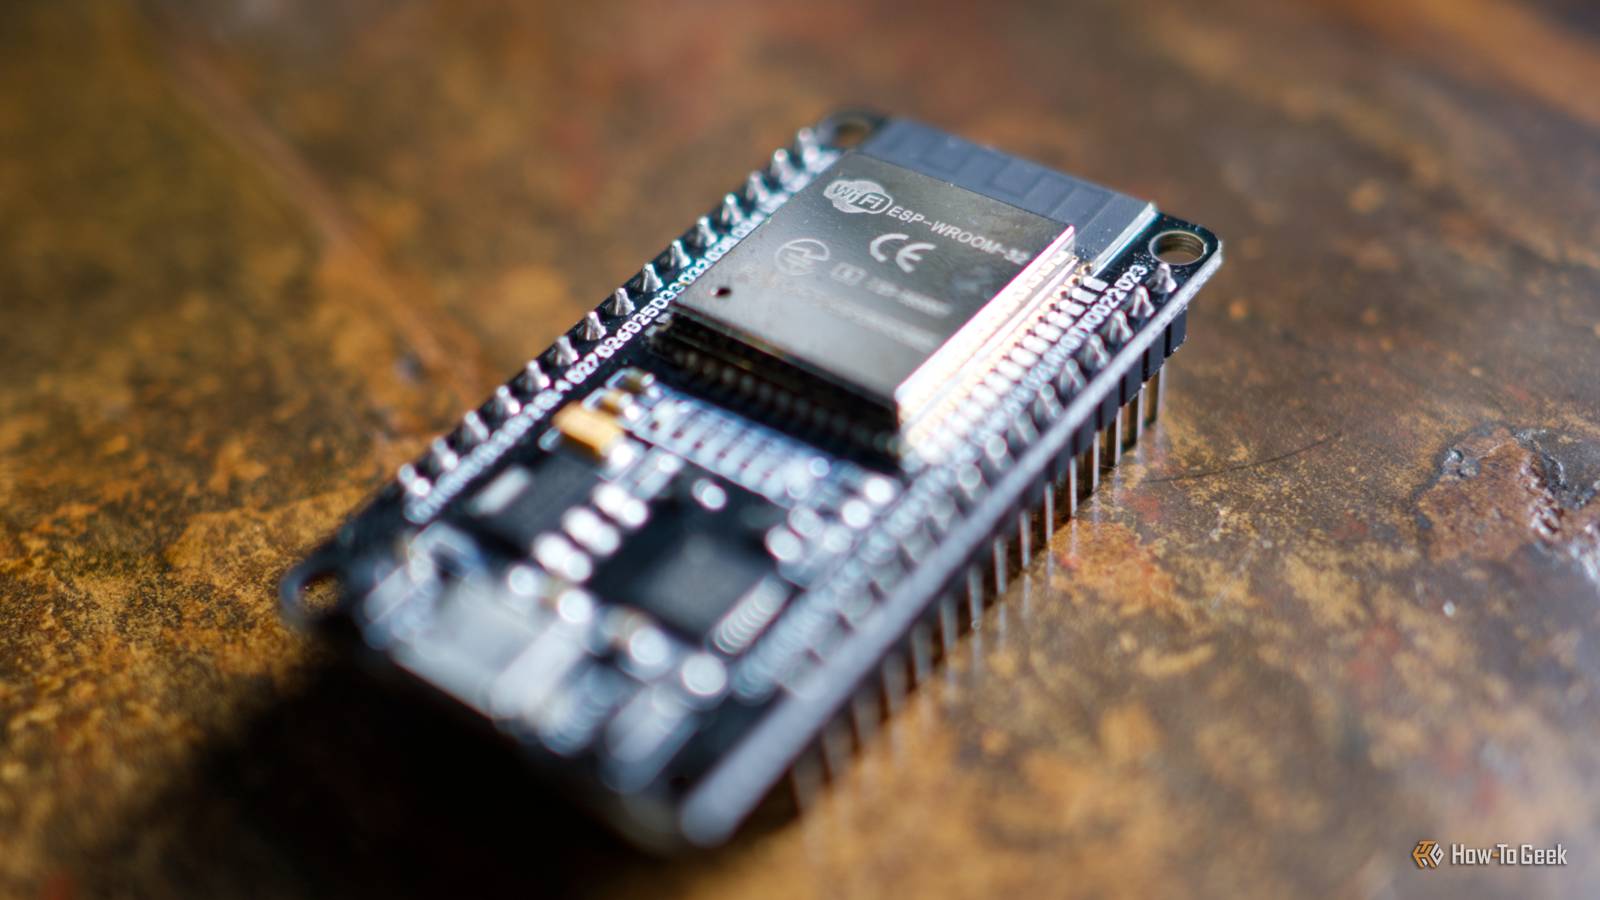
Thermal printers are mostly used in retail to produce receipts, since they don’t need to be super high quality, don’t consume ink, and can print quickly.But it turns out you can adapt them for use in your own projects with a little time and an ESP32.Here are four projects to try.
Thermal printer paper has traditionally contained Bisphenol A, or BPA for short.Excessive exposure to BPA has been linked to health problems, but the good news is that you can now buy BPA-free thermal printer rolls that are perfectly safe, so we’d recommend sticking with those.Wire a simple thermal printer to an ESP32 The “Hello world” of thermal printing projects If you’ve just got your hands on a thermal printer (or would like to and are wondering which to buy), the first thing you’re probably going to want to do is print a simple test sheet.
I’m calling this the “Hello world” thermal printer project, since it’s a proof of concept that requires little in the way of wiring, code, or time to complete.CircuitDigest is the best resource for understanding this process.The project has featured both on Hackster.io and Hackaday and combined an ESP32 development board with a standard 5V thermal printer, a power supply, some jumpers, and a roll of thermal paper.
There are wiring instructions plus example code and a GitHub repo with a full list of commands, instructions on how to interface with the printer, and do things like convert images into a format that the printer can reproduce.Let anyone send messages to your thermal printer via the internet Assuming you’re brave enough Close Opening up a thermal printer to the internet isn’t everyone’s idea of a good time, but that’s exactly what Reddit user r/Smart_Can_1019 has done.This project uses the cheapest 58mm thermal printer the author could find, a web interface for sending messages, and features a register of all receipts printed thus far.
True to the spirit of the ESP32 hobby space, the author has shown their working and shared their methodology on GitHub so that you can build your own.The project author had to take the project down once due to spam, and also had someone print the entire script, so you might want to think carefully about where you share the URL if you go for this one.A thermal printer that receives data from Home Assistant An ESPHome serial proxy can work wonders ESC/POS Thermal Printer for Home Assistant is a third-party integration that is available on the Home Assistant Community Store and technically doesn’t rely on an ESP32.
You can use it with any ESC/POS compatible printer, or use other protocols like USB, Bluetooth, or serial port.Serial is exactly where the ESP32 comes in, since many printers will rely on a serial connection in their “native” habitat of a retail environment.For this, we can deploy an ESP32-powered serial bridge that uses the UART proxy and ESPHome.
There are several projects available that can help you do this (like this one, and this one), after which you should be able to interface with the ESC/POS integration and use the project’s many scripts to print things like shopping lists, the daily weather forecast, recipe cards, a morning briefing, trash reminders, or guest Wi-Fi QR codes.Since these are scripts, you can automate them using voice commands, NFC tags, webhooks, or other Home Assistant triggers.A Game Boy Camera thermal printer Yes, really The Game Boy Camera is a niche bit of kit, and the printer that came with it even more so.
Whether you have a load of memories stored on a cartridge somewhere or you just enjoy taking photos on weird bits of retro kit, you can bring the images shot on a Game Boy Camera to life with the ESP32 Phomemo T02 Game Boy Printer project.As the name suggests, the project is specific to the Phomemo T02, a black-and-white printer (but there’s no reason you couldn’t expand on the author’s work and use other printers if you’re willing to put in the work).Dithering is used to optimize images since the original Game Boy printer could do four shades of gray.
The project depends on code from the ESP32 Game Boy Printer project, which acts as an intermediary device between the camera and your smartphone to allow you to capture digital versions of your retro snaps.For this to work, you’ll need to consult the Game Boy Link pinout documentation.Hungry for more ESP32 projects? Check out some of the best microcontroller projects for 3D printer owners and learn how you can use an ESP32 to bring LoRa projects to life.
Read More