You have put off your homelab journey for too long, and now it’s time to get your foot in the door.The good news is that it’s never been easier.You don’t need to spend thousands of dollars on racks and enterprise-grade equipment; you can start small for next to nothing and scale up from there.
Start with a cheap single-board computer or mini PC You might think that starting a homelab needs to break the bank, but that couldn’t be further from the truth.Dumping a load of money into an interest that you’re not even sure you’re going to stick with is a fool’s errand.It’s better to start cheap, catch the bug, and then make meaningful upgrades (or start again through fresh eyes).
Let’s start with the basics: what is a homelab? In its simplest form, a homelab is a computer lab in your home.You can use it to self-host services like cloud storage or a web server, serve up media locally and remotely, store your most important files and backups, run your smart home, manage your security cameras, and improve network and device security or privacy.You can use it to run experiments in safe and sandboxed environments.
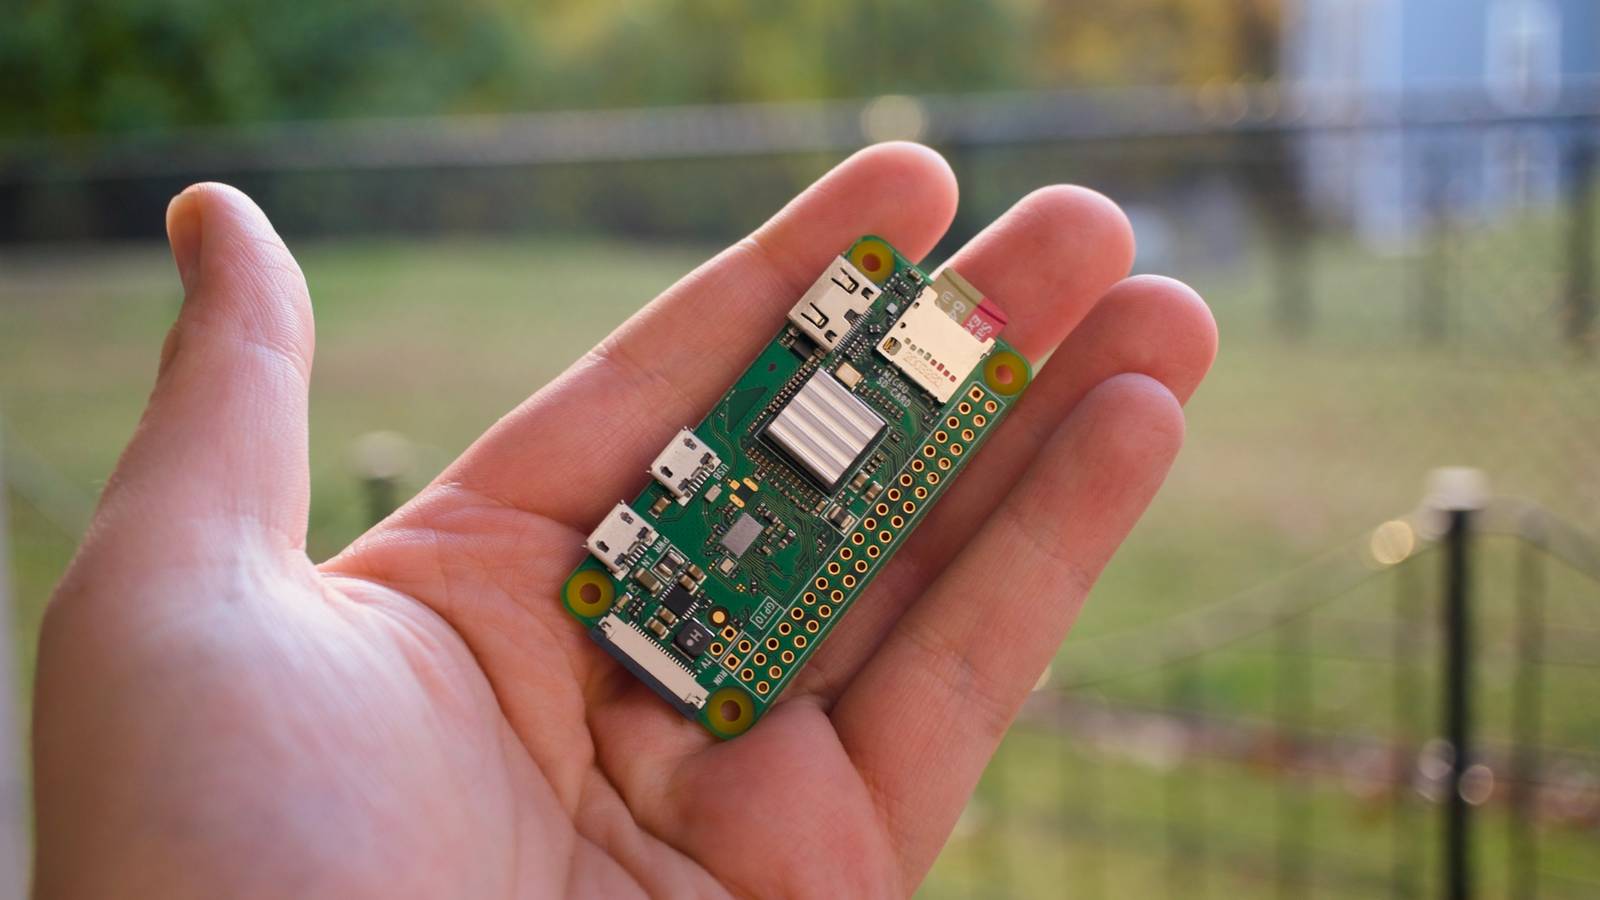
It should come as no surprise that you can achieve much of this with a single computer, and it doesn’t even need to be particularly powerful.Single-board computers have long been seen as the perfect starting point for homelabbers on account of their relatively cheap price point, low power consumption, small footprint, and robust software support.The Raspberry Pi is one such example that’s still popular.
Cheap low-power variants like the Pi Zero 2W (running an operating system like Diet Pi) and older Pi 3 and 4 devices still offer plenty of potential.The advent of cheap mini PCs has given those starting a homelab an even better performance-to-dollar prospect.New mini PCs are cheap, but used ones are even cheaper.
These often come with speedy NVMe storage, more expansion ports than a Raspberry Pi, faster wired networking connections, and better thermal management.Even early M1 and M2 Apple silicon Mac mini models are now available around the $100 mark if you know where to look.Raspberry Pi 5 Brand Raspberry Pi Storage 8GB CPU Cortex A7 Memory 8GB Operating System Raspbian Ports 4 USB-A It's only recommended for tech-savvy users, but the Raspberry Pi 5 is a tinkerer's dream.
Cheap, highly customizable, and with great onboard specs, it's a solid base for your next mini PC.$80 at Spark Fun $93 at Amazon $80 at CanaKit Expand Collapse Raspberry Pi Zero 2WH Brand Raspberry Pi The Raspberry Pi Zero 2 WW is super tiny and super affordable, but it packs enough computing power for a variety of DIY projects.You can use it to create a handheld retro gaming console, for Klipper/Mainsail, a super compact home or media server, and more.
Plus, the GPIO header pins come pre-soldered for ease of use.$21 at Sparkfun $36 at Amazon Expand Collapse Right now.I have an M1 Mac mini running my Home Assistant server and a handful of containerized services.
I also have a Raspberry Pi 500+, essentially a Pi 5b in a keyboard case, for further experimentation.You could start with an old laptop or anything capable of running a lightweight Linux distribution.Just remember that homelab machines will need to be running 24/7, so picking something somewhat power-efficient will be kinder to your power bill.
Try to avoid thirsty tower PCs or investing in rack-mounted servers until you need that sort of power.Install Docker and learn how to use it There are many ways to run a homelab, but one of the best places to start is Docker or a similar container manager.Docker is a tool that makes your homelab easier to manage.
Containers are running services that are created from downloads known as images.Containers are designed to be lightweight and easy to deploy.They’re effectively miniaturized operating systems with everything necessary to run a specific application.
They aren’t bound by many of the limitations that a virtual machine would be, and they use an easily accessible location on your computer for storing their data.Docker is a solid place to start, as it makes container management relatively straightforward, is lighter on system resources than virtualized environments, and even has a relatively friendly GUI app available in the form of Docker Desktop.This neatly integrates with the Docker Hub, a repository of millions of images that you can pull, run, and use in a matter of clicks.
Check out our guide to getting started with Docker for a detailed look at what’s possible and where to start.Spin up some containers and go from there With Docker installed on your low-cost (or free) homelab, it’s time to start reaping the benefits.One of the best projects to start with is Pi-hole, a DNS sinkhole.
Pi-hole effectively removes content you don’t want to interact with using the web’s Domain Name Service system.How-To Geek Report: Subscribe and never miss what matters Unlock your tech-savvy potential and master the digital world with How-To Geek.Subscribe By subscribing, you agree to receive newsletter and marketing emails, and accept our Terms of Use and Privacy Policy.
You can unsubscribe anytime.With Pi-hole up and running, you can use your homelab’s IP address as your DNS server and block trackers or remove other content.It’s a great way to get rid of invasive smart TV ads and other intrusions.
From here, there are many more lightweight containerized apps you might want to try.The beauty of this approach is that most projects will have container images available, many of them official.You can move your Home Assistant smart home server to Docker, which can give you better control over backups.
You can roll your own self-hosted cloud storage with Nextcloud, which also includes a mean Google Docs replacement.You can add a NAS to stream TV and movies with Jellyfin, or use a Spotify replacement Navidrome for music.Be warned: the more you play, the more the homelab will grab you.
You’ll start seeing the appeal of dashboards that let you visualize services or server performance or doubling up on services like Pi-hole for redundancy’s sake.Before long, you’re adding switches, NAS drives, racks, uninterruptible power supplies, and chuckling at posts on r/homelab.Starting your own homelab can free you from the shackles of the cloud and subscription-based services.
It can also kickstart a new obsession, an endless search for more things to self-host and the gear necessary to do so.Enjoy.
Read More