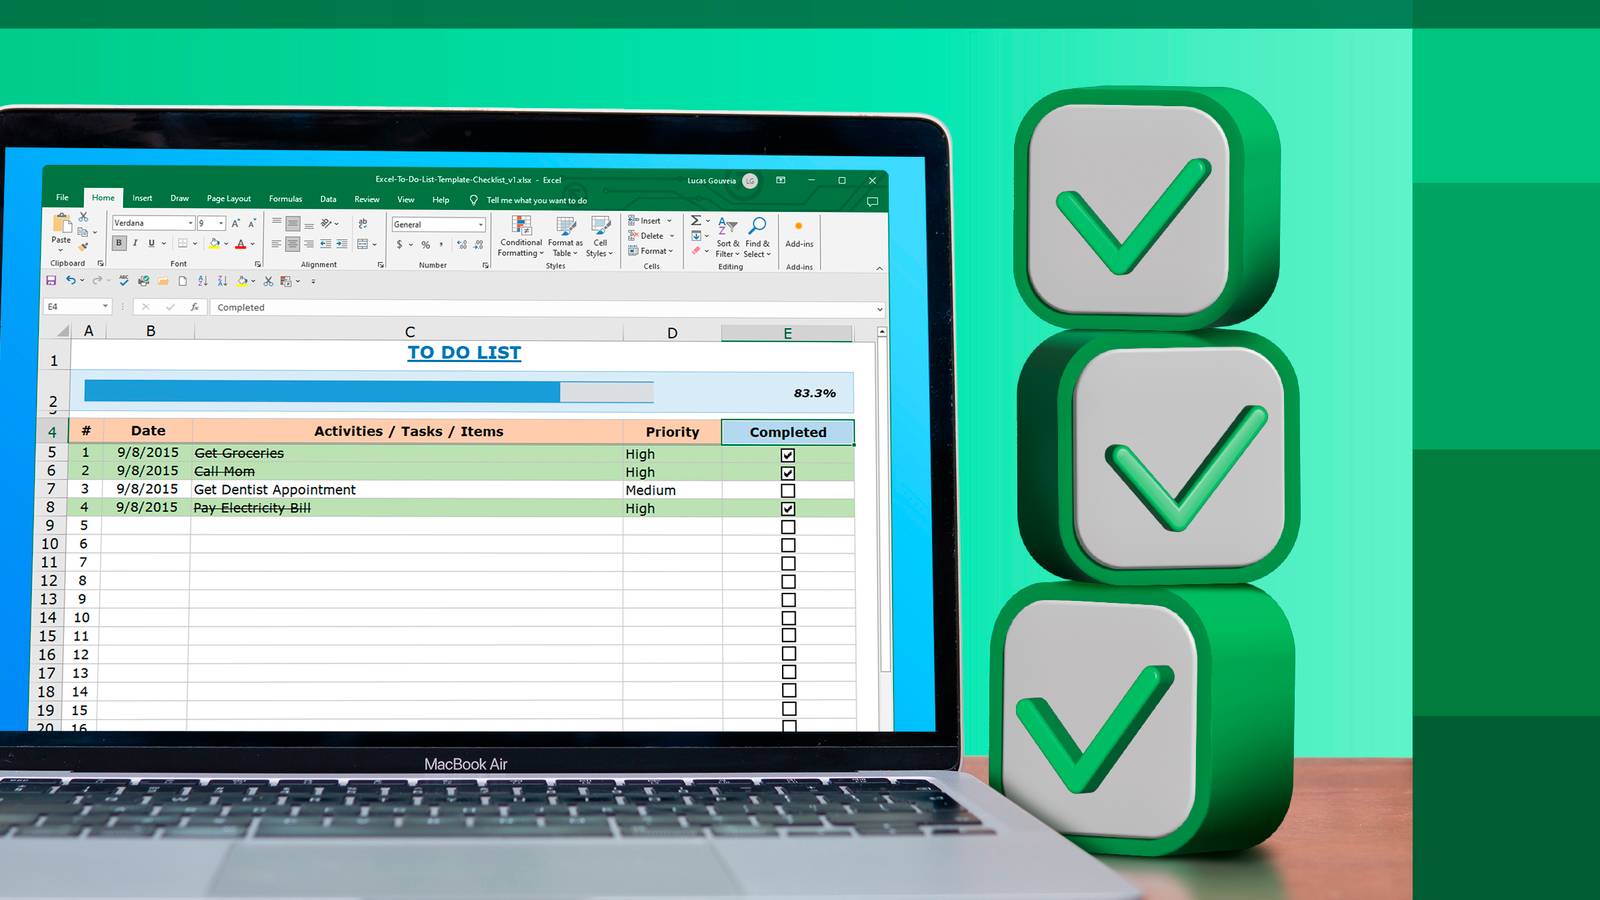
The addition of native in-cell checkboxes to Excel in 2024 finally ended the era of clunky, floating checkboxes from the Developer tab.They're simple to add and manually check—but this ease of use is a trap.If a human can toggle a checkbox, a single click can break a whole spreadsheet.
For a pro-level workbook, your checkboxes should be driven by formulas, not people.What are native Excel checkboxes (and why do they cause problems)? Before native Excel checkboxes were introduced to Excel, you had to rely on form controls or ActiveX controls found in the Developer tab.These legacy checkboxes were often frustrating to work with because they floated on top of the grid like an image, making them difficult to align, move, or delete alongside your data.
They also required linking to a specific cell to be useful in formulas—a tedious manual step.In 2024, Microsoft transformed this workflow by letting us add native in-cell checkboxes.Unlike those old floating objects, these are embedded directly into the cells themselves, and when you insert one, Excel stores Boolean values in that cell: Checked equals TRUE.
Unchecked equals FALSE.Native checkboxes are available in Excel for Microsoft 365, Excel for the web, and the most up-to-date versions of the Excel mobile and tablet apps.You can add a native checkbox in seconds by selecting a cell and clicking "Checkbox" in the Insert tab.
You can then manually check and uncheck the checkbox by clicking it or selecting the cell and pressing the Space Bar.While this simplicity is great for a quick to-do list, using them manually in a professional workbook creates two major points of failure: Accidental toggles: A single stray click can flip a TRUE to a FALSE, or vice versa.There is no "Are you sure?" prompt, and if you don't notice the change immediately, your data integrity is gone.
False confidence: Manual checkboxes rely on human memory.If a user ticks a "Ready to Ship" box but forgets to enter a tracking number, the spreadsheet technically thinks the job is done.This creates a disconnect between the visual status and the actual data.
The good news is that native checkboxes don't have to be manual at all.Because they're TRUE or FALSE values, you can control them entirely with formulas.Related The Beginner's Guide to Boolean Logic in Microsoft Excel Boost your Boolean boon.
Posts 2 By Tony Phillips The fix: Automate the toggle using formulas The solution to the manual checkbox problem in Excel is to move the ownership of the checkbox from the user to Excel's formula engine.Instead of a person clicking the box, a formula determines whether it should be checked.When you write a formula in a checkbox cell, the checkbox becomes formula-driven.
If someone tries to manually check or uncheck a formula-driven checkbox, nothing will happen, ensuring it's always an honest reflection of your data.All examples in this guide use Excel tables (Ctrl+T).These provide automation by default—any formulas or checkboxes you insert into a column will automatically fill down to every row you add.
In essence, you build the logic once, and the table handles the expansion.Use case 1: The automated restock alert Suppose you're managing an office supply list.When the stock number (column B) for a certain item drops below the reorder threshold (column C), you want a checkbox in column D to be checked.
Instead of a human managing the restock list, you want a system that automatically alerts you.So, in the first row of your Needs Restock column, enter this formula and press Enter: =[@Stock]<[@Reorder] Because you entered the formula into the first cell of the column, it's duplicated automatically down the rest of the column.As a result, for each item, if the reorder point is higher than the stock count, Excel returns TRUE, meaning it's time to restock.
Otherwise, you see FALSE, so your stock levels are OK.Related Everything You Need to Know About Structured References in Excel Use table and column names instead of cell references.Posts By Tony Phillips Now, you need to apply the "skin." Select the whole table column, and in the Insert tab, click "Checkbox." To quickly select an entire table column, hover over the very top of the column header until you see a black down arrow, then click to select only the data rows in that column.
Alternatively, select the first cell in the column and press Ctrl+Shift+Down.Now, those TRUE and FALSE Boolean values are disguised as checkboxes.If the stock count is lower than the reorder limit, the box ticks itself.
This prevents ignoring a stock shortage.Because the formula is in control, a user can't inadvertently (or deliberately!) uncheck the box to hide a low-stock warning.Why you should write the formula inserting the checkboxes Technically, you can add checkboxes to a column first, then type a formula over them.
However, writing the formula first is the best practice.When you start with a formula, you establish the "source of truth" for that cell, so you can see the words TRUE or FALSE and confirm your logic is working as expected before you hide it behind the checkbox UI.Think of the formula as the engine and the checkbox as the dashboard light.
Build the engine first, then add the light.Use case 2: The multistep validation gate This time, imagine you're in charge of a shipping log where a "ready to ship" status can only be applied when both the weight and the tracking ID have been entered.Once again, you should use the same "formula first" approach to ensure your validation logic is bulletproof before adding the checkbox interface.
So, in the first cell of the checkbox column, enter this formula and press Enter: How-To Geek Report: Subscribe and never miss what matters Unlock your tech-savvy potential and master the digital world with How-To Geek.Subscribe By subscribing, you agree to receive newsletter and marketing emails, and accept our Terms of Use and Privacy Policy.You can unsubscribe anytime.
=AND([@Weight]>0,[@TrackingID]<>"") This tells Excel to return TRUE only if the weight is greater than zero the tracking ID cell is not empty ("").Now, select the whole table column, and click Insert > Checkbox.Because of the AND logic, even if one of the two pieces of data is entered, the box remains unchecked—it requires to be complete before the box ticks itself.
This use case emphasizes the power of formula-driven checkboxes.They provide immediate visual cues that a row is still in progress (if unchecked) or completed (if checked), and by removing the ability to manually force a checkmark, you eliminate the risk of packages being dispatched with missing documentation.Similarly, you remove the chance that someone will forget to check a checkbox after both columns have been populated.
Related How to Add a Timestamp to Checkboxes in Excel Mark the exact point at which a checkbox is checked.Posts 2 By Tony Phillips When checkboxes are driven by formulas instead of clicks, your spreadsheet stops being a checklist and starts being a system.The logic enforces itself, the visuals stay honest, and your workbook becomes much harder to break.
You can take this automation to the next level by formatting a whole row when a checkbox is checked, ensuring your visual cues are as robust as the underlying logic powering your spreadsheet.Microsoft 365 Personal OS Windows, macOS, iPhone, iPad, Android Free trial 1 month Microsoft 365 includes access to Office apps like Word, Excel, and PowerPoint on up to five devices, 1 TB of OneDrive storage, and more.$100 at Microsoft Expand Collapse
Read More