Losing files and photos can be more than just an annoyance, it can be a large problem if you lose something important.The best way to ensure that never happens is with a robust backup system.This is how I incorporated a Raspberry Pi into my setup.
What makes a good backup solution? We store an unbelievable amount of data on our phones, PCs, and tablets related to everything from taxes, to irreplaceable photos, to sensitive medical information.With so much of our lives dependent on the digital world, having a good backup is more important than ever.A good backup system has three main facets.
Make multiple backups The traditional 4-3-1 backup rule recommends that you maintain three backups of all of your important data at any given time.I usually keep more on hand because I don't bother to clear out old versions of data when I create new ones—they just exist in parallel.If you wanted to, you could set up a versioning system for your backup solution.
Keep backups in different locations Despite every effort, there is always a chance that your primary backup could be damaged or destroyed in an accident.I'd recommend using at least one cloud backup service for your second location.I'll typically encrypt extremely sensitive or important files before uploading them to a few different cloud services to ensure that the odds of losing them are quite low.
Use different kinds of backups Just as one backup location is a disaster waiting to happen, relying on one technology for all of your backups is also a potential problem.Ideally, you want at least two different kinds of backups.My go-to choices are mechanical hard drives, SSDs, and cloud storage, but you could incorporate something like M-discs if you wanted something that is expected to last more than a century.
I also always print physical copies of important photos to ensure they don't get accidentally deleted.Turning a Raspberry Pi into an automated backup server I'm always searching for easy ways to add additional backup systems to my setup, since I have a ton of data I'd like to hold onto.In general, one of the easiest solutions is to add a network-attached storage device, but those are often limited by their software and the number of drive bays in the device.
Plus, there is always a price premium for the all-in-one convenience.I was looking for a solution that was simple and relatively low cost, which led me to a Raspberry Pi with an external storage drive attached.This is how I did it.
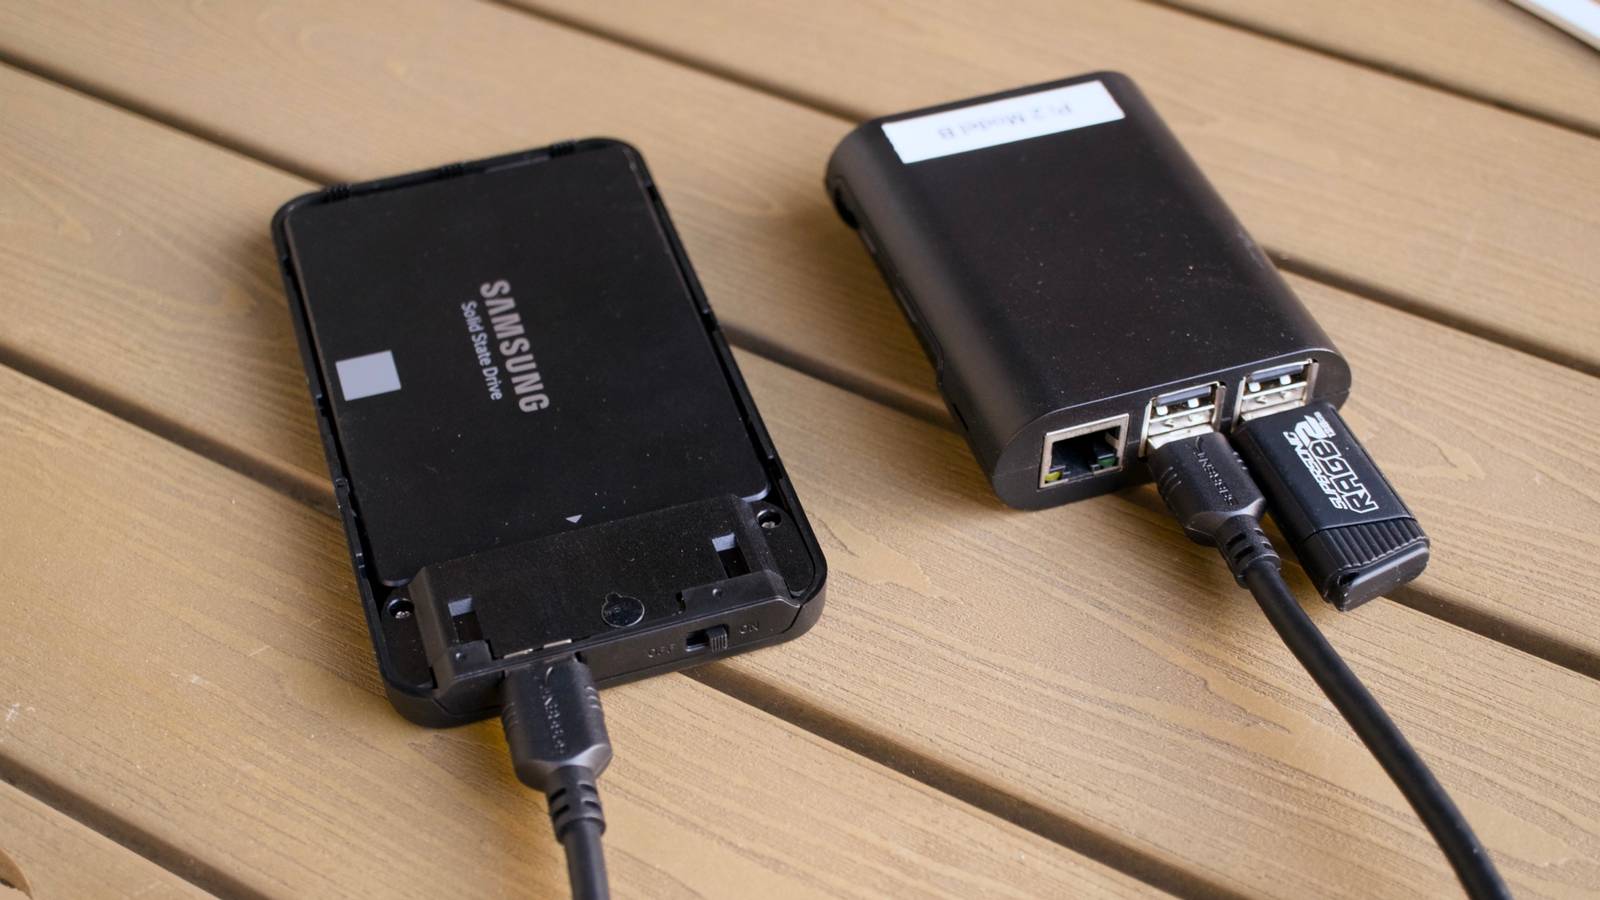
Choose a backup medium In general, there are two kinds of drives you can easily attach to a Raspberry Pi: a solid-state drive or a mechanical hard drive.Solid-state drives are faster, lighter, smaller, and will probably be able to run with just the power from the USB port.On the other hand, mechanical hard dives are relatively slow, larger, and they almost always require external power.
On the other hand, they're much more cost-effective per terabyte of storage, especially since the price of SSDs has increased dramatically.You can also buy recertified or refurbished hard drives for a large discount from a reputable retailer like ServerPartDeals.com and then put them in an external enclosure on your own.It is much less expensive than buying an external hard drive.
My setup will ultimately use a mechanical hard drive, since I care most about storage volume and cost.For testing purposes, I've been using a flash drive, since the setup process will be exactly the same.Setting up the Pi I don't really want to build a full NAS, so instead I'm going to install Raspberry Pi OS and use a simple program called rdiff-backup.
To begin, use theRaspberry Pi imager to install the headless version of Raspberry Pi OS on a microSD card.During the customization process, make sure that you carefully note the username and password you choose, and be sure to enable SSH.Once the microSD card has been formatted, insert it into your Pi, attach your hard drive or SSD, and let it boot up.
Next, you need to assign a static IP address to your Raspberry Pi using your router so it doesn't change.If it does change, your backup fail.Log into your router by typing the router's IP address in the address bar of your browser.
Most routers have an IP address of 10.0.0.1 or 192.168.0.1, but if those don't work, you can run ipconfig on Windows or ip route on Linux to find your gateway address.Once you're there, look for the section related to DHCP.That is usually where you can assign a static IP.
Once you have a static IP assigned, SSH into the Pi and run sudo apt install rdiff-backup to install the rdiff-backup server.With that done, now you need to create a mount point for the external drive and configure it to automatically mount whenever the Pi is restarted, just in case it loses power.To begin, run lsblk to confirm that the drive is attached and detected correctly.
In my case, I'm going through the first setup using a USB drive.It is SDA in the output.If you have multiple devices, be very sure you identify the correct one.
Everything on the drive be wiped.Now you need to format the drive and partition it.First, run sudo parted /dev/sda mklabel gpt to create a gpt partition table.
Then, run sudo parted /dev/sda unit MB print to find the exact size of the drive so you can correctly size the partition.In my case, it is 128,321 megabytes.With that number in hand, I created one partition on SDA by running: sudo parted mkfs.ext4 -L backup_test /dev/sda1 This is what those arguments do: mkfs.ext4 sets the partition file system to ext4, which is common on Linux -L gives the partition a convenient name.
In this case, backup_test Now, I just created a mount location in my user's home directory by running: mkdir backup You can name what you want or move it elsewhere if you want, but you'll need to remember where it is and the name.The final step is to amend fstab and mount the drive to be sure everything works.Run sudo nano /etc/fstab and then add a line at the end that points to your partition and the folder you created.
The argument takes the form: Label=(Your Partition name) (Path/to/folder) ext4 usr,rw 0 0 Fill in (Your partition name) and (path/to/folder) as needed based on what you chose.In my case it was: LABEL=backup_test /home/monitor/backup ext4 user,rw 0 0 Now all you need to do is mount it by running mount -a in the command line and ensure that your user has ownership of the file.Since my username is monitor, the command was: sudo chown monitor:users /home/monitor/backup/ Backing up from your PCs to your Pi Unfortunately, there is no one-size-fits-all argument to back up your PC, since it varies from device to device.
However, broadly speaking, it is going to look something like: rdiff-backup C:\Users\nklew\Documents [email protected]::/home/monitor/backup Where you sub in the path to the folder you want backed up, the username and IP of your Raspberry Pi, and the appropriate folder on the Pi.The rdiff-backup GitHub has examples that should help you get it working on your particular system.To automate the backup process on Linux, I'd recommend cron, since it is simple to use.
On Windows, the Task Scheduler is probably your best option.Of course, a Pi is only one part of a reliable backup plan.You should also find other options to include as well.
The easiest is cloud storage, though I'd recommend encrypting anything really sensitive that you upload so it can't stolen.
Read More