Robot arms are very cool and can be quite useful, but they also tend to be expensive.That isn’t just markup either, because the components themselves are pricey.However, you can save a lot of money if you make some sacrifices and build everything yourself.
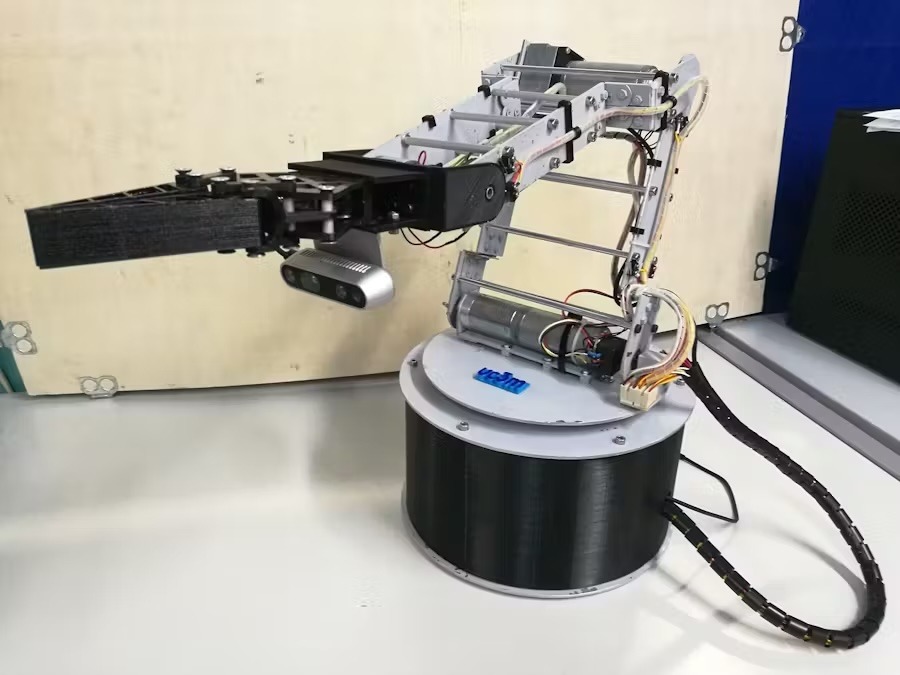
In that case, you can follow Ruben Sanchez’s tutorial to create your own four degrees of freedom robot arm from scratch.This design has four actuated axes: the base, the shoulder, the elbow, and the wrist.Depending on the end effector you need, a gripper might count as another.
It has a reach of up to 80cm and a maximum payload capacity of 350g, which is enough to move small objects.Sanchez reduced the cost of this robot arm (compared to typical designs) in two ways.The first is by constructing the frame from aluminum sheet cut by hand, with laser markings as a guide template.
The second is by using DC gear motors with external encoders for actuation, rather than purpose-built robotic actuators.They won’t have as much accuracy or repeatability, but they’re affordable.An Arduino Due board controls the motors through Pololu drivers.
The Arduino receives movement commands from a connected PC, which can look at the work area through an Intel RealSense camera attached by the end effector.Sanchez provides the Arduino Sketch to get started, but encourages users to develop their own control software.To help with that, his writeup includes some nice explanations of inverse kinematics, the math involved, and how to implement it.