Just got your hands on an ESP32? Don’t dive into a complex first build; start slow with something simple.These projects will introduce you to basics like flashing your microcontroller, adding components with a breadboard, and simple coding.Seeed Studio XIAO ESP32C3 Brand Seeed Studio The Seeed Studio XIAO ESP32-C3 is the perfect budget-friendly microcontroller for smart home projects.
With Wi-Fi and Bluetooth built-in, it also features a super deep sleep mode for low power usage when it isn't doing anything.The compact size makes this ideal for building smart home projects, and ESPHome allows it to easily integrate into Home Assistant.$5 at Seeed Studio $10 at Amazon Expand Collapse Seeed Studio XIAO ESP32-C6 Brand Seeed Studio The Seeed Studio XIAO ESP32C6 is the perfect microcontroller for your next smart home project.
The built-in Zigbee and Z-wave radios compliment Matter and Thread support.Plus, with Wi-Fi 6, it'll easily connect to modern wireless networks. $5 at Seeed Studio $12 at Amazon Expand Collapse Bluetooth proxy for Home Assistant Flash and go with ESPHome An ESPHome Bluetooth proxy might be the simplest project of all and is perfect if you have a smart home powered by Home Assistant.Simply plug your ESP32 chip into a computer and use Google Chrome or Microsoft Edge to quickly install the ready-made project via ESPHome.
You can then use the web flasher installer to specify Wi-Fi credentials, after which you can add your proxy to Home Assistant as you would any other device.Deploy a whole fleet of these proxies to control Bluetooth devices all over your house or detect presence based on smartphone and other Bluetooth beacon signatures.Related 5 Bluetooth ESP32 projects for this weekend (May 15 - 17) Bluetooth isn't dead yet.
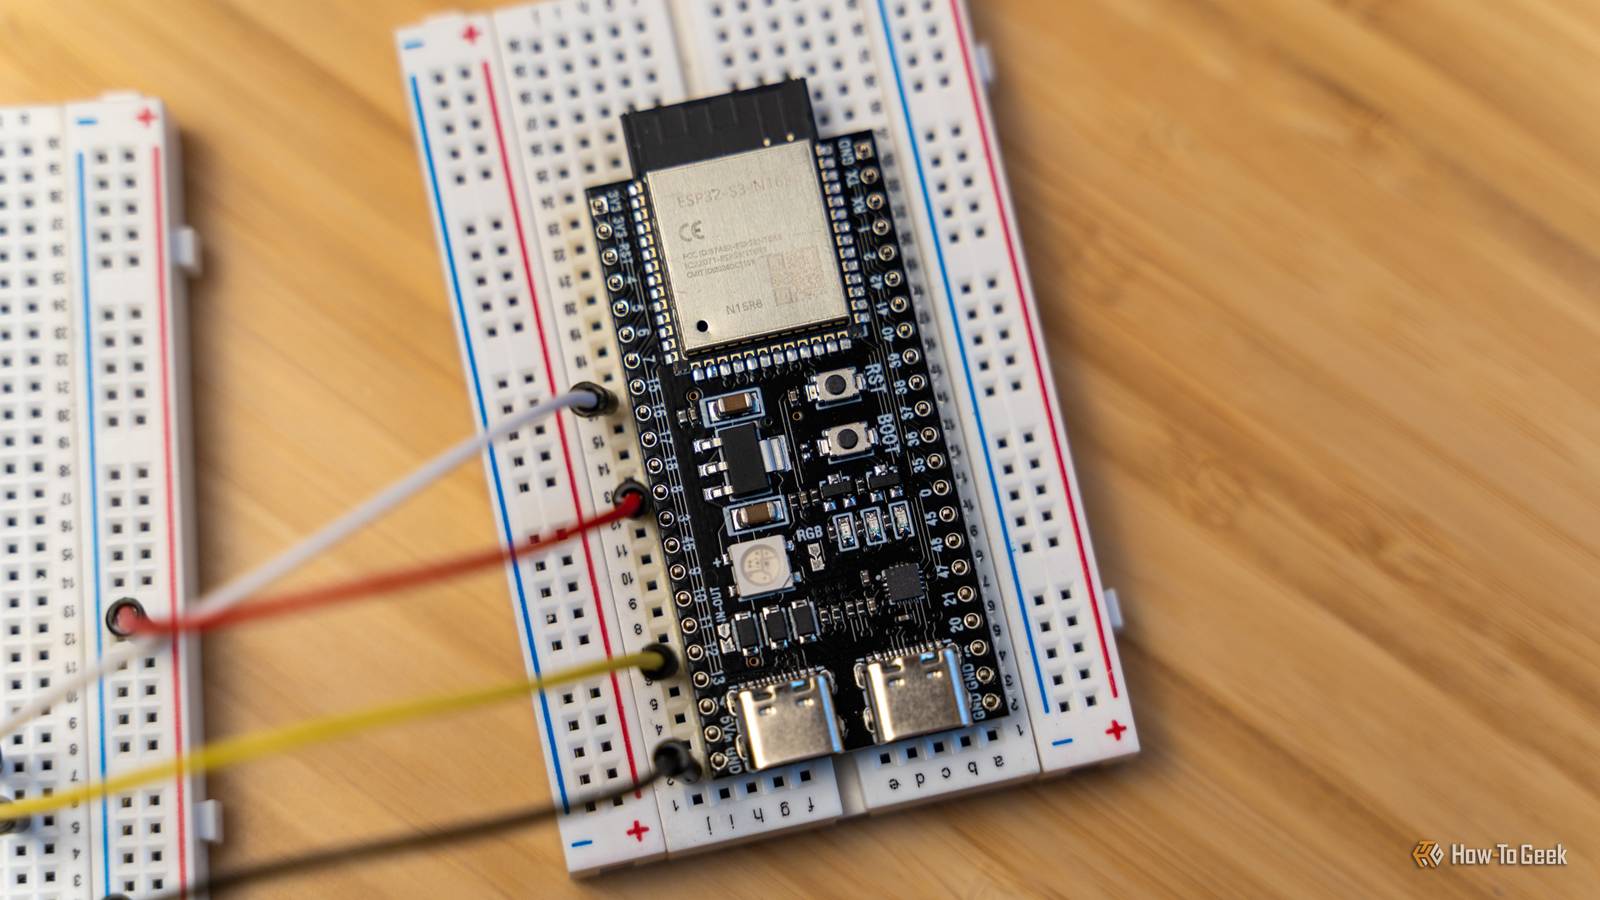
Posts By Tim Brookes ESP32 web server with LEDs Get started with breadboards and extra components A breadboard is a development tool that allows you to connect components to your ESP32 without the need to solder.This allows you to experiment with ideas and complete fun projects, then reuse the parts time and time again.This particular project is from the excellent Random Nerd Tutorials website.
The ESP32 web server project uses a development board, two LEDs, two resistors, a breadboard, and some jumper wires to connect things together.It relies on the Arduino IDE, and all the code is provided for you to copy and paste (though you’ll need to change a few things like network credentials).RGB color mixer with potentiometers Get started with analog-to-digital conversion Potentiometers are used in control knobs to modify values like volume gradually.
They’re analog components, which means you’ll need to use your ESP32’s analog-to-digital converter (ADC) to convert voltage to a digital value that you can use in your designs.This project, a part of the expansive 100 Days of IoT compendium, shows you how to use three potentiometers to control red, green, and blue colors on a single LED.This particular project uses MicroPython, with the files and a wiring diagram provided for you (alongside instructions).
The guide is fairly straightforward and should hopefully teach you how to implement this method of control in your own projects going forward.Temperature and humidity sensor With optional OLED display Temperature and humidity sensors are pretty cheap, but so too are the components for making your own.Once you’ve flashed an ESP32 with the ESPHome firmware, you can use a simple YAML config file to talk to a temperature and humidity sensor, which will then be reported in Home Assistant.
Pick a compatible sensor and specify the sensor’s platform type, which pin it’s connected to, and an update interval (fewer updates means lower power consumption).Alternatively, for a slightly more in-depth guide that holds your hand and incorporates an OLED display, give the Random Nerd Tutorials ESP32 temperature and humidity sensor guide a look.This one uses the Arduino IDE, rather than ESPHome.
Gas leak detector Learn to trigger a buzzer with MicroPython By now you probably have a rough idea of how components like LEDs, temperature and humidity sensors, and even OLED displays can be incorporated into your projects.So why not add a gas sensor to the mix along with an active buzzer? This allows you to create a simple “dumb” gas leak detector that makes a sound whenever a minimum threshold is reached.This project also uses MicroPython, and the code really couldn’t be simpler to understand (with annotated comments throughout so you know exactly what’s happening).
Projects like this teach you how various components can be called and used in the code, which should give you some ideas on how to build your own devices and implement them into personal projects.This one is also a part of the 100 Days of IoT collection, which is well worth a look if you’re hunting for even more simple projects.Want to learn more about the potential of microcontrollers? Find out what the fuss is about when it comes to ESPHome and why the ESP32 is the only microcontroller you probably need.
Read More