The weekend is here, and that means it’s time for more Raspberry Pi project ideas.This weekend, I’m showing you how to cut the cord on your printer, ditch Adobe, and even archive the internet right in your own home.Raspberry Pi 4 Model B Brand Raspberry Pi CPU Cortex-A72 (ARM v8) With the Raspberry Pi 4 Model B, you can create all kinds of fun projects, and upgrade gadgets around your home.
Alternatively, install a full desktop OS and use it like a regular computer.$38 at CanaKit See at Amazon Expand Collapse Make any printer wireless with a CUPS print server Never plug a printer in via USB again Several years ago, I had an old Brother laser printer that didn’t have wireless connectivity built in.For a while, I just had it plugged into my computer, but eventually I wanted to place it somewhere else.
The problem is, I didn’t want to buy a new printer.That’s where my trusty ol’ Raspberry Pi 3 B came in handy.I was able to install a CUPS (Common UNIX Printing System) server on it.
Installing CUPS is pretty straightforward.It just needs two commands, really: sudo apt-get install cups sudo usermod -a -G lpadmin $USER The first command installs CUPS, and the second adds your user to the CUPS administration table so you can actually make modifications to the CUPS server.Then, if you’re local to the Pi (using the Pi’s interface), you can navigate to http://localhost:631 to manage the CUPS installation, or you can navigate to http://IP:631 (with the IP of the Pi) to manage it remotely on your network.
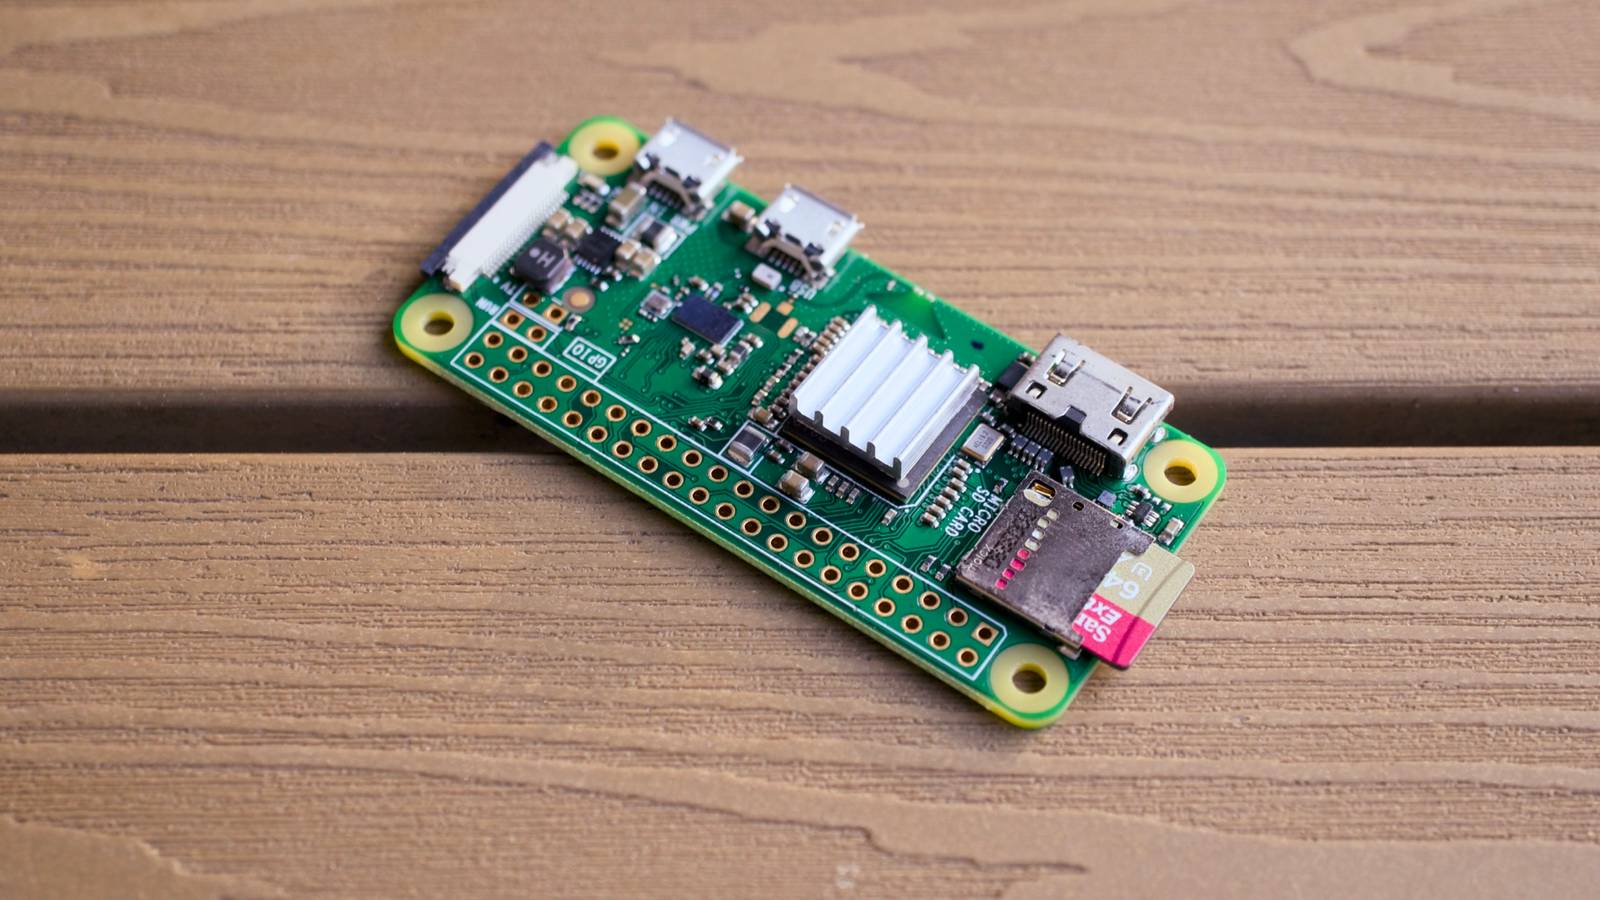
From there, plug your USB printer into the Raspberry Pi’s USB port and follow the add printer flow inside of CUPS.It should only take a few minutes, and then that printer will be visible on the network to your computers and mobile devices to print to without having to plug any cables in.You don’t need a full-size Pi for this, as this type of system can easily be run from a Pi Zero W.
So, regardless of what Pi you have lying around, install CUPS and plug your printer into it, it’s easier than you think.Raspberry Pi Zero 2 W Brand Raspberry Pi CPU Quad-core 64-bit ARM Cortex-A53 The Raspberry Pi Zero 2 W is super tiny and super affordable, but it packs enough computing power for a variety of DIY projects.You can use it to create a handheld retro gaming console, for Klipper/Mainsail, a super compact home or media server, and more. See at Amazon See at adafruit $16 at CanaKit Expand Collapse Ditch Adobe for Stirling PDF Nobody likes giving Adobe money If you’ve not given Stirling PDF a chance, your Raspberry Pi is the perfect way for you to stop giving Adobe your hard-earned money.
Stirling PDF is an open-source PDF editing platform that can easily be deployed on your Raspberry Pi.With Stirling PDF, you’ll be able to edit, sign, redact, convert, and even automate PDFs all on your local network.It works everywhere you are, since Stirling PDF runs on your server.
You can even open it up to external network access via a reverse proxy if you need to.Not only can it do all the things that I already mentioned, but it also lets you merge and split PDFs, handles OCR, and so much more.There are REST APIs available for nearly all tools, so you can integrate them into your existing systems, making this platform great for both home and office deployments.
The best part is it doesn’t need a crazy amount of resources to run.Your Pi should handle the load quite handily, at least in your homelab.So, what are you waiting for? Spin up Stirling PDF, cancel Adobe, and enjoy the savings.
Archive the internet automatically with ArchiveBox The internet isn’t actually forever, so make sure you save your favorite parts We’ve all used Archive.org’s Wayback Machine at some point in time, but what if I told you that you could run your own at home with nothing more than a Raspberry Pi? With ArchiveBox, you’re able to both organize and archive public and private web content right on your own hardware.You can save copies of bookmarks, back up photos from Facebook or Flickr (or even Instagram), or even download content from YouTube, Soundcloud, and other online sources.If the data exists on the internet, you’re able to back it up locally on your Pi with ArchiveBox.
Subscribe to our newsletter for hands-on Raspberry Pi projects Discover step-by-step Raspberry Pi and self-hosting guides by subscribing to the newsletter.From turning old printers wireless with CUPS to running Stirling PDF and ArchiveBox on minimal hardware, the newsletter offers practical projects, setup tips, and resource-saving ideas.Get Updates By subscribing, you agree to receive newsletter and marketing emails, and accept our Terms of Use and Privacy Policy.
You can unsubscribe anytime.The only real limitation you’ll run into is the amount of storage you decide to load your Pi with.You could use the internal storage on the Pi, add a USB drive, or even mount a remote folder to the Pi and store it on another system.
Outside of storage, ArchiveBox is quite powerful and will help make sure your favorite parts of the internet truly do live on forever—at least inside your homelab.WD Elements Portable HDD - 2TB Store extra files of all types on a portable hard drive that gets you space without taking up space.$90 at Amazon Expand Collapse Raspberry Pi’s can handle more than you might think When I first started using my Pi, I thought it wasn’t all that powerful or useful—and you might be thinking the same thing.
The fact is, even an older Pi 3 B with 1GB of RAM is more than powerful enough to run any of the services listed above, and many more.You don’t need a brand-new Pi 5 with 16GB of RAM to run a few self-hosted services—whatever Pi you already own is likely more than enough.So, stop waiting around for the right time and hardware, and just deploy these services to your Pi today.
Read More