I’m not saying that I invented this or that I’m the first to try this.For many years, people have been filling the infill patterns of material extrusion prints with lots of different materials.Sand, latex, PUR foam, silicone, rubber, superglue, Elmers glue, epoxy, thread, sticks, different foams, fabric, anything really has been tried.
On the one hand, people have used paint and fillers to smooth objects and make them more watertight.Filling the inside can also help here.Usually, however, people have been trying to add strength, weight, or impact absorption, or to do this to save on material and printing costs.
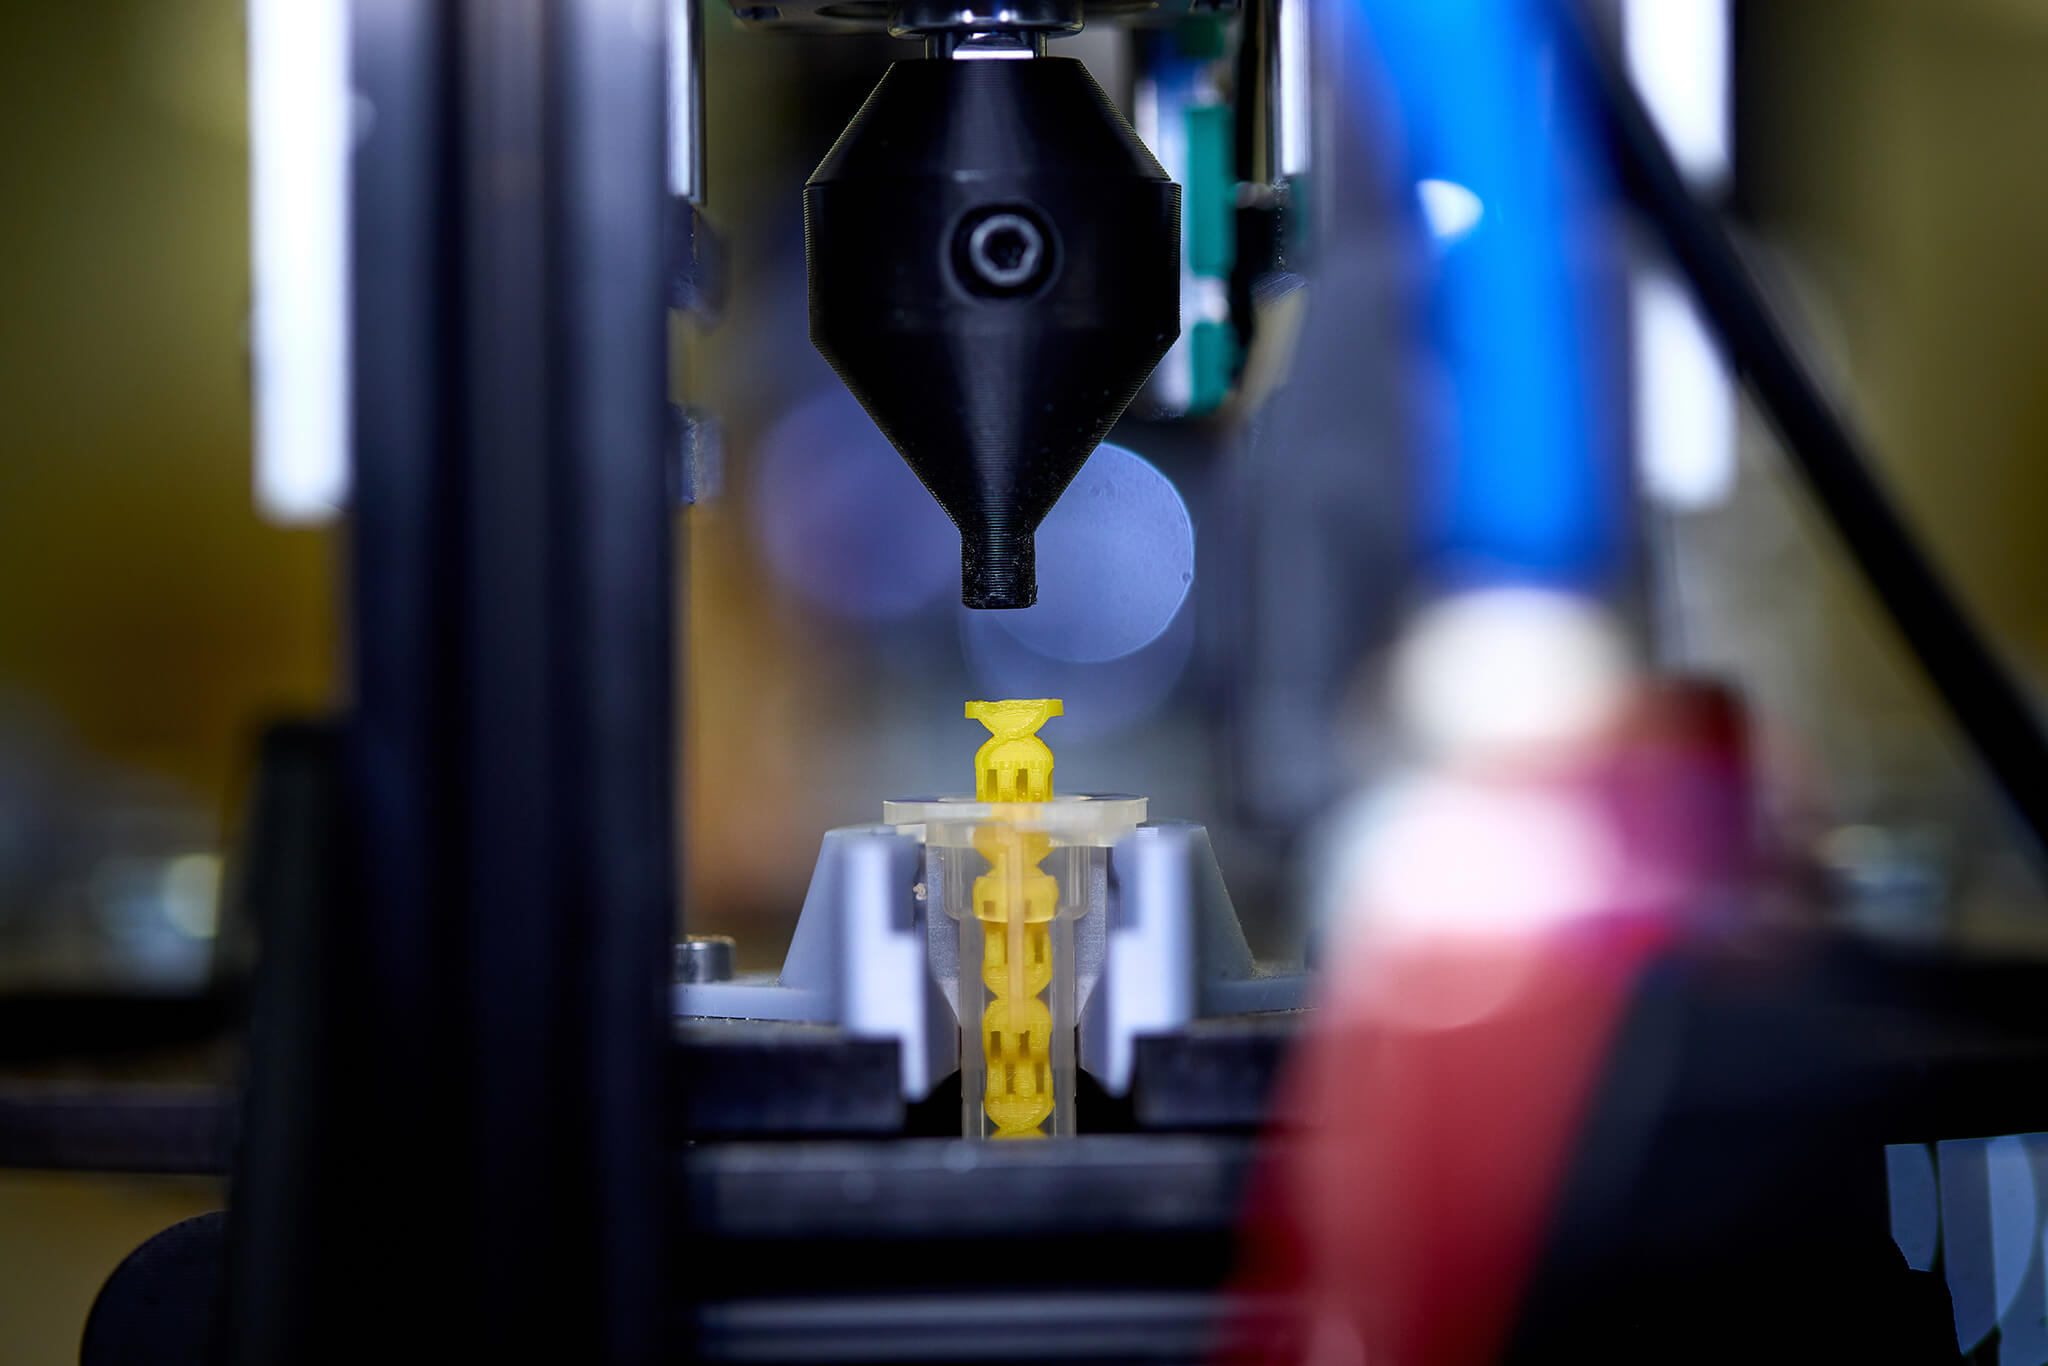
People have been toying with this manually for over a decade.Generally, it’s easy; you use the Cura Pause at Height command or the general G-code M601 command.Select where you want your printer to stop.
Fill the empty infill with your material and then continue.You can use this to make five top layers, 15% infill, super-strong, or super energy-absorbing 3D prints.You can also put in things like rubber seals, gaskets, or rings.
Screws and fasteners can be added in this way as well.Or you can make your prints empty and fill them entirely with epoxy or sand, for example.Or you can make your prints empty, with no infill, and fill them with other 3D printed parts in another material.
This is a super easy way to completely change the properties of your 3D printed part.I know people have researched similar approaches and even attempted some IP workarounds for this.But, to me, this is a completely obvious technology.
We all know 3D prints have empty spaces; filling them should clearly not be patentable.But maybe it should be a much simpler technology.I urge you to have some fun with this and try it at home.
Just playing with this is a great way to look at 3D printing in a completely different way.But if we look towards the future, then this could clearly make all 3D printers better.And now with multiple tool-changing 3D printers on the market, it could be much easier to do.
The problem is dosage, and some tools will need to be able to figure out at what infill shaft, how much of a particular material can and should be added to fill this shaft.This will be different depending on how this material expands, cures, or dries.This will take work.
Then someone will have to figure out how to make a syringe extruder, Viscotec extruder, or Remixers extruder compatible with the volume estimator and dose-on-demand.Then you’ll have to do some G-code magic and maybe engineer the right syringe extruder for the Prusa XL or another tool-changer 3D printer.Then someone could easily fill each individual infill shaft, in each pattern, at each infill, with the right dose of each material.
If that worked, we could make stronger, tougher, more impact-resistant, more energy-absorbing, more energy-returning, more specifically reinforced 3D prints for less money, quicker.With Aim3D’s Voxelfill now being open to anyone, you could also use that software.I think that such a project would really increase the market with 3D printing.
It would really extend the Snapmaker or PrusaXL’s capabilities significantly.More high-performance, low-cost parts could really lead to more open-source and business innovation in this case.Weirdly, even though this idea is widely known and has been tried for many years manually, I haven’t seen an easy working implementation on a tool changer system yet.
Automated filling on a tool-changing system could make so much more possible.I really hope that someone tries it.Subscribe to Our Email Newsletter Stay up-to-date on all the latest news from the 3D printing industry and receive information and offers from third party vendors.
Print Services
Upload your 3D Models and get them printed quickly and efficiently.Powered by FacFox
Powered by 3D Systems
Powered by Craftcloud
Powered by Xometry
3DPrinting Business Directory
3DPrinting Business Directory


