Without really realizing it, over the last couple of months I’ve become pretty much addicted to ESPHome.Having tried every different method of programming IOT devices over the years, I still love Tasmota for certain things and use it on many devices, but for ease of use (if not memory efficiency) today in late 2026, ESPHome can make life very easy.I was rummaging through my bits and bobs, and I found an M5 Stick CPlus sent to me a long time ago to review.
There’s nothing special on the original ESPHOME demo, it just turning a light on and off, but the board has a colour display and some other useful components and a battery, from what you can read on the back (below).And here’s the first specific: The 120maH battery doesn’t last overnight Inside ESPHome, there are simple demos for many of the products out there on the market, including this M5Stack device.I opened one of the basic project for this device up, and with the board plugged into my serial port, I ran that basic project, which really did nothing interesting.
I went back to the source code, put in something I now do on every project, all my SSIDs – and added the webUI which took All of three lines of code.web_server: version: 3 local: true .That netted me this WebUI display below.So far, so good… (2 of the 3 buttons on the unit can be used for general purpose).
The M5StickC Plus has: Access to several GPIO pinsESP32-PICO-D4 dual-core processor, with Wi-Fi and Bluetooth1.14-inch colour TFT display, 135 × 240 pixels120mAh internal lithium batteryTwo user buttons6-axis IMU — accelerometer and gyroscopeMicrophoneBuzzerReal-time clockInfrared transmitterRed LEDUSB-CGrove/HY2.0 expansion connector Time will tell if the buzzer is any better than the (as far as I can tell basically useless) buzzer on the M5 Tough (update – it isn’t).The display is an ST7789v which I’ve used elsewhere – albeit a small one – 135*240.The relevant pins for the display are: CLK: GPIO13 MOSI: GPIO15 CS: GPIO5 DC: GPIO23 Reset: GPIO18 So, I took my basic YAML – mostly from the ESPHOME Demo – and handed my favourite GPT a request for a “Hello World”.
Well, maybe a bit more – the name of my current access point, the IP of the device and the time and date from it’s internal clock… So far so good – I also included the current SSDID to which the unit is attached and the given IP address – but what use is all of that on it’s own….not a lot… I briefly though about adding a BLE proxy but that and the webIDE was too much for the board.An Idea Forms I’ve now spent the last couple of days experimenting with my little M5Stick CPlus.
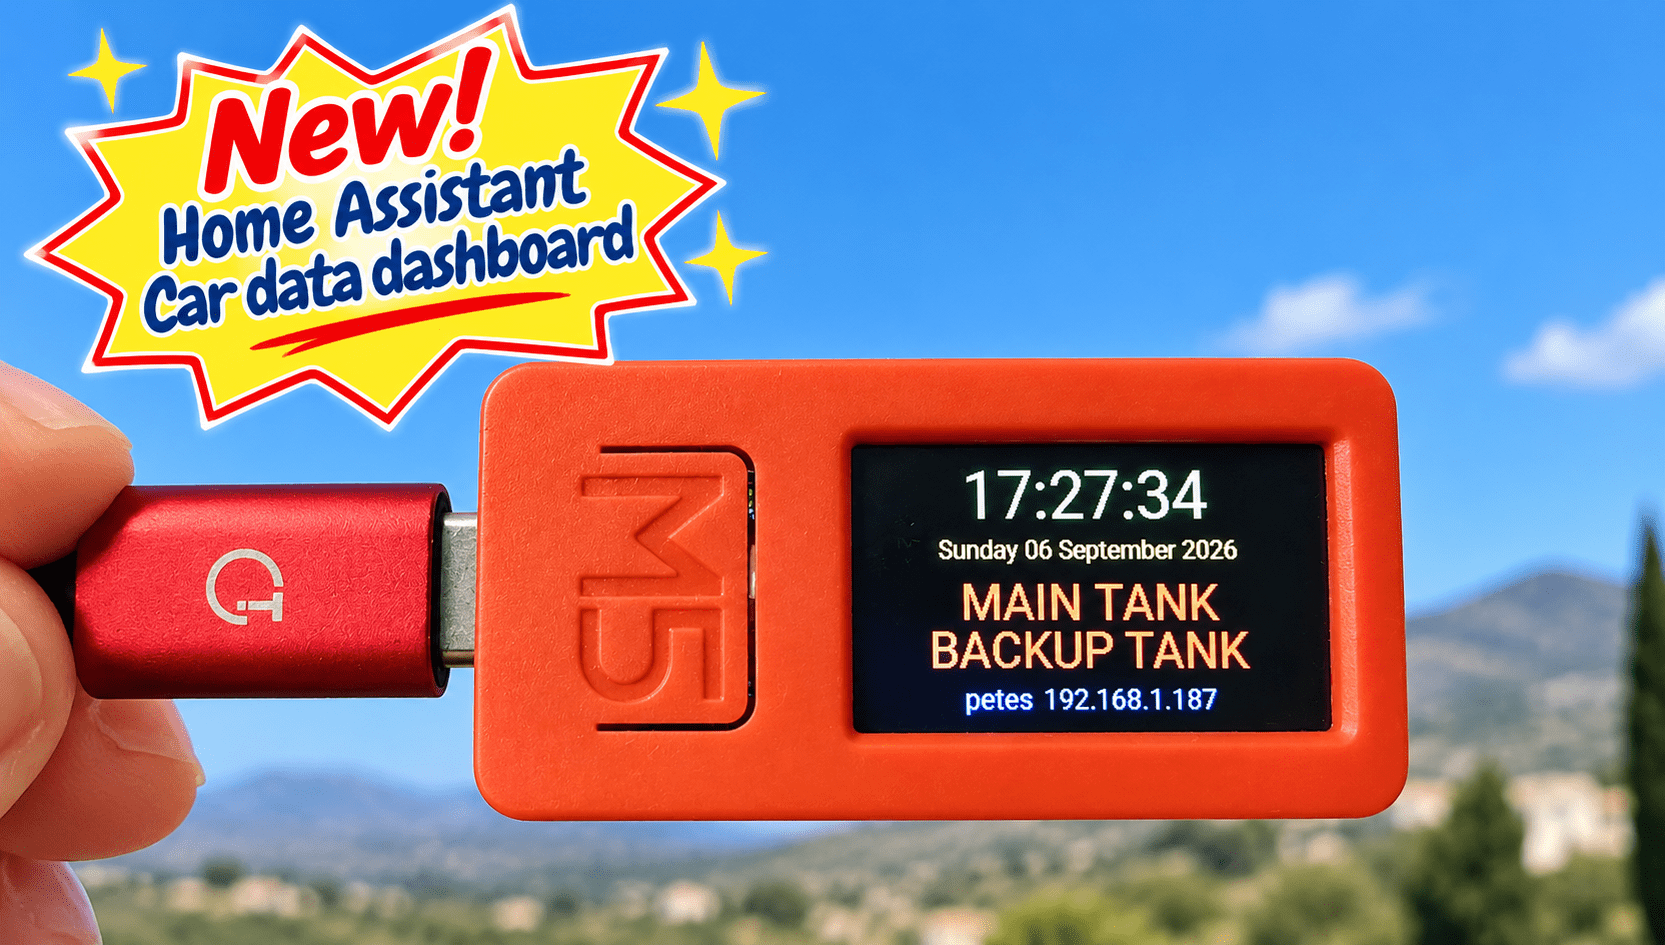
The original aim was simply to see what I could get out of this tiny ESP32-based board, but the project has taken an interesting turn.The idea was to put the M5Stick in the car and have it display useful information from my Home Assistant installation back at the house (which has Tailscale VPN on the router as does my phone)..For the first test, I chose something very simple: the status of my main and backup hot-water tanks.
If a tank is on, its name appears in red; if it is off, it appears in blue.The Phone Hotspot Problem Taking the M5Stick away from the house meant giving it an Internet connection.My Samsung phone seemed the obvious answer.
I added the phone’s Wi-Fi hotspot to the M5Stick’s list of networks and connected the board successfully.However, this didn’t give the M5Stick direct access to Home Assistant at home.Although the phone itself was connected to my home network using Tailscale, the Wi-Fi hotspot creates its own little network.
Devices connected to the hotspot don’t automatically inherit the phone’s Tailscale connection or gain access to devices on the home network.So the M5Stick could get onto the Internet, but it couldn’t simply talk to Home Assistant as though it were sitting on my home Wi-Fi.Ultimately this proved insurmountable – at least for me and people and AIs helping out.
A Different Route The answer was to stop trying to make the M5Stick connect directly to Home Assistant.Instead, Home Assistant now collects the information I want and regilarly sends a tiny JSON file out to my blog web server hosted by (they didn’t ask for this) Krystal Hosting.The data is stored in a separate folder associated with my blog server.
The M5Stick, whether it is connected to my home Wi-Fi or petes phone hotspot, can then fetch that tiny piece of information from the Internet.In effect, the route is now: Home Assistant → web server → M5Stick Keeping It Private Obviously, I didn’t particularly fancy publishing information about my house for anyone wandering around the Internet to read.The arrangement therefore uses separate secrets for writing and reading the data.
Home Assistant uses a secret key when updating the information, while the M5Stick supplies another secret when requesting it.So the JSON isn’t simply sitting there as an openly accessible public file.The data remains available to my own devices while being protected from casual access.
Updating the Display Home Assistant sends the current tank states to the server regularly and also whenever either tank changes state.The M5Stick checks the server every 30 seconds.That is more than fast enough for this sort of information display and keeps the whole arrangement extremely simple.
At the moment it is displaying just two items: MAIN TANKBACKUP TANK But there’s no reason it has to stop there.Temperatures, power information, sensors, door states or almost anything else available to Home Assistant could potentially find its way onto the little screen (remember this unit has 2 buttons so switching pages would be a breeze).A Car Dashboard? The M5Stick is tiny enough to sit on the dashboard, and because it can use my phone’s hotspot when I’m away from home, it doesn’t need to be within range of my house Wi-Fi.
The Hotspot on my Samsung S24 (like most phones) continues to operate when the phone is on standby and/or on charge).This little experiment started as an attempt to learn more about the limitations of a cheap ESP32 board (and this one is seriously short of RAM as i found out).It has ended up demonstrating a rather useful way of getting selected Home Assistant information onto a portable device without exposing the entire Home Assistant installation to the public Internet.
Of course I could just read my phone’s Home Assistant APP – but not that convenient when driving… and the phone times out – and I’m often using MAPS etc.when on the road.And yes, the little red box is now destined for the car.
It woulnt take much effort to have little hot water tank icons and hence get more on the main screen.If anyone wants the code I’ll put it in here – and if not – send me some feedback anyway.
Read More