Disclosure: The U1 was provided to me by Snapmaker free of charge for the purpose of this review.I have not received any other compensation.All opinions expressed are my own, and Snapmaker has had no influence on the content of this review.
Unboxing Packaging Quality As I have come to expect with many modern printers.Snapmaker has totally nailed the packaging quality.With copious amounts of foam and custom trays to hold everything snugly in place.
I am quite happy with the packaging quality.One thing I can now comfortably say is that I wish we, as an industry, would use more cardboard and less wasteful foam.This is something Prusa does very well.
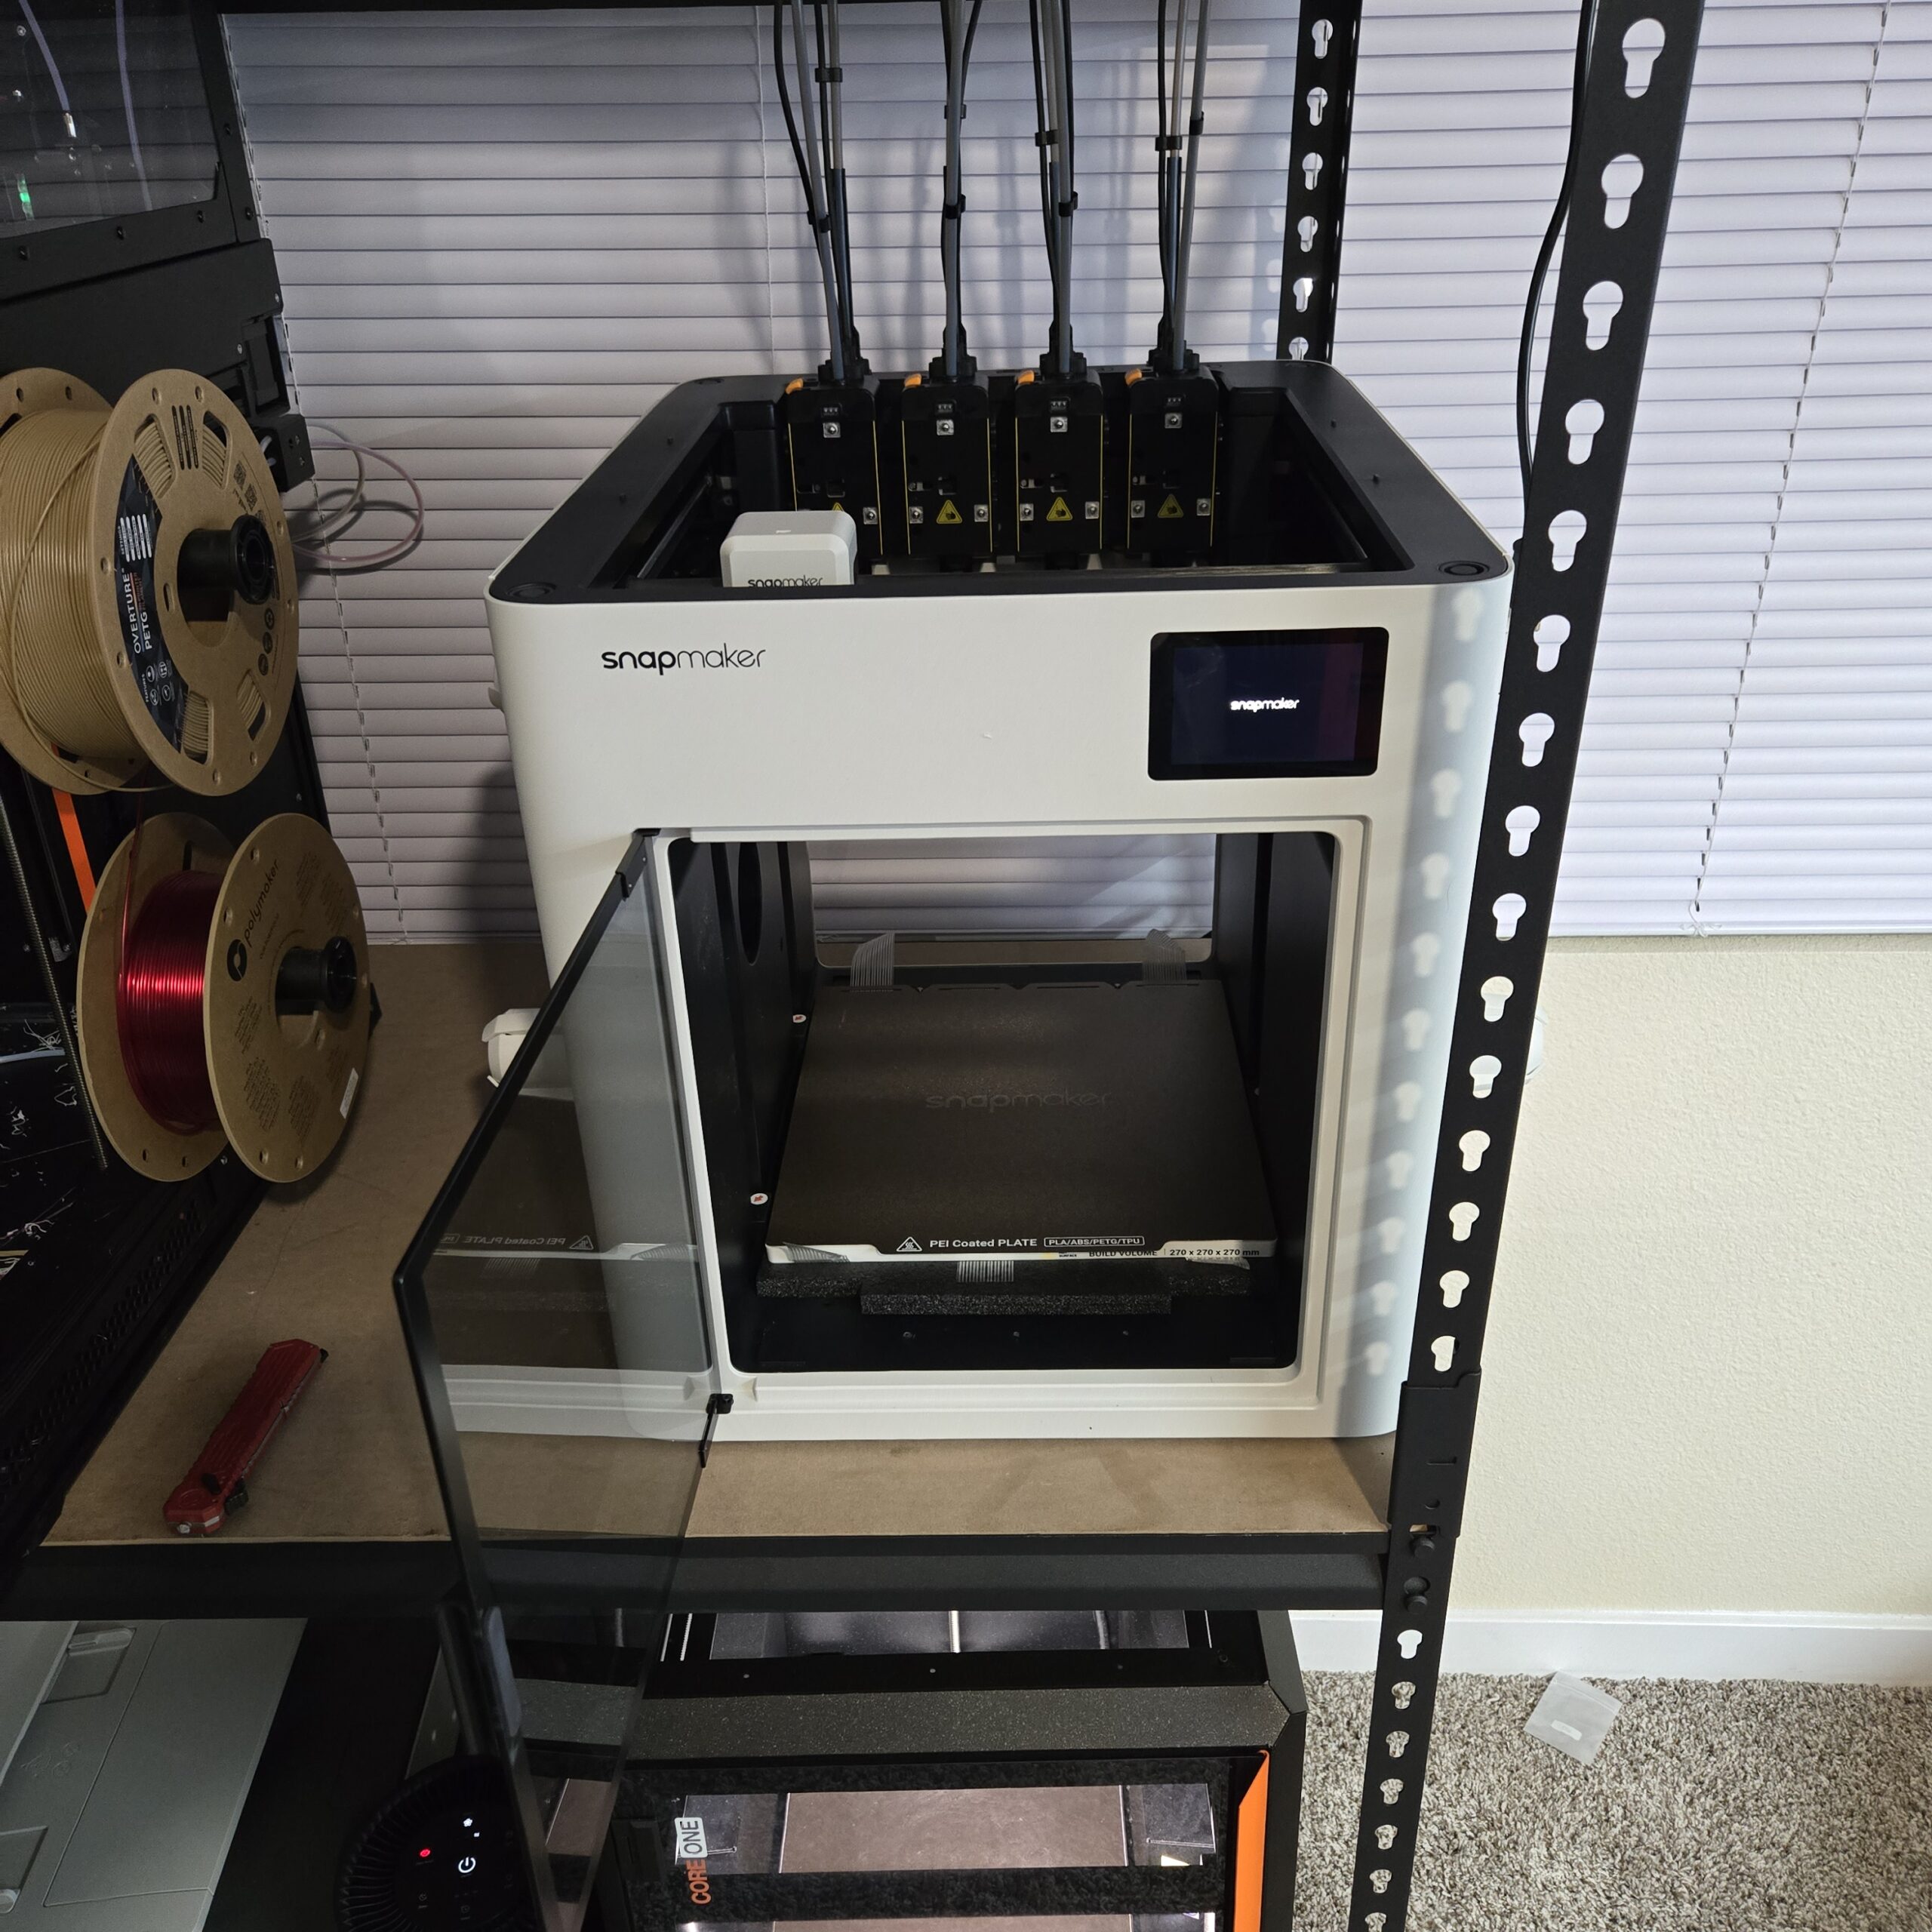
And, with an important feature of tool-changer 3D printers being the reduction of waste, I think updating some of the foam to be creatively manufactured cardboard would complement this theme by adding something that can be recycled.Assembly/Build Quality The build quality is good.The frame is sturdy and solid, and that results in the great print quality you will soon see.
I will say that the outer shell is clearly where Snapmaker chose to cut costs.It is fairly flexible and thin.It doesn’t seem to affect anything or the quality, but it is definitely not an aluminum or steel panel like the Bambus and Prusas.
Snapmaker U1 After Initial Setup First Print and Impressions My first print was two parts.My accuracy and tolerance tests.I am very pleased with the speed and accuracy of my first prints.
Like with all my tests, I don’t change any settings within my test prints.This is nearly as good a first print as the Prusa XL and Core One.It was, however, way faster, and that is amazing! First print Hardware and Specs The U1 has a 270 x 270 x 270mm print volume and a top speed of 500mm/s with 20,000mm/s^2 acceleration.
The U1 comes with four toolheads, each made of stainless steel, with a volumetric flow rate of up to 32 mm^3/min.The hotends reach 300 °C while the print bed can reach 100 °C.Both are typical values but feel underwhelming compared to the competition’s 350 °C nozzle and 120 °C bed temperatures.
There is no chamber heater, though that would make this thing a very capable powerhouse for engineering-grade filaments.The firmware is Klipper-based but modified, and the slicer of choice is Orca, with an optional Orca-Snapmaker fork available if you want.Software and UI The Snapmaker U1 uses a custom version of Klipper.
The U1 has a completely custom UI that is very easy to navigate.I would say this is one of the most user-friendly UI I have seen on a consumer 3D printer.I am only happy with this UI overhaul because it streamlines the UI and is far less cluttered, though it is less powerful than the traditional Klipper screen.
That said, you can log in to the printer using its IP address and be greeted by the Fluidf web interface.I think Fluidd is the better option here as it is typically considered less customizable than Mainsail.With a focus on consumers and not wanting to overwhelm new users, I think this is the right choice.
Snapmkaer U1 Fluidd Interface Here’s the biggest pro for the U1 in my book.Snapmaker fully supports Orca slicer right off the bat! To Snapmaker, THANK YOU! I know you have your own skinned version of the Orca slicer, but to see the direct integration coming from you is a real power move over all the other printer companies.So many printer companies use Orca Slicer as a base platform; it is refreshing to see a direct integration that works very well.
I do have a small grievance with this, though.I cannot see the same UI and camera in the device tab in Orca as in Orca-Snapmaker.But that can easily be fixed by the team.
Orca-Snapmaker UI Test Prints and Performance Time-lapses and Camera The camera on the U1 leaves some quality to be desired.Don’t get me wrong, it totally works.However, anyone looking to make social media posts will find the quality lacking.
The modified Klipper interface (through Fluidd) also doesn’t (at the time of writing the review) have an option to download the timelapses directly to the PC.You have to add a flash drive to the U1 and, through the interface, download the videos to the flash drive, then you can use it on your PC.It’s not really all that inconvenient to me.
However, with Klipper, removing some functionality doesn’t really make sense to me.Print Examples First print 4-Tool Alignment Test 4-Tool Alignment Zoomed In Multi-Color Axolotl Accuracy Test Results (RED PETG): X Measurement: 99.95 of 100mm Y Measurement: 99.87 of 100mm Z Measurement: 99.99 of 100mm XZ Measurement: 134.75 of 135mm YZ Measurement: 134.91 of 135mm XY – A Measurement: 149.87 of 150mm XY – B Measurement: 149.9 of 150mm Actual Material Capabilities The U1 has some excellent potential.However, it comes from the factory without a top hat or enclosure and without hardened steel nozzles.
Those two factors severely limit the material capabilities right now.But that should change.Snapmaker will offer hardened steel nozzles in the near future, along with the enclosure! With these, I see no issues with running Carbon/glass fiber-reinforced material along with special-filled polymers.
I have the hardened steel nozzles and have had no issues printing TPU, PETG, PETG-CF/GF, and even PA6-CF (3DxTech Obsidian).This gives me lots of hope.Noise Level The U1 is quieter than my XL (during rapid movement), but louder than most of my other printers.
Reliability and Maintenance So far, I have over 300 hours of print time on this machine.I have run it day and night, working on some customer parts and other projects for the holidays.I haven’t seen any issue pop up that wasn’t my fault.
I wanted to note that I had some trouble printing a large 260x260x75mm PETG part weighing over 700 grams.This high-density part did suffer a bit from warping with the stock profiles.After completing my tests for this review, I tweaked the PETG settings and got it to print perfectly, even with the high density.
For those curious, I increased the hotend temperature to 260 °C and the heatbed temperature to 85 °C.This seemed to fix all my issues.I also believe that, with the enclosure coming, it would also negate any of these warping issues, particularly on large and dense parts.
Cost and Value The U1 is priced at $999 USD but is available at the time of writing for $849 USD, with hotends and other accessories priced very competitively.I am very pleased to share that, in their user-focused approach, almost all components that would reasonably need replacement are available for the user to pick up and service.So, who is this for? The U1 is a prime candidate for anyone looking to get into tool-changing 3D printers.
The barrier to entry has come down significantly, and the ease of use/reliability has skyrocketed.This is also great for print farms who are using systems like the Bambu or Creality AMS/CFS, respectively, really, any single-nozzle filament multiplexing system.The nature of tool-changers is that there is virtually no waste.
That does come with a caveat, though.You do need a prime tower to reliably ensure each nozzle is fully primed and ready for the layer to be printed, but that is significantly more efficient than purging the entire hotend volume multiple times per layer.Really, this is for someone who wants to get into multi-material or multi-color printing in a much more efficient way than what is currently on the market.
Even using only a single tool, this printer runs very well and consistently.Pros Easy to use, especially for a tool-changer True multi-material capabilities Larger build volume (270x270x270mm) 4 Tools Relatively affordable Fast Automated calibration An extensive list of spare parts Cons Enclosure not included Stainless steel nozzles as standard, not Hardened steel Louder than many other printers Carbon fiber rods (known to wear down fast) Summary The Snapmaker U1 is a $999 (currently $849 introductory) tool-changing 3D printer with a 270 × 270 × 270 mm build volume and support for up to four toolheads, making multi-material and multi-color printing highly efficient with virtually no purge waste (only a small prime tower required).It’s outstanding out-of-the-box print quality and speed (rivaling or exceeding the much more expensive Prusa XL on first prints), sturdy frame, excellent custom Klipper-based UI, native Orca Slicer support, fully automated calibration, and impressive reliability after 300+ hours of heavy use.
Build quality is solid overall, though the thin plastic outer panels feel cost-cut, and the printer ships with a partially open design and regular stainless-steel nozzles, which limit abrasive materials until the upcoming enclosure and hardened-steel nozzles arrive.Noise is moderate (quieter than a Prusa XL in fast moves but louder than most enclosed competitors), the included camera and timelapse workflow are basic, and it uses carbon-fiber rods that may wear faster than metal ones.Overall, the reviewer considers the U1 the most accessible and user-friendly entry into true tool-changing systems to date, offering excellent value for makers and small print farms seeking fast, near-waste-free multi-filament printing without the complexity and cost of high-end alternatives.
All images courtesy of Orville Wright
Subscribe to Our Email Newsletter
Stay up-to-date on all the latest news from the 3D printing industry and receive information and offers from third party vendors.Print Services
Upload your 3D Models and get them printed quickly and efficiently.Powered by FacFox
Powered by 3D Systems
Powered by Craftcloud
Powered by Xometry
3DPrinting Business Directory
3DPrinting Business Directory