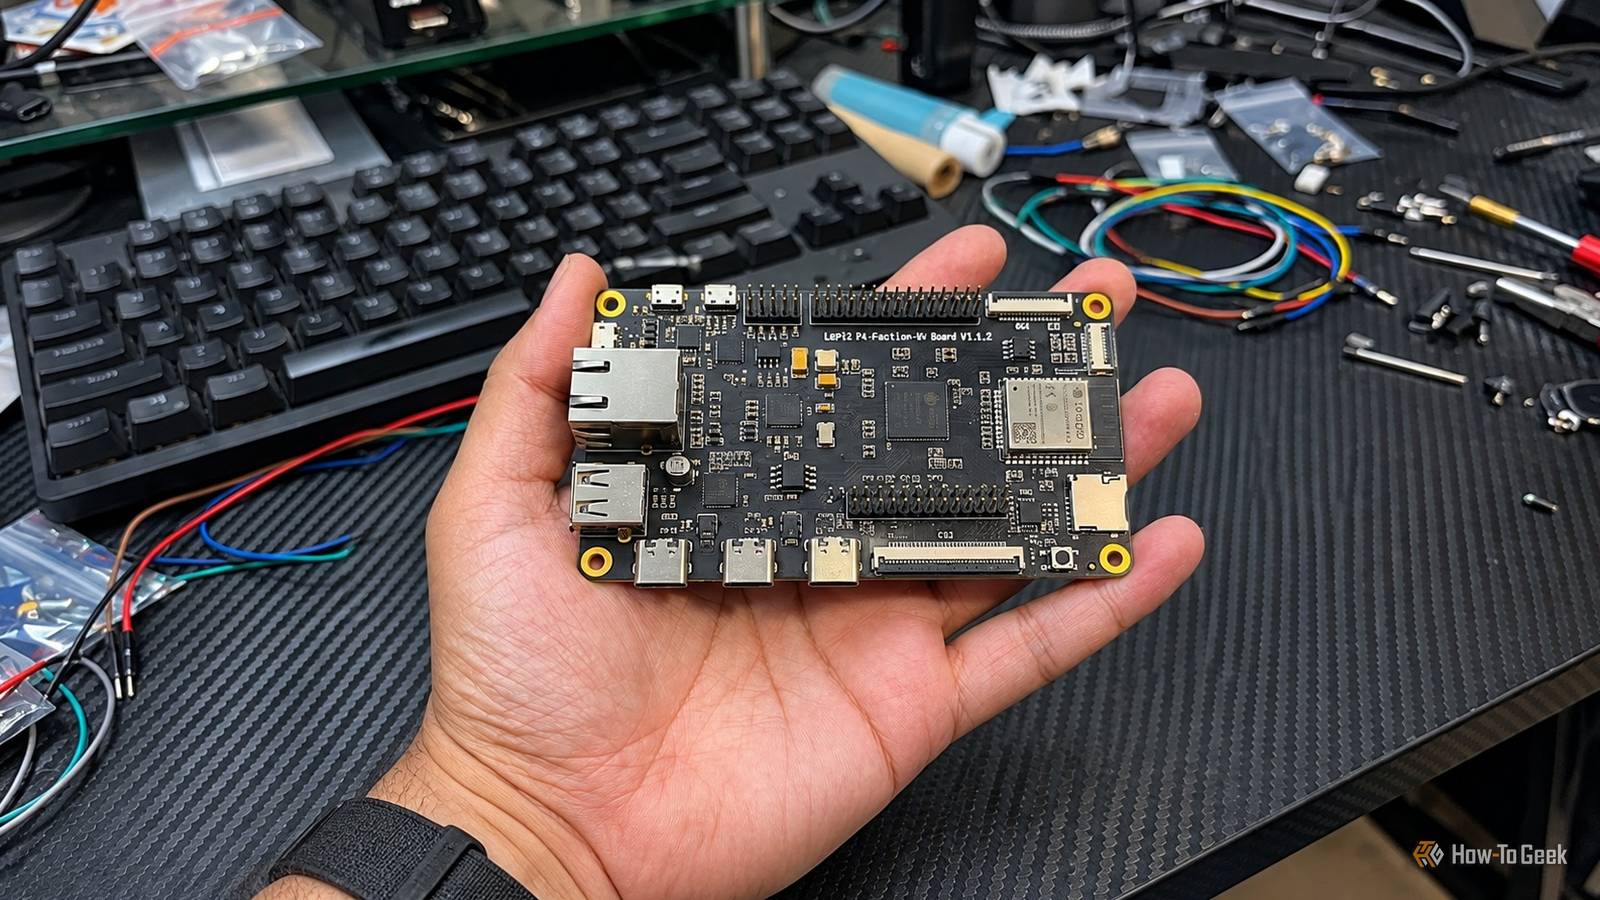
The ESP32-P4 is not quite like the usual ESP32 boards.You get a dual-core RISC-V processor running at up to 360 MHz, support for high-resolution displays and cameras, and enough horsepower for projects that would push older ESP32 boards to their limits.But once the excitement of buying a new board wears off, you are left figuring out what to actually build with it! Add How-To Geek on Google Add as Preferred Source Follow on Google Discover Fortunately, there are some pretty cool things you can do with the ESP32-P4, especially if you enjoy DIY electronics or retro gaming.
Some of these projects are very practical, while others are just fun to mess around with.Either way, they should give you a good reason to finally put that board to work: Build a touchscreen smart home dashboard Give your Home Assistant setup a proper control panel Close If you have a bunch of smart home devices, you probably know how annoying it gets to constantly pull out your phone just to turn off a light or check the thermostat.Sure, you can use voice commands, but sometimes having everything on a screen is simply more convenient.
Unlike most older boards, ESP32-P4 supports MIPI DSI displays, so you can hook up a fairly large touchscreen and build your own smart home control panel.For example, you could mount an 8-inch touchscreen near your front door and use it to control smart lights, check room temperatures, monitor security sensors, or adjust your thermostat.If you already have Home Assistant running on a Raspberry Pi or a mini PC, you can pull all that information into a custom dashboard.
You can build the interface using LVGL, an open-source graphics library with support for buttons, sliders, charts, and other touchscreen widgets.I think this is one of the more useful projects on the list.A touchscreen panel is something you can actually use every day, and it gives you an excuse to experiment with the P4’s display capabilities.
Plus, a custom dashboard mounted on the wall looks a lot cooler than another development board sitting on your desk.Turn it into a DIY security camera Build a local IP camera without relying on the cloud You might already be familiar with the ESP32-CAM, which has been a popular choice for DIY camera projects for years.The ESP32-P4 takes things further with a MIPI CSI camera interface and a dedicated H.264 video encoder.
That hardware encoder is the interesting part.It can compress video without making the CPU do all the heavy lifting, which is useful when you are trying to stream footage over your local network.You could build a small IP camera to watch your driveway, monitor a 3D printer in the garage, or keep an eye on your pets while you are working upstairs.
I have also seen some of the makers' friends experimenting with motion detection, and it is quite doable.Don’t expect to build a polished Ring or Nest alternative in an afternoon, but if you want a camera that you can tinker with and control yourself, this is a pretty interesting project.Build a retro gaming console Yes, you can actually play Doom on an ESP32-P4 I don’t think any list of projects for a powerful development board would feel complete without someone trying to run on it and, as it turns out, the ESP32-P4 can do quite a bit more than that.
There’s an open-source project called RetroESP32-P4 that turns the board into a little retro gaming machine.It supports emulators for several classic systems, including the NES, Game Boy, SNES, Sega Genesis, and Atari consoles.There are also native ports of games like Doom and Quake.
You can build a small handheld console with a touchscreen or connect it to a larger display using a supported HDMI setup.The project also supports USB gamepads, so you can use physical controls instead of tapping virtual buttons.The project provides firmware, source code, and hardware design files, including 3D-printable case designs.
That gives you a useful starting point if you want to build something more polished than a development board with wires sticking out of it.Related 3 clever ways the ESP32 is saving retro computers from extinction Who would've guessed that a $5 board can do all this? Posts 1 By Andrew Heinzman Make a wired smart home sensor hub Connect your DIY sensors directly to Home Assistant ESP32-P4 does not include built-in Wi-Fi or Bluetooth, but if you are building a device that will remain in one location, a wired Ethernet connection provides a more than reliable alternative.The ESP32-P4 includes a 10/100 Mbps Ethernet MAC, although you need a compatible external PHY and the necessary connector circuitry to use it.
Some development boards already have this hardware, which can save you some trouble.One useful project would be an Ethernet-connected gateway that collects information from sensors and sends it to Home Assistant using MQTT.For example, you could connect temperature, humidity, air quality, or power-monitoring sensors and have their readings appear in your existing smart home dashboard.
You could also use the gateway to control relays, monitor equipment, or automate devices based on sensor readings.Since everything communicates over your local network, you can build a system that does not depend on a third-party cloud service.Create your own voice-controlled smart home assistant Use the ESP32-P4 for voice commands and audio processing You can also turn the ESP32-P4 into a custom voice assistant for your smart home.
If you have been using an Amazon Echo or Google Nest speaker, you probably already have a pretty good idea of how useful voice controls can be, especially when your hands are full.The ESP32-P4 supports digital audio interfaces and has enough processing power to handle audio capture, playback, and other parts of the voice interface.For the actual speech recognition, I would recommend using Home Assistant’s voice assistant pipeline on a separate server.
That way, you can let your Home Assistant server handle the demanding processing while the ESP32-P4 takes care of capturing your commands and playing responses.I will be honest: I think this is probably the one project where spending extra on an ESP32-P4 is a little hard to justify.You can already build simpler voice assistants using cheaper ESP32-S3 boards, and you will need additional hardware and software integration to get everything working.
However, if you already own a P4 and want to experiment with audio processing, touchscreen interfaces, and Home Assistant, there’s plenty to keep you busy.Related How a $5 radar sensor turns an ESP32 into a weather display that wakes when you walk up The forecast awakens.Posts 2 By Adam Davidson Check your ESP32-P4 board before starting a project Some of these projects require additional modules and hardware, so I would always recommend double-checking compatibility before ordering anything.
Not all ESP32 boards and accessories are the same, and this is especially important if you are buying from AliExpress or eBay, where product descriptions can sometimes be vague or inaccurate.I have also noticed that some sellers now use AI-generated descriptions that do not even accurately represent the products they are selling.So, if you are unsure about something, I would suggest asking the seller to confirm compatibility before placing your order.
I would also recommend checking whether the project has proper documentation and firmware available for your specific board.
Read More