Blank rows are one of those Excel problems that seem like they should have a simple solution.But removing them safely isn't always as straightforward as it sounds.I tested six approaches to find out which ones have hidden problems, and which ones I would actually trust with important data.
By the end, only three made the cut.Deleting blank rows manually works, but only for small sheets A simple fix that becomes painful as your data grows Close The most obvious approach is to right-click the empty rows and click Delete.To select blank rows that are scattered throughout your worksheet, hold Ctrl while clicking each row number.
An even better trick is to press Shift+F8 to activate Add to Selection mode, then click another row to add it to your selection.These methods work well on small datasets, but they quickly become tedious when you're dealing with dozens of blank rows spread across hundreds or thousands of records.Pros Cons No setup required Slow on larger worksheets Works in every Excel version Easy to miss rows or include ones you didn't mean to Verdict: Fine for removing a few blank rows, but not a method I would use regularly.
F4 speeds up blank row deletion, but doesn't solve the problem A useful shortcut when you only have a few rows to remove F4 is best known for locking cell references in formulas, but it also repeats your last action.After deleting one blank row, select another empty row and press F4 to repeat the deletion without opening the menu again.This is a surprisingly useful shortcut when you only have a few blank rows to remove.
However, it still relies on you finding every blank row manually, so it quickly becomes impractical on larger datasets.Pros Cons Faster than repeating the same action Still requires manual selection No setup required Doesn't scale well Verdict: A clever shortcut, but not a complete cleanup solution.Go To Special finds blanks quickly, but has a catch Excel selects empty cells, not necessarily empty rows Close Go To Special is one of the most popular ways to remove blanks in Excel, but it's actually one of the riskiest.
You select your range, press Ctrl+G, and click Special.Then, you select Blanks, click OK, and press Ctrl+- to open Excel's Delete options.The problem is that this method selects blank cells, not blank rows.
If every blank cell belongs to a completely empty row, it works well.Unfortunately, many real-world datasets aren't that tidy, and you're likely to end up losing data you wanted to keep.Pros Cons Very quick Can remove the wrong data Built into Excel Requires you to understand your dataset Verdict: I avoid this method every time.
The risk of deleting valid data is too high.Helper columns find blank rows without guessing A formula gives you a reliable way to check before deleting For one-off cleanups, turning the dataset into a table and using a helper column is the built-in method I trust most because it lets you identify completely empty rows before deleting anything.The main drawback is that it removes entire worksheet rows, so make sure there isn't important data next to your table before continuing.
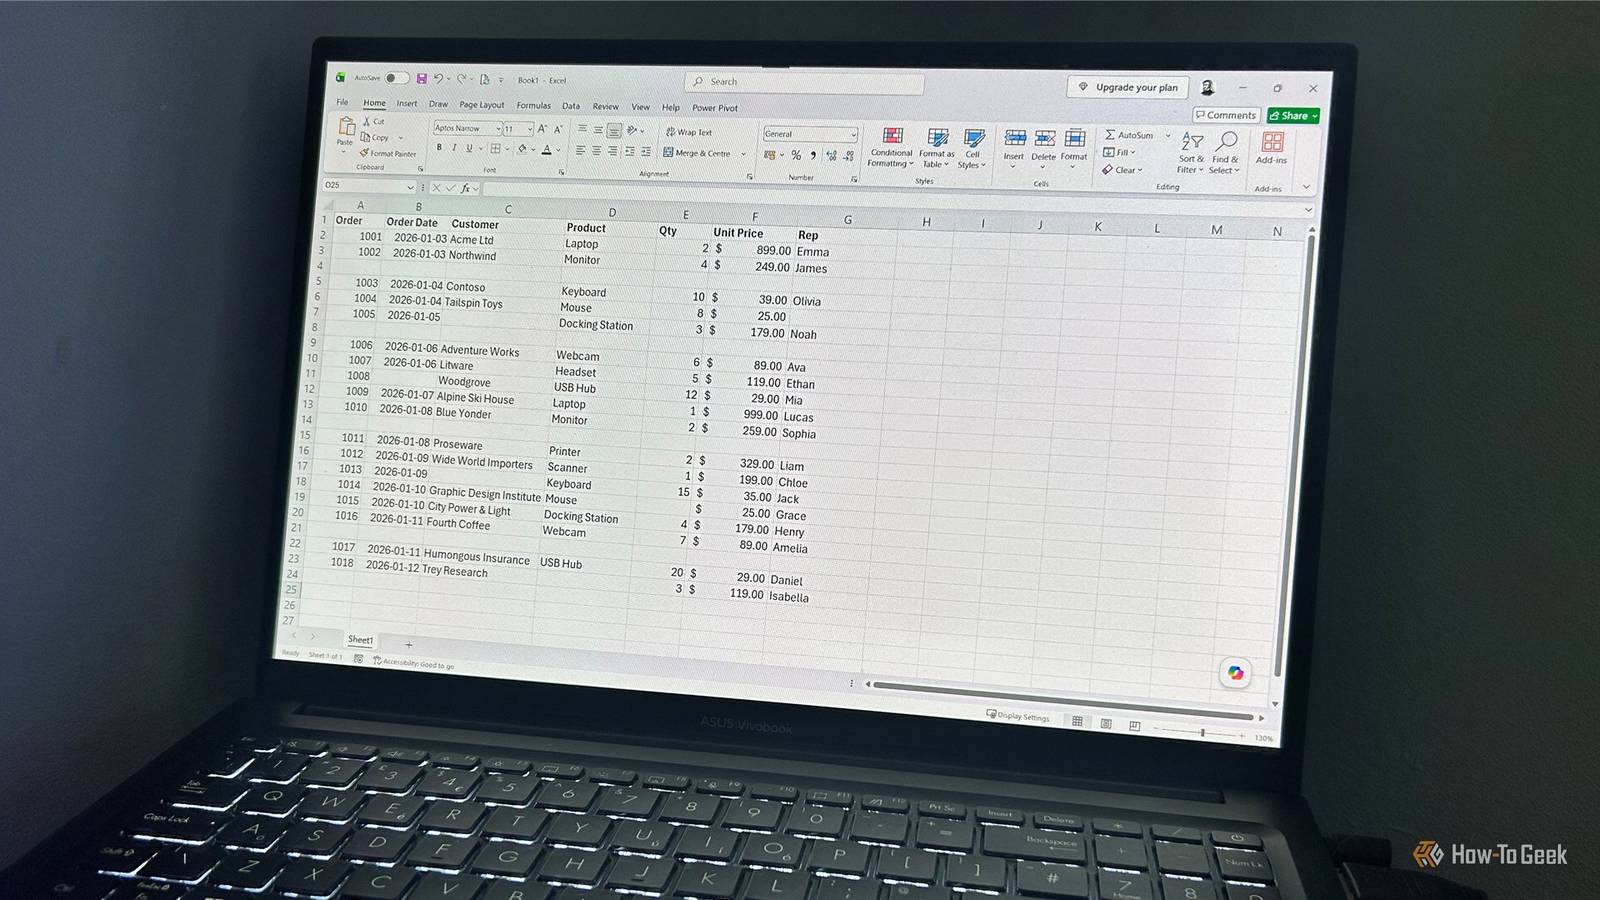
First, organize your dataset: Convert your data into an Excel table with Ctrl+T.Add a new column called something like BlankCheck.If your table is called "T_Sales" and your data columns run from "Order" to "Rep," type this into the first cell beneath that heading: =COUNTA(T_Sales[@[Order]:[Rep]]) Press Enter, and Excel automatically fills the formula down the table.
Any row containing data will return a number, while a completely empty row returns 0.Close Then: Filter the BlankCheck column for 0.Select the filtered rows in the table.
Right-click the selection and choose Delete > Entire Sheet Row.Remember that this removes the entire worksheet row, not just the data inside your table.Clear the filter.
Remove the helper column.Close Pros Cons Safe and transparent Requires a temporary column Works well on messy datasets Deletes entire worksheet rows Lets you review before deleting Not ideal for repeated cleanup Verdict: The best built-in option for cleaning a spreadsheet once.Power Query removes blank rows with a clean, repeatable process A reliable option for both one-off cleanups and recurring workflows Power Query is one of the cleanest ways to remove blank rows in Excel.
Unlike manual deletion, it applies the cleanup as a transformation, so you can review the result before bringing it back into your workbook.It also removes only completely blank rows, leaving records with individual blank cells intact.After converting your data to a table and selecting a cell within it: Go to Data > From Table/Range.
In Power Query, go to Home > Remove Rows > Remove Blank Rows.Click Close & Load to return the cleaned data to Excel.Close The only thing to note is that this method creates a new output table rather than replacing your original data.
For a one-off cleanup, that means you may need to replace your old table with the cleaned version.For recurring workflows, though, it becomes a major advantage because you can refresh the query and repeat the same cleanup automatically.Pros Cons Clean and reliable cleanup Creates a separate output table Works well for one-off jobs Requires some setup Can repeat the same cleanup automatically Requires learning Power Query Verdict: A great all-round option that keeps blank row removal clean, accurate, and repeatable.
A PERSONAL.XLSB macro turns blank row removal into one click The fastest option when cleanup is part of your routine If removing blank rows is something you do regularly, a small VBA macro turns the task into a one-click job.I store mine in PERSONAL.XLSB and add it to the Quick Access Toolbar (QAT), so it's available in every workbook.Don't already have a PERSONAL.XLSB workbook? Record any temporary macro and choose Personal Macro Workbook as the storage location.
Excel will create it for you, and you can delete the temporary macro afterward.To set it up: Press Alt+F11 to open the VBA editor.Insert a new module in PERSONAL.XLSB.
Paste the macro below into the new module.Close the VBA window, then add the macro to the QAT.Sub DeleteEntirelyBlankRows() Dim ws As Worksheet Dim LastRow As Long Dim i As Long Set ws = ActiveSheet LastRow = ws.UsedRange.Rows.Count + ws.UsedRange.Row - 1 Application.ScreenUpdating = False For i = LastRow To 1 Step -1 If WorksheetFunction.CountA(ws.Rows(i)) = 0 Then ws.Rows(i).Delete End If Next i Application.ScreenUpdating = True End Sub Close When you click the toolbar button, the macro works from the bottom of the sheet upward, preventing deleted rows from affecting the ones still waiting to be checked.
Pros Cons One-click cleanup Requires initial setup Works across workbooks Unnecessary for occasional use Perfect for repeated tasks Requires maintaining a macro Verdict: The method I use most often because it turns a repetitive task into a simple toolbar button.Not every method deserves a place in your workflow After testing all six methods, I found myself coming back to just three.A helper column is my favorite built-in option for one-off cleanups, Power Query is the cleanest all-round option, and my PERSONAL.XLSB macro is the easiest reliable option once set up.
Manual deletion and F4 are still useful for quick jobs, but I'd reserve them for small spreadsheets.As for Go To Special, I'd skip it altogether.
Read More