My home network has grown into a small lab with computers, virtual machines, storage devices, and plenty of other things that occasionally decide to behave strangely.When something goes wrong, figuring out what happened can be difficult because the useful information may already be gone by the time I start investigating.I wanted a small machine that could quietly watch the network and keep enough information around to help me understand what happened.
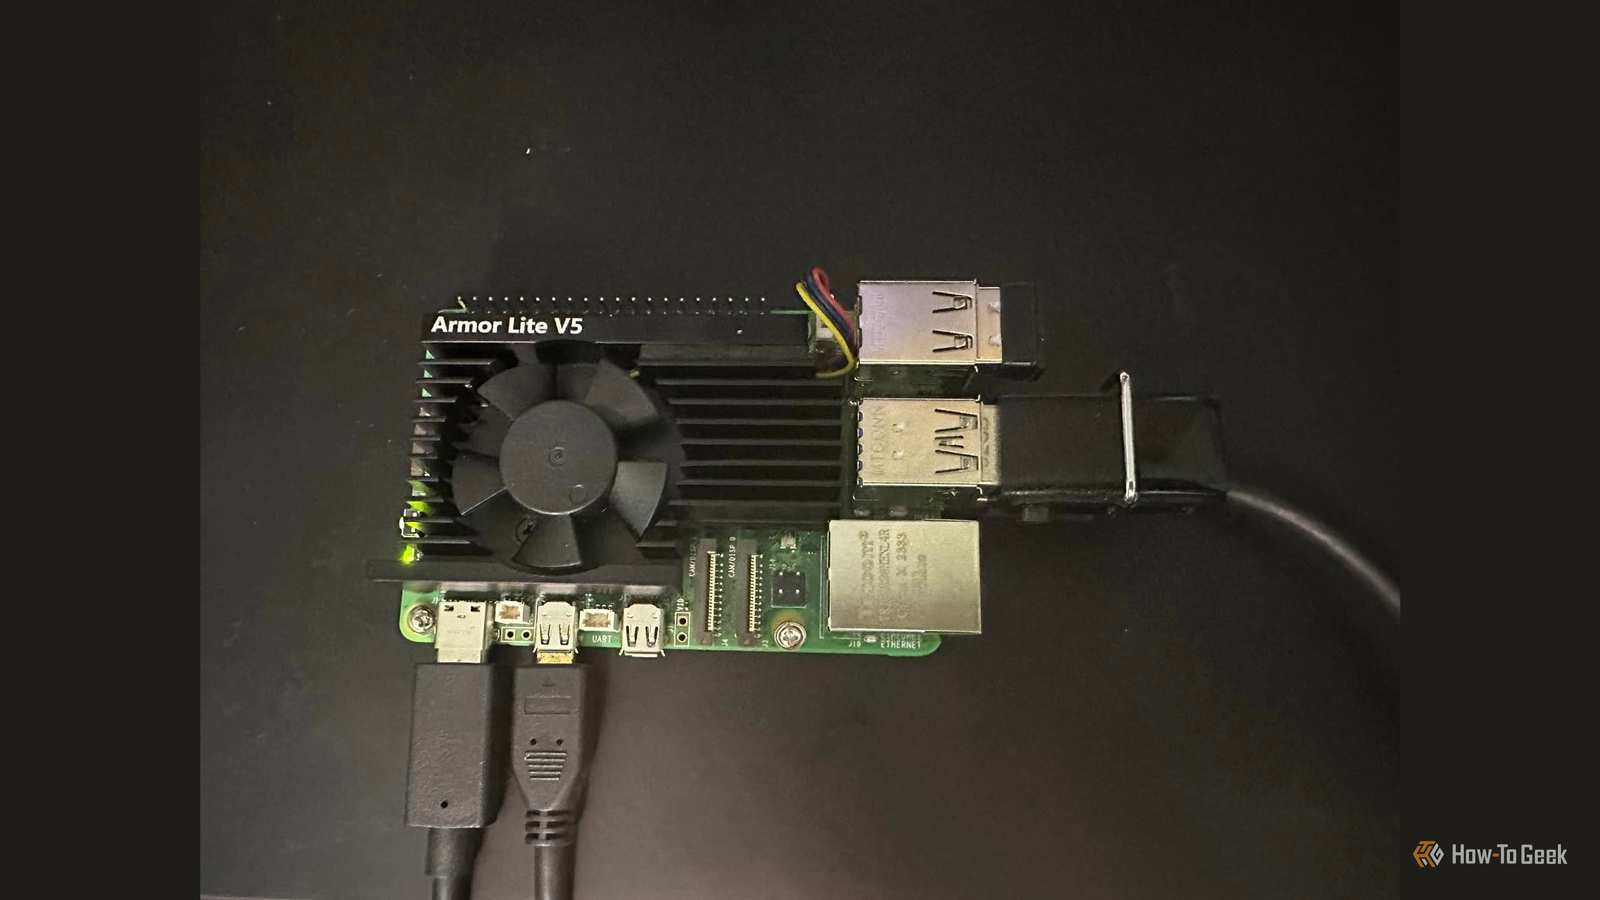
I already had a Raspberry Pi 5 with 8GB of RAM and a 128GB SSD, so I decided to turn it into a network black box using Docker and ntopng.The Raspberry Pi becomes a network observer I used a headless raspberry pi Close The Raspberry Pi 5 is running the 64-bit headless version of Raspberry Pi OS.There is no desktop environment, which is fine because I can configure everything over SSH and access ntopng through its web interface.
The SSD gives me a much better place to keep application data and historical network information than a microSD card.I also use fan cooling because this Pi will be processing network traffic continuously.Related 6 subscriptions you can replace with a $45 Raspberry Pi No RAM, no problem.
Posts 21 By Tim Brookes The only other important piece of hardware is a managed switch with port mirroring.The Raspberry Pi does not sit between my router and the rest of the network.Instead, I configure my managed switch to mirror traffic to the Pi’s Ethernet port.
The switch continues forwarding normal traffic while sending a copy to the Raspberry Pi.That means the monitoring system can reboot or stop working without taking my network down with it.Docker runs ntopng Installing the container ntopng is an open-source network traffic monitoring tool that turns network traffic into a visual dashboard.
It can show connected hosts, bandwidth usage, protocols, applications, traffic flows, and historical activity, making it easier to understand what is happening across a network without manually inspecting packet captures.For this project, ntopng turns the traffic copied from my managed switch into something I can investigate in a web browser.I installed Docker on the headless Raspberry Pi OS system and created a directory for the project: curl -fsSL https://get.docker.com | sh sudo usermod -aG docker "$USER" Related I bought a 10GbE switch for my 1GbE network, and it’s not as crazy as it sounds It looks like an unnecessary upgrade at first, but there is more to the decision than simply wanting faster Ethernet.
Posts By Umair Khurshid After logging out and back in, I checked that Docker was working and I then created a directory for ntopng: mkdir -p ~/network-blackbox/ntopng cd ~/network-blackbox I use Docker Compose because it makes the configuration easier to reproduce.My compose.yml looks like this: services: ntopng: image: ntop/ntopng_arm64.dev:latest container_name: ntopng restart: unless-stopped network_mode: host command: - --community - -i - eth0 The important part here is network_mode: host.The Ethernet interface is receiving the mirrored traffic, so ntopng needs access to that interface rather than sitting behind Docker’s normal bridge networking.
If your interface is not called eth0, check it with: ip link Then change the interface in the Compose file.I start ntopng with: docker compose up -d ntopng gives me the network black box The dashboard shows what is happening I can now open ntopng from another machine on the network: http://address:3000 The first login uses the default credentials provided by the container, after which I can change the password.The dashboard gives me a much more useful view of the network than raw packet capture.
I can see hosts, traffic volumes, protocols, interfaces, and which devices are generating traffic.If something suddenly consumes a lot of bandwidth, I can identify the host responsible.If a device starts communicating heavily with another machine, I can investigate that relationship from the dashboard.
The historical information is what makes the setup interesting.I do not need to be staring at the dashboard when something goes wrong.I could have used Malcolm It's advance but I ran out of RAM I did consider using Malcolm for this project.
Malcolm would make the setup considerably more involved and provide a much larger network traffic analysis stack.It is something I would like to experiment with when I have more hardware available.The problem is that I don’t have a 16GB model (if you have the 16GB model, go for it).
I may buy one in the future, but for now I have other things to spend money on before buying more Raspberry Pi hardware just to give my network monitoring setup more RAM.So, for now, ntopng is doing the job and, honestly, I like the simplicity.I do not need an enormous monitoring stack to answer the questions I actually have about my home network.
Related 5 Great Linux Utilities to Monitor Your System Resources in the Terminal Because the core utilities don't do it all.Posts 3 By Graeme Peacock Pi has become a watchdog The monitoring system is not a router, firewall, or gateway.It simply watches a copy of the traffic and turns that activity into information I can investigate later.
That makes it a useful network black box.When something breaks, I can check what the network was doing around the time of the problem instead of trying to guess what happened.For a small home lab project, that is a pretty useful second career for a Raspberry Pi.
Read More