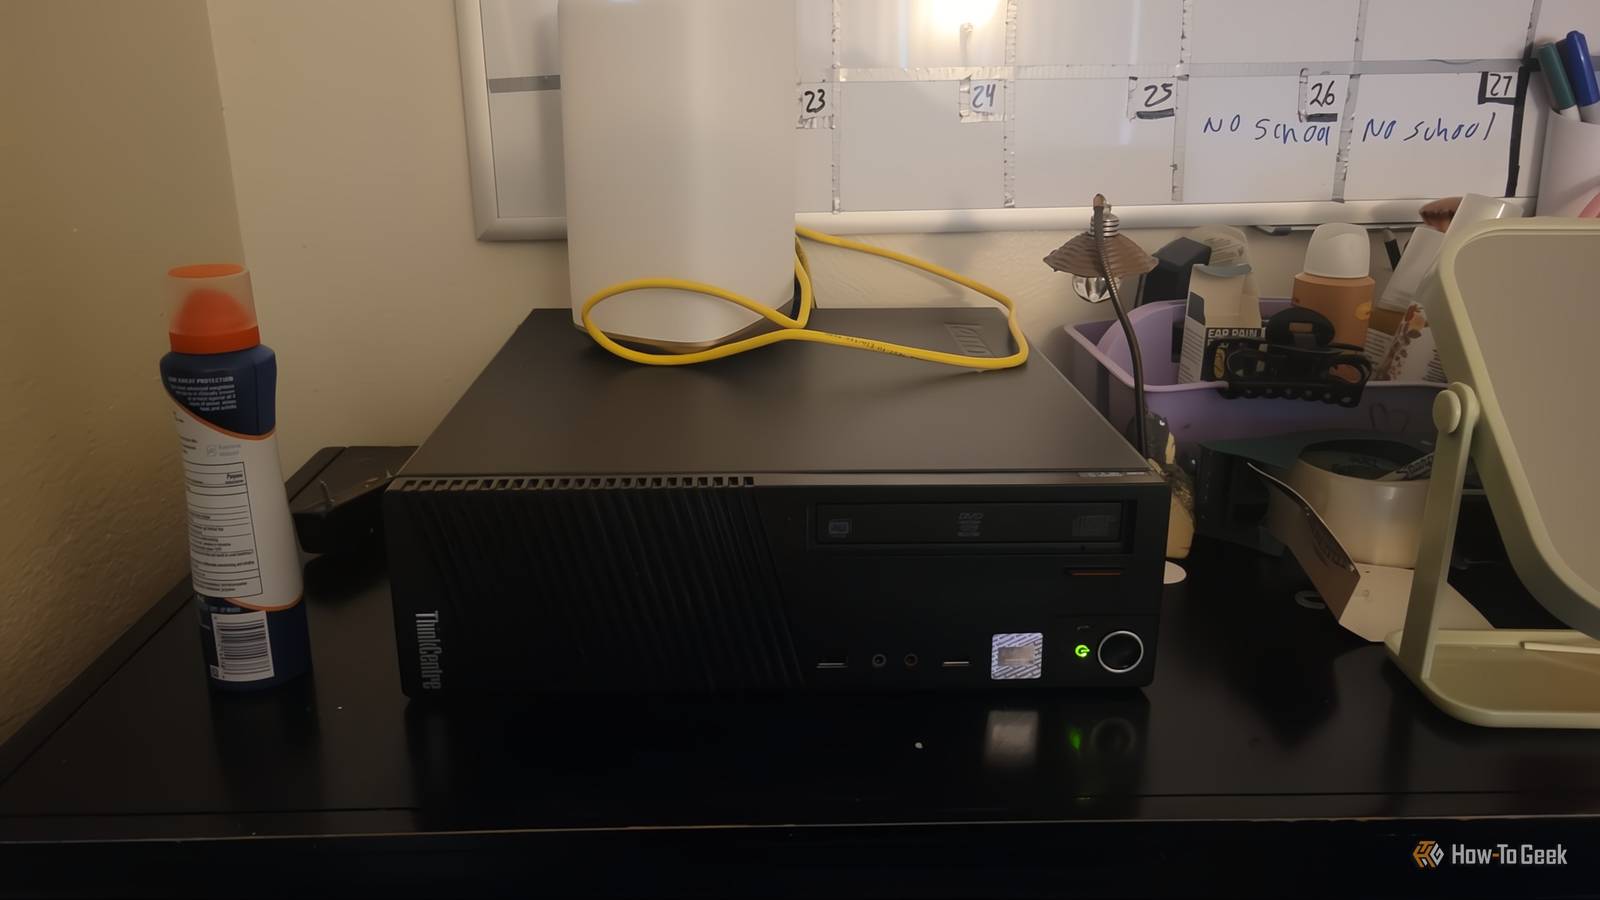
My phone kept nagging me about storage, and every warning came with a button to pay for more.I'd been renting space for my own images for years, and the price only ever moved in one direction.Then I looked at the old desktop gathering dust in my closet and wondered if it could do the job.
It could, but I could have done it faster had I known what I know now.Just make sure you have an 8GB flash drive to start with.Add How-To Geek on Google Add as Preferred Source Follow on Google Discover An old PC is all you need for a photo server OpenMediaVault turns that PC into a storage box I was one of those people who watched my cloud photo bill sneak up year after year.
It feels like your storage fills up right before the price jumps, and all of a sudden you're paying every month just to reach pictures you already own.On top of that, your whole library sits on somebody else's machines, behind a paywall.There's not a lot of privacy when you could lose access to it at any moment.
A home photo server you build yourself fixes all of that.You own your files completely, there's nothing to pay each month, and you don't have to buy a pricey pre-built NAS box.All you really need is an old desktop you've likely already got sitting around.
The software I used was OpenMediaVault (OMV).It basically turns your old PC into a NAS.Once it's set up, you won't need a monitor or keyboard hooked to it.
You manage the whole thing from a web browser on any device on your home network.It's light on resources too, so older hardware gets along fine.I haven't had any issues, even though my PC is older, and I bought it cheap to begin with.
You just need a 64-bit desktop, a flash drive to boot the OS from, an Ethernet hookup, and some extra USB drives for storage.Grab the OMV installer, flash it to a USB stick with a free tool called Rufus, plug the stick into your PC, and run the install.That's about all there is to it.
For networking, you run an Ethernet cable straight from the server to your router, which keeps speeds high and latency low.External USB 3.0 drives work great for storage.Once the drives are plugged in, OMV mounts them and shares them across your home network.
That's the whole setup.You can get this installed in an afternoon Rufus gets the installer onto your flash drive Close To get the OS onto your flash drive, you'll need to grab the official OpenMediaVault ISO from the website and download Rufus to your main PC.Plug in your empty flash drive and open Rufus.
It should pick up your drive automatically in the device dropdown.Hit the Select button next to the boot selection field, find the OpenMediaVault ISO you downloaded, and choose it.Leave the partition scheme and target system settings alone.
Rufus figures those out on its own, and the defaults work fine for most computers.Click Start at the bottom.If it asks you to pick between ISO mode or DD image mode, go with ISO.
You'll get a warning that everything on the flash drive will be wiped.Click OK and let Rufus do its thing.When the progress bar goes fully green and shows Ready, eject the drive, plug it into your server PC, and power it on.
Repeatedly press your motherboard's boot menu key (usually F12, F11, F8, or F2) when it starts up and select the USB drive to kick off the installation.Once the installer loads, it'll ask you to give your server a hostname and set a root password.Write that password down somewhere safe because you'll need it from now on.
When it comes back up, you'll see the machine's local IP address on screen.That means it's ready, and you can open a browser to start configuring it.I left this mostly alone and just changed my password, added users, and set up a few storage drives.
I also hid it from other PCs on my network.You can set it up however you'd like; just make sure you save and apply the changes.Self-hosting has limits you should know about Google Photos is still the easier choice for some people Self-hosting your photos is great, but security and storage are on you.
External USB drives aren't as reliable as drives wired straight to a motherboard.The connection can drop, or the controller can glitch, and you could lose data.A single external drive isn't a backup either.
It's just one copy.If that drive dies, those photos are gone.That's the main reason some people are better off sticking with Google Photos.
Commercial services handle all the infrastructure for you.Google keeps copies in more than one data center, handles security updates for you, and lets you get to your photos from anywhere with no setup.When you run your own server, every bit of that becomes your job.
You should follow the 3-2-1 backup rule.This is just three copies of your data, on two different types of storage, with one copy kept off-site.Tools like BorgBackup or Restic can automate a lot of it.
They can schedule backups, skip duplicate files, encrypt everything, and send copies off-site.You still have to set it up and keep an eye on it.Running a desktop PC around the clock doesn't add as much to your power bill as you'd think, but it isn't free.
You'll need to handle software updates and the occasional maintenance job.If you ever want to reach your photos from outside your home network, you'll need a VPN or a reverse proxy to do it safely.It's great, but it costs you time Self-hosting makes sense if you're comfortable with home networking, enjoy tinkering, and care about owning your data.
But if you just want something that works without thinking about it, Google Photos or a similar service is still the easier pick.OpenMediaVault OS Linux, Mac, Windows Mobile App No Cost free OpenMediaVault lets you turn any old computer into a storage system that can rival a regular NAS.Get it here Expand Collapse
Read More