It may sound like a medical condition, but fuzzy skin is a slicer trick that can “fix” one of the biggest complaints about 3D printing.It’s easy enough to enable the setting, but there are some things you should keep in mind when deciding whether or not to use it and which settings are best.Here’s what you need to know.
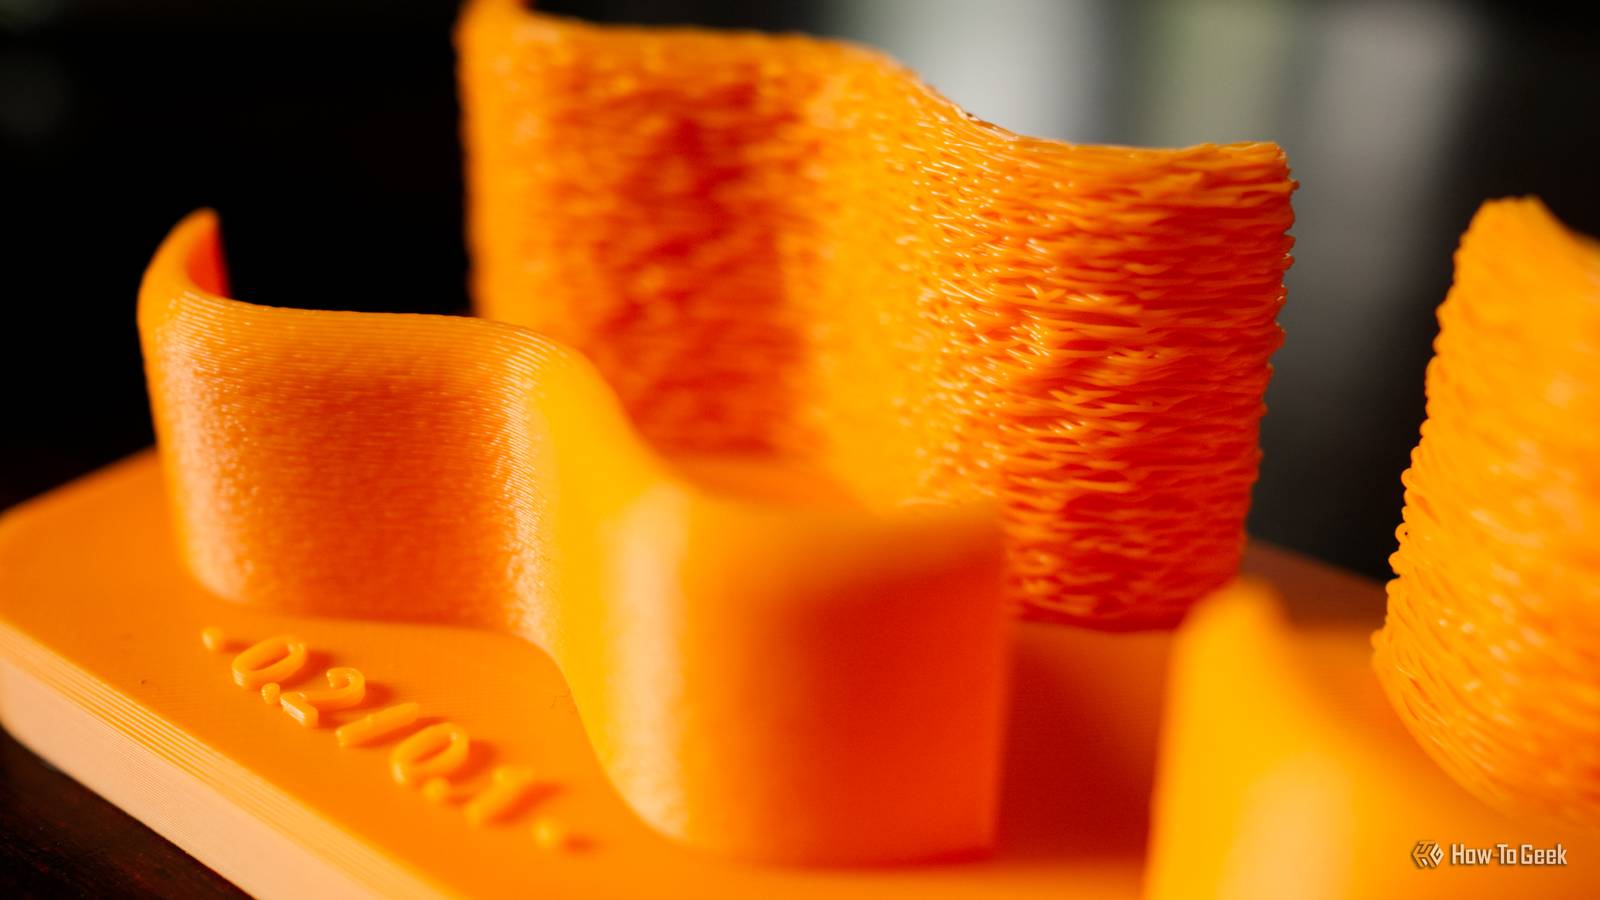
What is fuzzy skin? Hide those layer lines with a textured finish Fuzzy skin is a technique that can help hide visible layer lines and other imperfections that are inherent to 3D printing.These occur as a result of layers of filament being deposited on top of one another, since 3D printers build objects layer-by-layer.It works by adding an uneven texture to the surface of a model using small nozzle movements or by varying extrusion flow during printing.
It applies mainly to the sides (vertical edges) of models.It can also make a difference on curved edges, though it doesn’t affect flat surfaces.The end result is a bit like the effect you see on the bottom layer of a print when using a textured PEI print bed.
The technique only applies to the outer surfaces of a model; the infill is not affected.Your slicer should allow you to pick whether the effect is applied to the outermost contours, contours and walls, or specific areas of your choosing.Fuzzy skin isn’t just good for hiding layer lines; it can also make unsightly seams imperceptible and even eliminate ghosting (also known as ringing and echoing) that is caused by vibrations and sudden movements when printing.
Enabling fuzzy skin requires more than simply ticking a box to get good results.You can adjust how fuzzy skin is generated by switching between displacement (nozzle movements), extrusion (extrusion flow), or combined (both).You can also pick between different patterns, point distance (to control density of the effect), thickness, or whether the first layer of your print should also be fuzzy.
When you should use fuzzy skin How to enable it and which settings to use Fuzzy skin obfuscates layer lines by creating an uneven texture wherever it is used.Models that are printed with fuzzy skin are consistent but not smooth, whereas those without it might not be entirely consistent but have a better chance of producing smooth sections.Perhaps the best use case scenario is items that don’t require a high level of detail.
For example, one Reddit user deployed fuzzy skin with excellent effect on a necklace stand.The model doesn’t immediately appear to have been produced on a 3D printer because the layer lines aren’t visible, and the fuzzy skin doesn’t get in the way of its intended purpose.The texture of fuzzy skin can also add extra grip to an item that might need it, like phone cases or grips.
It’s also ideal where the texture of the item suits an uneven finish, like items that are supposed to look like metal, fur, or wood.Sometimes, you might just want to enable the feature as a stylistic choice if you’re tired of the usual finish.Dialing in your fuzzy skin settings is important.
Making changes to the thickness and point distance can drastically alter the effect, along with the pattern and mode you choose.Thankfully, all of these effects are visible in your slicer before you print, so you should experiment and match the fuzzy skin settings to the object you are printing.You can also print a fuzzy skin test (like this one or this one).
For example, Bambu Studio’s default fuzzy skin settings (once the feature is enabled on the Other tab) use a distance of 0.8 mm and a thickness of 0.3 mm for a rough look: By contrast, a thickness of 0.05 mm with a distance of 0.4 mm (using the same traditional pattern and displacement mode) looks like this: Smaller numbers will get you closer to the look of a textured built plate, while larger numbers mean a fuzzier look.While the slicer will give you a good idea of what to expect, printing your own models is the only way to tell for sure.Fuzzy skin has its downsides, too Use it sparingly Arguably the best way to deploy fuzzy skin is by painting it on using your slicer’s fuzzy skin painting tool.
This allows you to only use the effect in areas where you need it, rather than coating the whole model.You can also choose different fuzzy skin settings like Contour, which only applies to the outer edge of the model while leaving anything that appears like a hole to your slicer intact.The main downside of using fuzzy skin is that it will slightly affect your model’s tolerances.
If you’re printing something that needs to be an exact fit, fuzzy skin is arguably not the right choice.Fuzzy skin will also add print time to your models, though how much depends on the exact settings that you use.If the effect is used on all walls, it may also weaken the model slightly.
Bambu Labs A1 mini 3D Printer Build Volume 180x180x180 Printing Speed 500mm/s The Bambu Lab A1 mini 3D printer is ready to go out of the box and can have you printing within 30 minutes.Offering full-auto calibration, this compact 3D printer features a 180mm build volume and is compatible with the AMS Lite for multi-color printing.It also features built-in vibration and flow-rate calibration, which are typically features only found on more premium printers.
$299 at Bambu Lab Expand Collapse Bambu Lab P2S Build Volume 256x256x256mm Printing Speed 600mm/s The Bambu Labs P2S 3D printer is ready to go out of the box and can have you printing within 15 minutes.It features up to 20-color printing with the AMS unit, has an upgraded built-in camera for remote monitoring and time lapses, and has an enclosed body for printing even high-temperature filament.$549 at Bambu Lab $549 at bhphotovideo $550 at Micro Center Expand Collapse Bambu Lab PLA Basic Filament Bambu Lab's PLA Basic filament comes in a wide range of colors and ships on a reusable plastic spool.
With embedded RFID chips in each spool, you simply place the filament in the AMS and your 3D printer knows exactly what it's working with—down to the color.$23 at Bambu Lab $23 at Best Buy Expand Collapse You can easily tweak and apply fuzzy skin settings in a slicer like Bambu Studio, but don’t miss out on these other useful features.Alternatively, consider giving OrcaSlicer a shot for even more print customization.
Read More