Your passwords are the keys to your entire digital life, so it only makes sense to prioritize their security.Now, Bitwarden is genuinely one of the best password managers out there, but there’s an even more private and secure setup available.What’s more, you get this extra layer of privacy without sacrificing any of the familiar convenience—and it’ll cost you $0 and less than an hour to set up.
What went wrong with Bitwarden? The times are changing Nothing actually went wrong with Bitwarden.It’s still a rock-solid, free, open-source password manager.The real issue is that I’ve stopped trusting cloud providers with my personal data in general.
Cloud services are useful, and they make sense for certain things—like storing data you’d be comfortable sharing publicly anyway.But as more of our lives move online, handing over your most sensitive information to someone else’s servers starts to feel like a bad idea.Now, the folks at Bitwarden almost certainly aren’t doing anything malicious with your passwords—and technically can’t, since everything is encrypted end-to-end—but that’s not really the point.
Cyberattacks happen.Vulnerabilities get discovered.We’re already seeing frontier AI models capable of autonomously finding zero-day exploits at scale, like Anthropic’s Claude Mythos, which reportedly uncovered thousands of previously unknown vulnerabilities during internal testing alone.
Even well-intentioned companies with strong security practices can still get caught off guard.But if the big players aren’t safe, what chance do we have? Well, our small size is exactly the point.Because those companies are big, they’re targets.
Attackers can spend time and resources trying to break into Bitwarden.But there’s a significantly lower chance they’ll waste those same efforts on you or me.Related Why owning your own data matters more than ever The cloud may be convenient, but it's anything but secure.
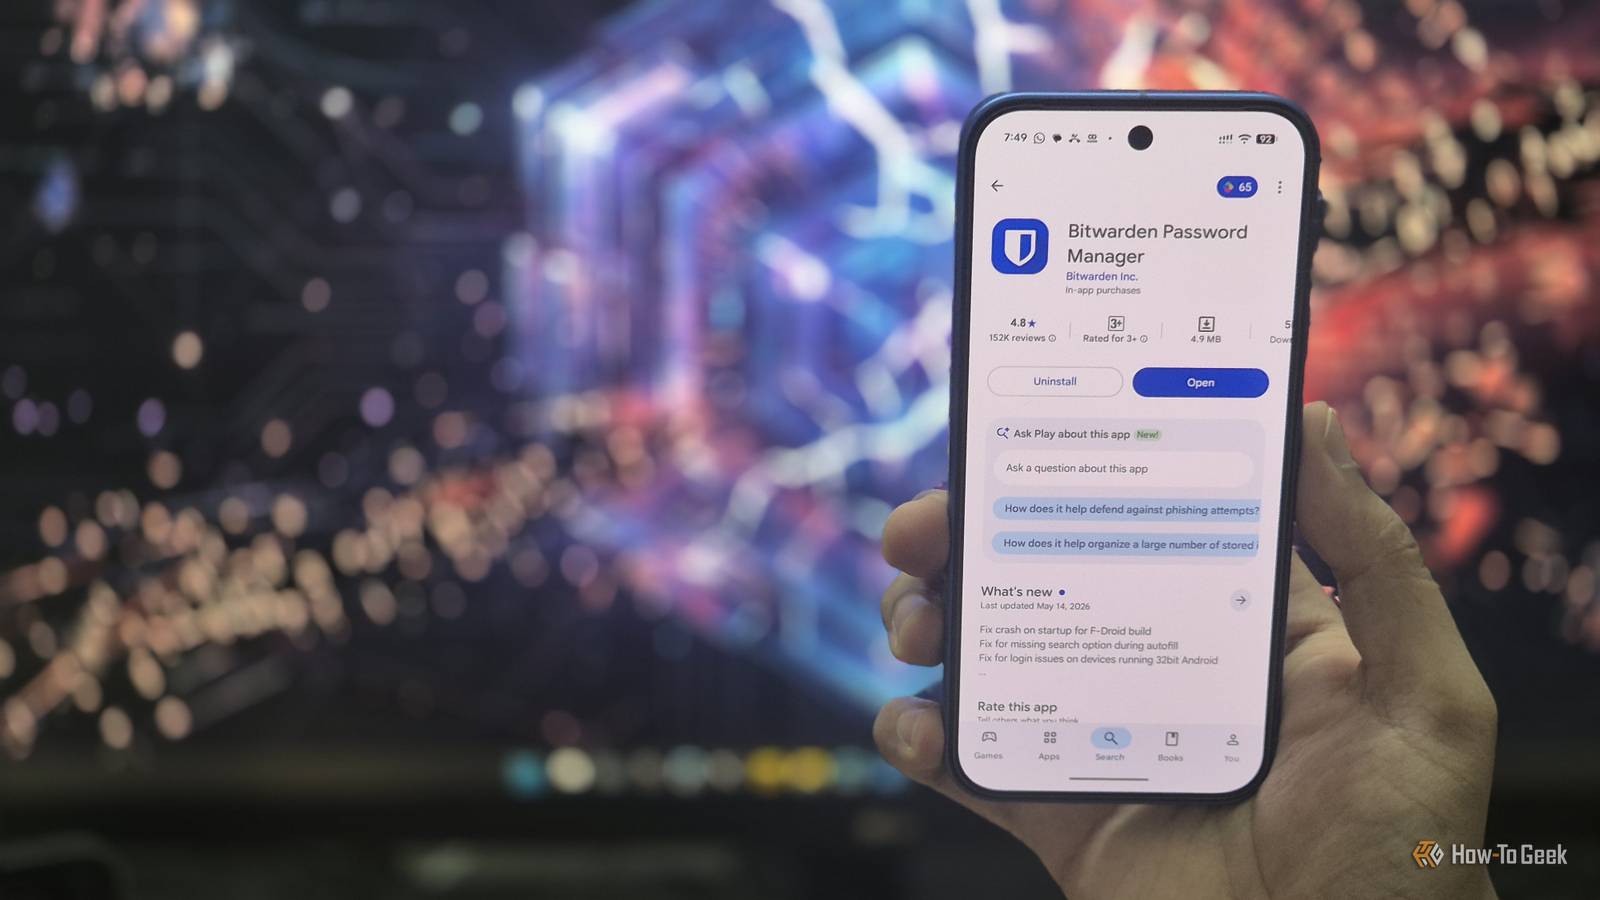
Posts By Patrick Campanale But which password manager is good enough to replace Bitwarden? You still use Bitwarden the app—just not their cloud servers Like I said, I don’t have a problem with Bitwarden.I just have a problem with keeping my passwords on cloud servers.Fortunately, there’s a way to keep using Bitwarden while storing all your data on your own system.
You see, Bitwarden has two parts.There’s the client side, which includes the browser extension and mobile app you use to generate, store, and autofill passwords.That part runs locally on your device.
Then there’s the server side, which is where your encrypted password vault actually lives.By default, that server is hosted on Bitwarden’s cloud.Bitwarden doesn’t officially provide an easy way to self-host that server.
That’s where Vaultwarden comes in.It’s an unofficial, open-source reimplementation of the Bitwarden server API.It’s lightweight, built in Rust, and runs comfortably on a home PC.
With Vaultwarden, you can keep using the official Bitwarden apps on all your devices—you just point them to your own server instead of Bitwarden’s cloud.Related The password advice you've been following for years is actually dangerous From predictable patterns to "security fatigue," forced password rotation creates the very vulnerabilities hackers rely on to succeed.Posts 10 By Tony Phillips How to set up your self-hosted password manager It costs $0 and takes less than 30 minutes The actual Vaultwarden installation takes less than a minute.
But the full setup can take around 20 to 30 minutes because of the extra configuration involved.Here’s a step-by-step guide to getting Vaultwarden up and running.Step 1: Install Docker Vaultwarden officially recommends using Docker for installation.
If you already have Docker installed on your system, you can skip this step.If not, follow this guide to set it up first.Thankfully, it’s fairly straightforward and shouldn’t take more than 10 to 15 minutes.
Step 2: Install and configure Tailscale Running Vaultwarden as a local password server creates two problems.First, local servers typically use HTTP, which the Bitwarden app and browser extension won’t accept because they require an HTTPS connection.Second, because it’s local, only devices on your home network can connect to it by default.
That means if Vaultwarden is running on your desktop PC and you’re out on vacation, you won’t be able to access your passwords.The solution to both problems is Tailscale—a VPN built on WireGuard that connects all your devices into a private network.It also gives your machine a proper domain name with a valid SSL certificate, which is exactly what you need here.
Follow this guide to install Tailscale on your system.Once it’s running, head to login.tailscale.com/admin/dns and enable two settings: MagicDNS and HTTPS Certificates.MagicDNS gives your machine a hostname that looks like your-machine.tail1a9a9b.ts.net.
HTTPS Certificates lets you generate a real SSL certificate for that hostname through Let’s Encrypt.Step 3: Generate your SSL certificate Create a folder where you’ll keep your Vaultwarden files—something like C:\vaultwarden.Right-click inside that folder, open a terminal, and run: tailscale cert your-machine-name.your-tailnet.ts.net This will generate two files in that directory: a .crt file and a .key file.
These are your SSL certificate and private key.Step 4: Create the Docker files In the same folder, create a new folder called data—this is where all your Vaultwarden data will live.Then create a new text file, paste the following into it, and save it as docker-compose.yml: services: vaultwarden: image: vaultwarden/server:latest container_name: vaultwarden restart: unless-stopped volumes: - ./data:/data - ./your-machine.your-tailnet.ts.net.crt:/ssl/crt.pem - ./your-machine.your-tailnet.ts.net.key:/ssl/key.pem ports: - "8223:80" environment: - DOMAIN=https://your-machine.your-tailnet.ts.net:8223 - ROCKET_TLS={certs="/ssl/crt.pem",key="/ssl/key.pem"} Replace your-machine.your-tailnet.ts.net in both the volume paths and the DOMAIN variable with your actual Tailscale hostname.
Port 8223 is the external port you'll use to access Vaultwarden—you can change it to anything that isn't already in use.Vaultwarden always listens internally on port 80, so the mapping stays 8223:80 regardless.Step 5: Install and access Vaultwarden Open the terminal in the Vaultwarden folder and run: docker compose up -d Docker will pull the Vaultwarden image and start the container.
Once it's done, open your browser and go to: https://your-machine.your-tailnet.ts.net:8223 You should see the Vaultwarden web vault.Create an account here—the email doesn't need to be real since Vaultwarden doesn't send verification emails by default, but using your actual email makes it easier to remember later.Step 6: Connect your Bitwarden apps Open the Bitwarden browser extension, click Self-hosted on the login screen, and enter your Vaultwarden URL.
Save it, then log in with the account you just created.On Android or iPhone, the process is basically the same: open the Bitwarden app, tap the region selector or self-hosted option, enter the URL, and log in.If you’re migrating from Bitwarden’s cloud, go to bitwarden.com, export your vault as a JSON file, and then import it into your Vaultwarden instance through the web vault.
Take this setup one step further with a NAS Self-hosting done right It’s worth noting that Vaultwarden only works when the machine it’s installed on is running.If your PC is off, your passwords won’t be accessible from your phone or other devices.For most people, that’s probably fine—you’re likely at your desk when you need them.
But if you want 24/7 availability, you’ll need to keep that machine running all the time.That’s why I strongly recommend building an always-on NAS (Network Attached Storage) if you’re going down the self-hosting route.It doesn’t have to be expensive—you can repurpose an old laptop, desktop, or even a Raspberry Pi as a NAS and then host Vaultwarden on it.
Better yet, you can use that same NAS to host a bunch of other services and start taking real ownership of your data.Raspberry Pi 5 Brand Raspberry Pi Storage 8GB CPU Cortex A7 Memory 8GB Operating System Raspbian Ports 4 USB-A It's only recommended for tech-savvy users, but the Raspberry Pi 5 is a tinkerer's dream.Cheap, highly customizable, and with great onboard specs, it's a solid base for your next mini PC.
$199 at Amazon Expand Collapse Your passwords are now finally under your full control Moving to Vaultwarden doesn’t mean giving up anything you had with Bitwarden.You keep the same apps, the same browser extensions, and the same autofill experience.The only thing that changes is where your data actually lives—and now, it’s on your machine, not someone else’s server.
For something as sensitive as a password vault, that’s a trade worth making.
Read More