A 3D printer can open so many doors, especially if you’re a fan of spending your weekend flashing microcontrollers and soldering wires to contacts.While many projects benefit from a 3D printer, these absolutely one.Open-SmartWatch A watch that’s both smart open The Open-SmartWatch project combines hardware like an ESP32-powered printed circuit board (PCB) and battery, open-source software, and 3D-printed housing.
It’s available in two versions, the light edition and the GPS edition, with a variety of watch faces, tools, and games available.You can find the necessary STL files for 3D printing on the project GitHub page, while the operating system is on a separate repo.The Open-SmartWatch is not only a DIY project that you can make yourself relatively inexpensively, but has been designed to be hacked and fiddled with.
The project is still active, with new releases of the OS arriving periodically and work continuing on new hardware versions.Watchy is another smart watch alternative that uses a 3D-printed chassis (though injection-molded and CNC cases are also available for purchase).Blu Button An open-source version of the Shelly BLU Button The Blu Button is an open-source Bluetooth button that you can use to do a variety of things around your home.
The project is based on the BTHome standard, which means it works natively with the Home Assistant smart home platform (among others).It also works with the Blu Button Bridge, a separate piece of hardware (also powered by ESP32) that allows you to connect up to eight devices, register different tap sequences, and handle MQTT and GPIO actions based on both Shelly and DIY remote devices.Though the hardware should work just fine once you’ve wired everything up and flashed the firmware, a 3D-printed case is necessary to hold everything in place.
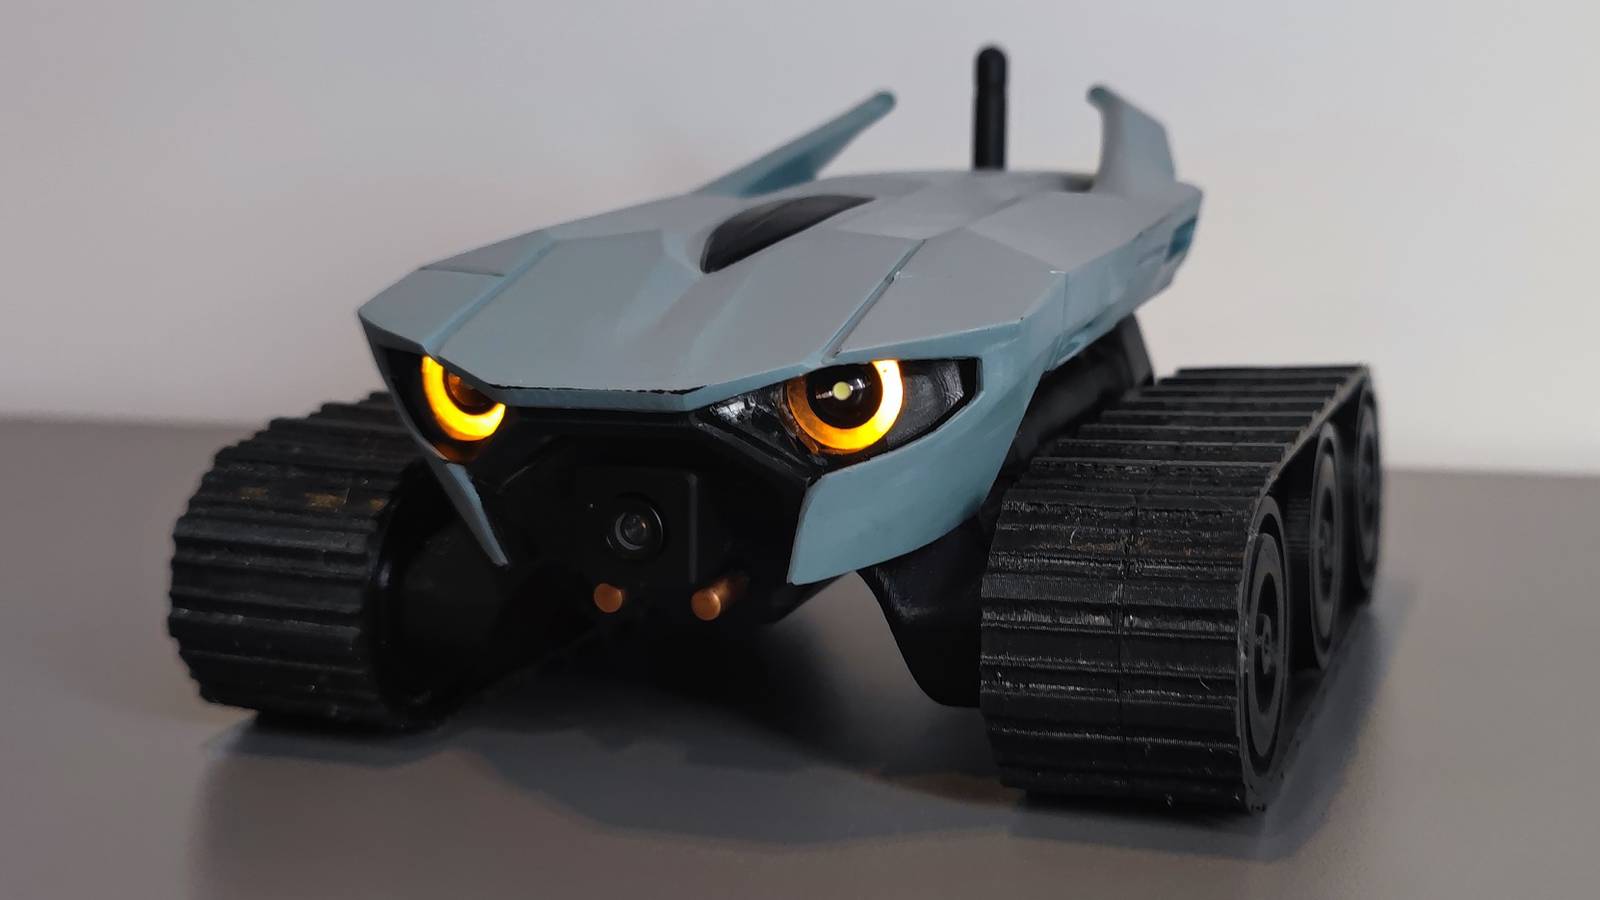
You’ll need to house the ESP32 microcontroller, contain the wiring, secure the battery, and mount the antenna.Project Caretaker remote-controlled robot An ESP32-CAM robot with a web interface Close Project Caretaker is a fairly complex remote-controlled robot project based on the ESP32-CAM microcontroller.It comprises two parts, the robot and the charging station.
The robot uses the microcontroller’s wide-angle camera to broadcast an image back to a web interface, which allows you to see and control what the robot does.The project author has detailed the build in a series of blog posts.To build it, you’ll need a shopping list of parts including a PCB, three lithium-ion batteries, two motors, motor drivers, step-down converters, bearings, charging circuitry, switches, resistors, and LEDs for the sharp-looking eyes (among other bits).
You’ll also need to 3D print the chassis and various other parts (which are also available on Thingiverse).The robot even has its own Home Assistant integration! DIY split-flap display A cheaper way to build your own analog display board I love the Vestaboard premium split-flap display, but it’s way too expensive for me to justify buying one right now.The alternative is a project like Splitflap, an ESP32-based display board that allows you to build your own version at home that can “be scaled up to large affordable displays.” For the uninitiated, a split-flap display is an analog display board that uses a roll of letters, numbers, and symbols to display information that can be updated electronically.
These bridge the gap between analog and digital display tech, and were often used in train stations and airports before the introduction of large and affordable digital displays.The project is fully open-source and free to make, though the hardware bill will add up as your display increases in scope.The current version has 52 flaps per set (with the older 40-flap modules still supported), which you can 3D print yourself as part of the build.
If you’ve always wanted your own working split flap display and you aren’t afraid to get your hands dirty, this is your best bet.Motorized blind controller Why buy smart blinds when you can make your own? The perfect smart blinds can be a nightmare to find.It’s harder to find motorized varieties in the perfect size and style than it is regular old blinds.
The workaround is surprisingly simple: make your own by converting blinds you already love.This motorized blind controller uses an ESP8266 (which is even cheaper than the ESP32, though you should be able to use one of those too).A 3D printer is necessary since the vast majority of the parts will need to be manufactured, including the housing and gearing.
Combine this with a stepper motor and bearings plus a few more bits (wires, breadboards, capacitors, screws), and you have your own motorized smart blind for a fraction of the cost of replacing your window coverings.Looking for another ESP32 weekend project? Check out how you can use fancy motorized faders to control lighting and other parts of your smart home.
Read More