I love Wikipedia, and I've spent many hours of my life sitting in front of my computer, going down the wiki rabbit hole while sipping coffee and listening to music.Add How-To Geek on Google Add as Preferred Source Follow on Google Discover What I love is when the internet goes down, and I lose access to sites I use all the time.Given where I live (South Africa), internet outages aren't as rare as I'd like them to be, but in most cases there's not much I can do about them.
However, when it comes to Wikipedia specifically, you can actually just host the whole thing yourself on your local network using any computer — including a Raspberry Pi.Storage matters more than a powerful Raspberry Pi For once, it's not about RAM There are multiple versions of Wikipedia dumped in ZIM format.The largest is the complete English Wikipedia, which currently weighs in at around 119GB.
This is the version that I chose to download, and that's why I picked an old 1TB USB hard drive I had lying around as the target.While you could use an SD card on your Pi that is large enough to hold the OS and the ZIM file, SD cards aren't very robust, and frequent writing might make them fail.Updating the ZIM files requires downloading and overwriting tons of data.
If a mechanical hard drive doesn't appeal to you, a proper SSD might do the trick.You can use the Linux terminal to download the Wikipedia ZIM to your storage device, but I cheated by just plugging the exFAT-formatted USB hard drive into my Mac and downloading the file to disk that way.Kiwix makes Wikipedia surprisingly easy to take offline All the heavy lifting has already been done The entire reason it's possible to host Wikipedia on your own network is thanks to Kiwix.
It's a project that started out as a way to offer offline access to Wikipedia so that schools and other educational institutions without good internet access could make the data available locally.Today, Kiwix can be used to host much more than just Wikipedia, and you can host multiple knowledge databases on the same computer at the same time.In order to host Wikipedia, you need two things.
First, you need the Kiwix server software, and secondly, you need the Wikipedia ZIM file.The broad steps are: Install kiwix-serve on your server, or use its official Docker container.Download a Wikipedia ZIM file from the Kiwix catalog.
Point it at the downloaded file.Open the server’s local address (for example, http://192.168.1.100:8080) from devices on your network.There are a couple of ways to do this, and the easiest is to use the normal graphical Raspberry Pi OS, though in my case I decided to do it as a headless installation.
This comes with its own set of considerations, so I'm not going to go into that here.Close Even if you use an OS with a desktop environment, it's still easier to install the Kiwix Server from the terminal using these commands: sudo apt update sudo apt full-upgrade -y Following this, reboot your Raspberry Pi, then open the terminal again and type: sudo apt install kiwix-tools Now that the Kiwix server is installed, create a folder for the ZIM file on the storage device of your choice.If you did what I did and used a separate computer to download and copy the ZIM file over to an external drive, just make a note of the path.
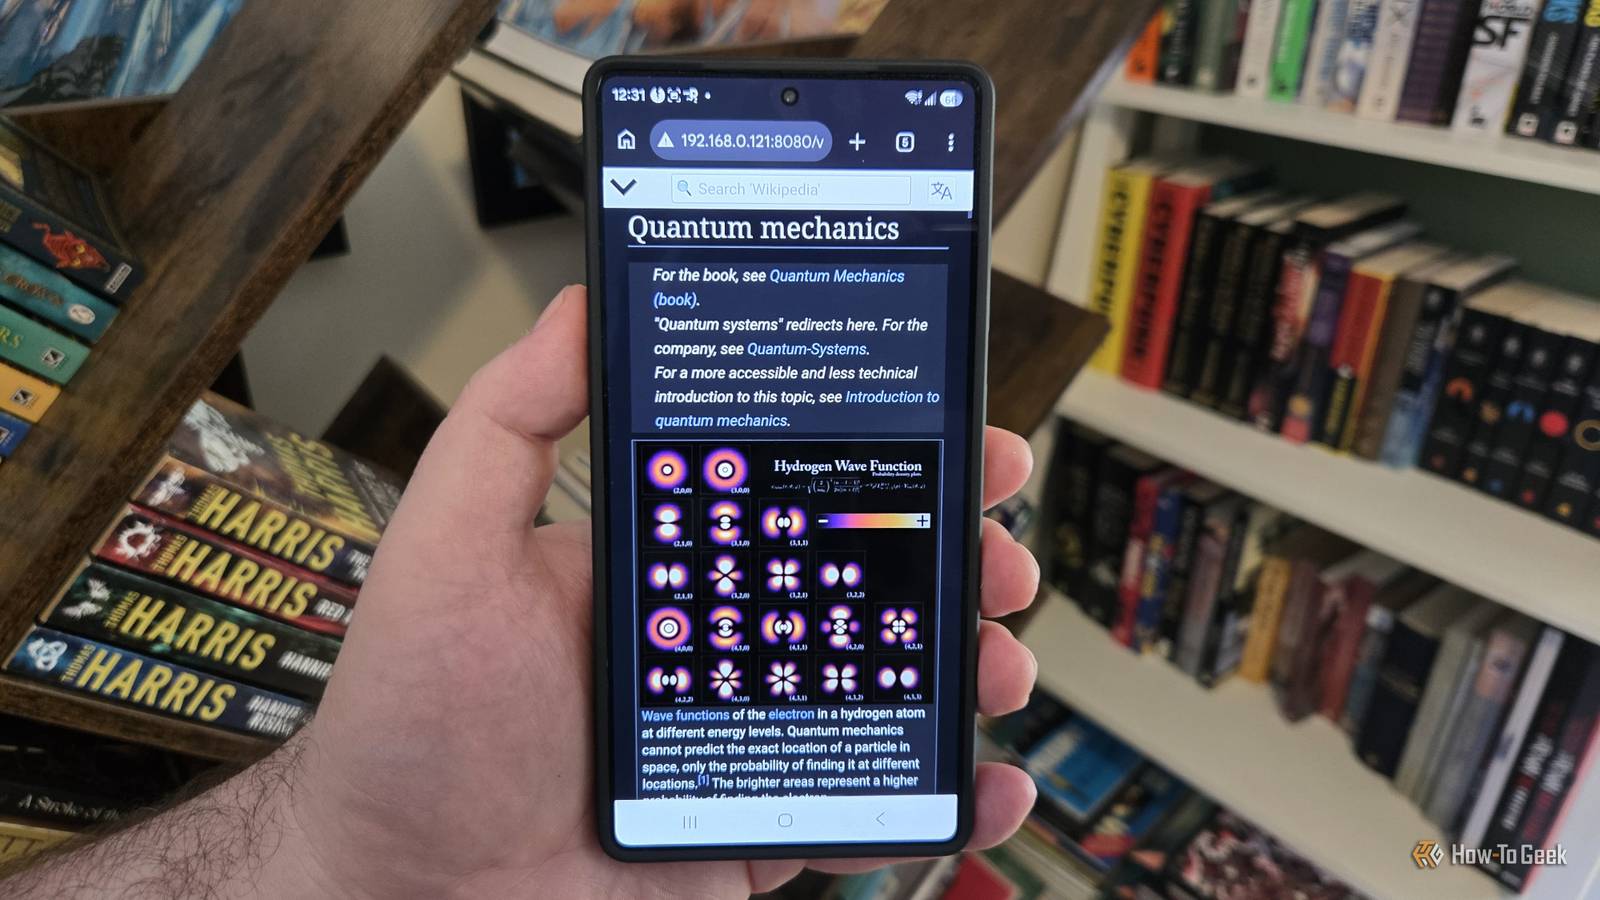
Assuming you put it in a 'kiwix' folder and the file is called "wikipedia.zim" then to start the server, the command will look like this: kiwix-serve --port=8080 "/media/sydney/DRIVE_NAME/Kiwix/wikipedia.zim" Obviously, this should be modified to fit your actual path for the file.To keep it running after closing the terminal or disconnecting SSH, add --daemon: kiwix-serve --daemon --port=8080 "/media/sydney/DRIVE_NAME/Kiwix/wikipedia.zim" Don't run these two commands after each other, choose one or the other, depending on whether you want the server attached to the terminal or not.Once this command runs, you should have access to your local copy of Wikipedia by opening a browser and going to http://192.168.1.123:8080, with your own server's IP address substituted in place of the example.
Everyone on my network can browse it Just type in the right address While the server is running, anyone on your LAN can browse it.I was a little worried that using a hard drive would make it a slower experience, but even with spinning rust it's far snappier than browsing Wikipedia online, even with gigabit fiber.At least in my specific case.
One thing to remember is that you'll have to manually start up the server every time the Pi restarts.However, you can run a Linux program at startup using systemd.Also, you'll want to configure your router to assign a static IP to your Raspberry Pi, or you'll have to look up its current IP every time it's assigned a new one.
My copy of Wikipedia needs the occasional refresh While it is cool to have your own copy of Wikipedia, it's obviously very different from browsing the live web version.It's a snapshot of the contents at one specific point in time.So articles won't get updated automatically.
Periodically, you'll have to replace your ZIM file with a new one.Also, obviously, things like the talk page and editing won't work, because you're not browsing the real, live website.Not that you have this running, adding more ZIM files for other sites like Wiktionary simply requires adding those file paths to the Kiwix server startup command.
Read More