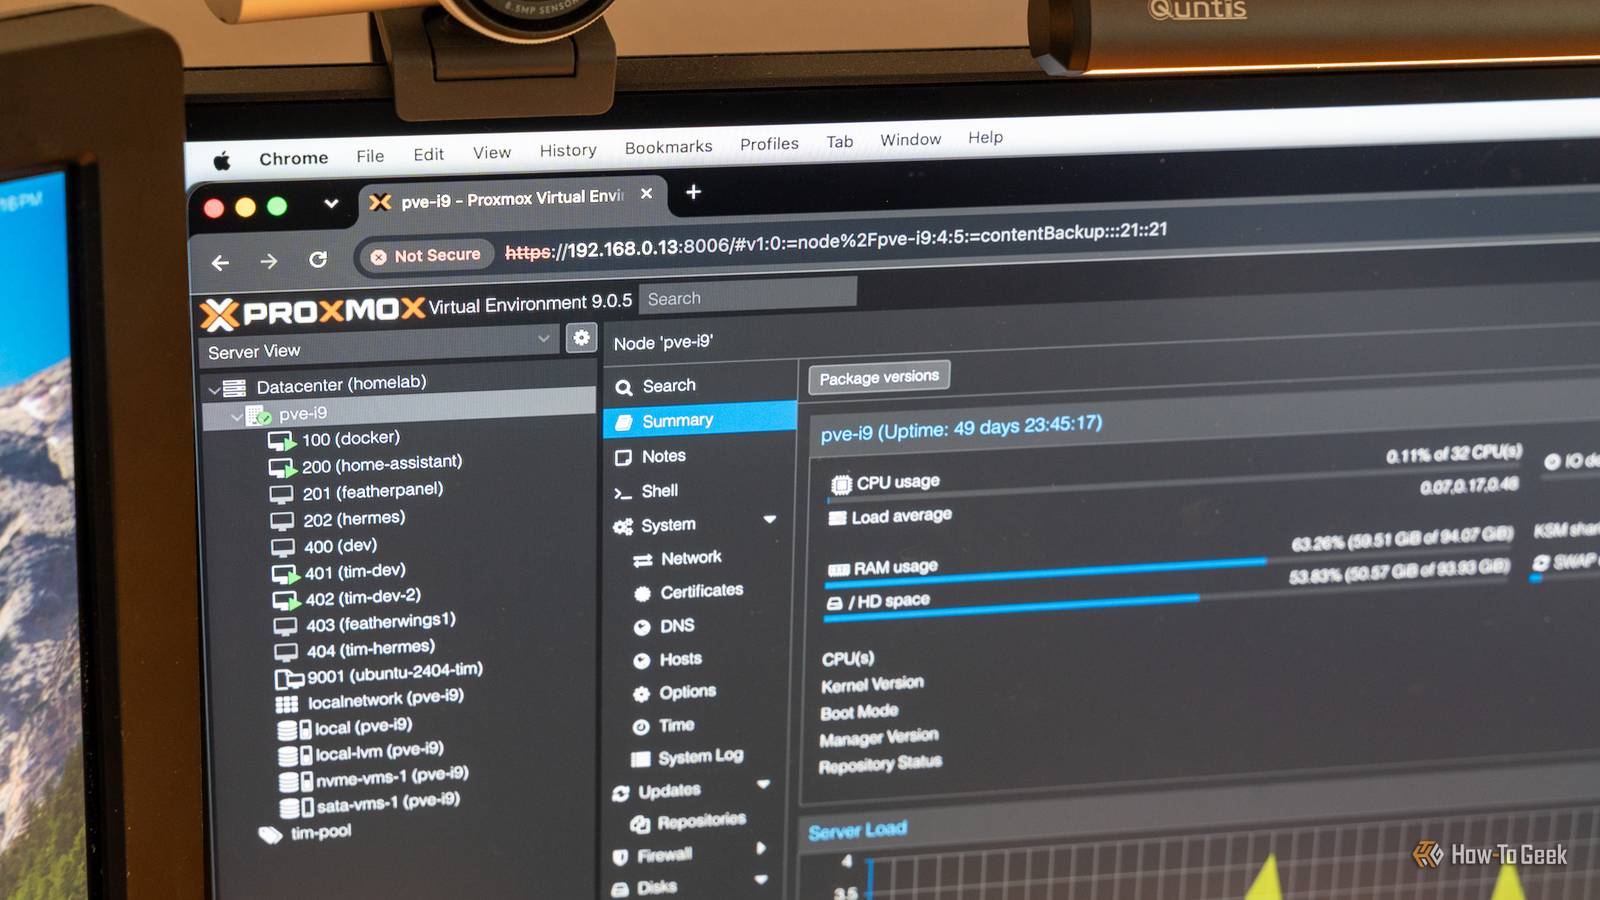
So, you want to run Proxmox in your homelab? It's a fantastic operating system that is now a cornerstone of my own homelab, but there are some beginner projects you should definitely get under your belt before going all-in on Proxmox.Here are the five things I think you should master in Proxmox before building your dream homelab.Create your first Linux virtual machine Virtual machines are at the heart of Proxmox Close Proxmox is designed as a virtual machine manager, so, of course, you need to create a virtual machine as one of the first things you do in Proxmox.
Linux will very likely be the primary operating system you run in Proxmox, so that's a good place to start.Spinning up a Linux virtual machine is quite straightforward.You just need to upload the ISO you want to use (or have Proxmox download it to storage) and then begin the virtual machine creation process.
You'll start by choosing what node you want to deploy the VM on, give it an ID (make sure the ID is numbers only and unique), and a name.You can ignore the resource pool option for most homelab installs.Then, you select the ISO you want to use for the install.
From there, you can leave graphics card default, and the machine defaults to i440fx, though I typically use q35 for my deployments.BIOS can remain default unless you have a specific reason for enabling UEFI.Likewise, only add TPM or QEMU Agent if you know that you'll need them.
Selecting the disk is simple too, just decide how big you want it to be and what storage you want it to live on.The rest of the options there are optional.For the CPU, you'll need to select how many cores you want.
Unless you have a dual-CPU system, leave sockets at one.Also, I normally change my CPU type from the default x86-64-v2-AES to just "host" as that passes the CPU model and features directly through to the VM instead of virtualizing that information.RAM is typed out in MiB, so take however many gigabytes of RAM you want to allocate, and multiply it by 1024 to get how many MiB you need.
Leave your network settings default unless you have a good reason to change them (I've never had to change mine), and then you're ready to deploy! Make a reusable VM template It makes building new virtual machines so much simpler Once you have your first virtual machine created and configured how you like—stop.At this point, you should turn that virtual machine into a template to deploy more virtual machines in the future.I wish I would have done this early on in my Proxmox journey as it saves so much time.
I'm often deploying new Ubuntu virtual machines for different reasons, and having a template turns a several-minute install into a few clicks.Creating a template is simple: just right-click on the virtual machine you want to turn into a template, and then click "Convert to template." That's all there is to it.Configure automatic VM backups For when everything goes wrong You should be backing your virtual machines up before something goes wrong—I learned this one the hard way.
You can back up to local storage on your Proxmox node, or you can mount external storage like a NAS to back up to.This is all managed at the Datacenter tab level of Proxmox at the very top of the sidebar.You can check your storage setup there, and mount the NAS if you want.
Then, head to the backup tab and configure which virtual machines you want to back up on what schedule.Pass a USB or PCIe device through to a guest Need a GPU for transcoding or a USB receiver for Home Assistant? This is how you do it Passing a PCIe device through IOMMU is a more advanced Proxmox task, but passing USB through to a virtual machine is pretty simple.But why would you need to pass a device through to a guest virtual machine? When you plug a device into a USB port or install a PCIe card, it's only seen by the Proxmox host by default.
All virtual machines are just that—virtual.They only see what the host tells them they're allowed to see, so you have to tell a specific virtual machine that it's allowed to see a device.This is also done in the Hardware tab of a virtual machine, by clicking the Add icon at the top.
IOMMU devices require a lot more configuration, and that's what you need if you want to pass a graphics card or something similar through to the virtual machine.USB devices are simpler and are available by just clicking "Add USB Device." Add a second storage drive for VMs, ISOs, and backups Adding more storage has a multitude of uses I mentioned adding additional storage to Proxmox, but what all can that additional storage do? Well, all storage on Proxmox is treated equally, but there are a few different of storage.There's a normal local hard drive or SSD, which is plugged directly into the Proxmox host in some way, be that SATA or PCIe.
You also can mount remote storage, like NFS, SMB, CephFS, and others.I normally have two types of storage on my Proxmox nodes: local and NFS.Depending on the configuration I'm running at that time, I might store my Proxmox virtual machines on the NFS-mounted NAS, or I might store them locally.
I use NFS-mounted virtual machines when I'm doing high availability, but otherwise I try to keep everything on local storage outside of backups.A NAS is the perfect solution for backups because your NAS likely has RAID and might even back up to the cloud, meaning your Proxmox backups are more secure than just staying on the system.Storage is controlled both at the Datacenter level and the node level, so just visit each one depending on what you're wanting to mount.
The Datacenter level is where you mount things like remote storage on a NAS, while the node is where you configure local storage.Proxmox is so feature-packed that this only scratches the surface While I covered five projects to try in this article, this is far from an exhaustive list of what Proxmox is capable of.I've been using Proxmox for around a year and a half and I still feel like there are tons of functions that I've never even tried.
But, if I were starting from scratch, these are the projects I would master first as they would have set me up for a lot fewer headaches than I went through myself in my learning of Proxmox.
Read More