I was looking for a fun home lab project to try over the weekend and realized it's been a while since I last made something with an ESP32 board.I have a few different boards among my supplies, including several ESP32-C3 Supermini boards, and I thought, “Why not make a tracking tag out of a few of them? So I did a bit of research for ideas on how to do that and ended up doing a nifty little weekend experiment with the concept.Add How-To Geek on Google Add as Preferred Source Follow on Google Discover Getting started with ESP32 project Make sure you have the right hardware and software before you begin Whenever you begin a "maker" type of project, you should always make sure you have the hardware you need.
Software is usually pretty easy to access, but not having the chips or boards you need can stop a project dead in its tracks.I already had my ESP32 boards, but if you don't have any handy, they're only a few bucks on Amazon.I also have a dedicated Android phone in my home lab, so I was ready to rock and roll.
I'm going to use my Android phone (this one is a de-bloated Motorola Moto G 2025) for this.My Supermini boards will serve as the tags themselves.I've seen different plans for these online, so I felt pretty confident about doing something like this.
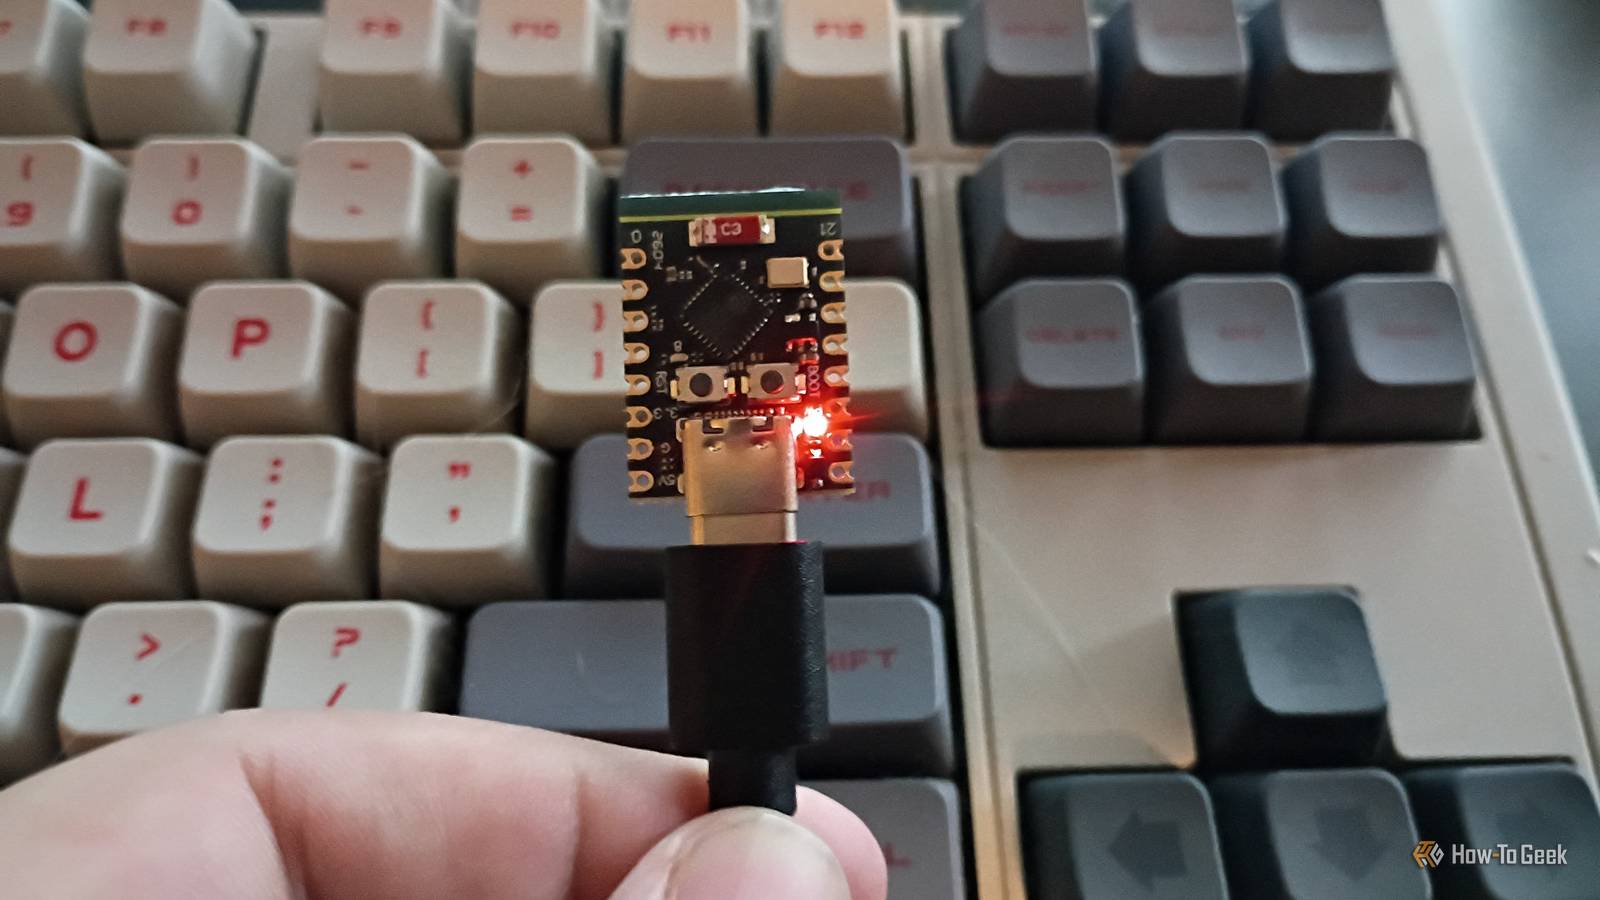
I plugged my ESP32 board into a USB cable and a computer, and got to work.Getting the ESP32 mini board ready The first step to making a tag If I'm going to try to create a tracker tag with this board, it's going to need some firmware.There's open-source Bluetooth Low Energy beacon firmware available for ESP32 boards; you just have to research what works for your board.
And it can be installed through a browser-based web flasher utility.The board has low-power Bluetooth built into it, so it should be able to "fake" or mimic the signals an actual tracking beacon makes.There's a teeny, tiny boot button on the board.
It's labeled BOOT on my ESP32 boards.I didn't have to use a magnifying glass to find the right one, but it's pretty small.When you hold the button down while plugging it in, the board goes into hardware bootloader mode.
I had to hit the RST button right next to it for the PC to recognize it as a device while still holding BOOT.That's the thing about using microboards like this: they're easy to use, but that text is kind of small.But programming them is fairly straightforward.
Programming the ESP32 board and getting the right software A few simple steps are all it took to get the tracker ready Close While there is a way to do something like this using GoogleFindMy Tools, I decided I didn't really want to hang out in the Google ecosystem.So I'm using the Arduino IDE to create my custom firmware.Then I'll flash it to the ESP32 board.
Finally, I'll need a tracking app.But that's getting ahead of things.I found some valuable information at Espressif for the process to get the ball rolling.
I opened Arduino IDE and tried to set up a Bluetooth Low-Energy beacon on the card.This part turned out to be a bit tricky.I've been doing some experimenting with home lab projects, so I reached out to a friend to help me fine-tune my script.
It turned out I had messed something up in the syntax, so it was throwing errors.She helped me fix it and looked over the new beacon script.It was ready to go.
I did have to add my user to my Linux dialout group to upload the script to the board.I uploaded it to the board and was ready for the next step: doing the tracking! Tracking things down Using a mobile app to track my Bluetooth tag With the hard part out of the way, I downloaded nRF Connect on my Motorola to use for the actual tracking.It isn't going to track the same way Google or Apple's "Find my..." apps will.
But it will tell me when the "tag" is out of range.So, it's a start and, honestly, perfect for a quick ES32 project.In nRF, I found MauvePorpoise (the name I gave my chip) and watched the dBm value move as the board was being moved.
It started at -67 dBm when it was right next to me.The signal actually got stronger when I walked across the house (makes sense; signals bounce off walls and such).I figured it would drop out around -90 dBm and get there fast as soon as I took it outside to the garage.
The antenna on these boards is a bit weak, but not as bad as I thought it'd be.I took the board outside (plugged into a second Android phone to keep it powered on) and walked around my garage, yard, and driveway a bit while my wife watched to see if the signal dropped out.I'd estimate it dropped out of range when he walked to the opposite side of my yard (which is roughly 40 feet away from my home lab, but that's just an estimate).
That's pretty close to the range of a standard AirTag.Not bad.But AirTags use a network to track where something went.
My board just tells me when something is near me or gone entirely.It isn't going to tell me where it went, which firmly ranks it as a "fun learning project" rather than a "useful tool for tracking long-term." If I install mini batteries or power packs on these boards, I can still see them being a pretty good "left behind" alert tag (saying it's an AirTag substitute is a bit of a stretch) for limited and tracking.That's honestly pretty neat.
ESP32 projects can be a fun weekend project Spending some time re-immersing myself in the world of micro boards was fun.Choosing a simple project that I could actually do in a weekend was a good move.I like the little tracker I made, but the process of making it was anything but smooth.
I'm still happy with the project, though, and look forward to doing more ESP32 stuff soon, on top of my Raspberry Pi hobby work.Related 5 mind-altering ESP32 projects that change the way you look at your home forever The sixth sensor.Posts By Adam Davidson
Read More