The homelab journey is all about learning—but it’s also about teaching.I’ve spent over six years building my homelab, and there’s a lot that I wish I would have done differently.Here’s what I would do in my homelab if I were starting from scratch.
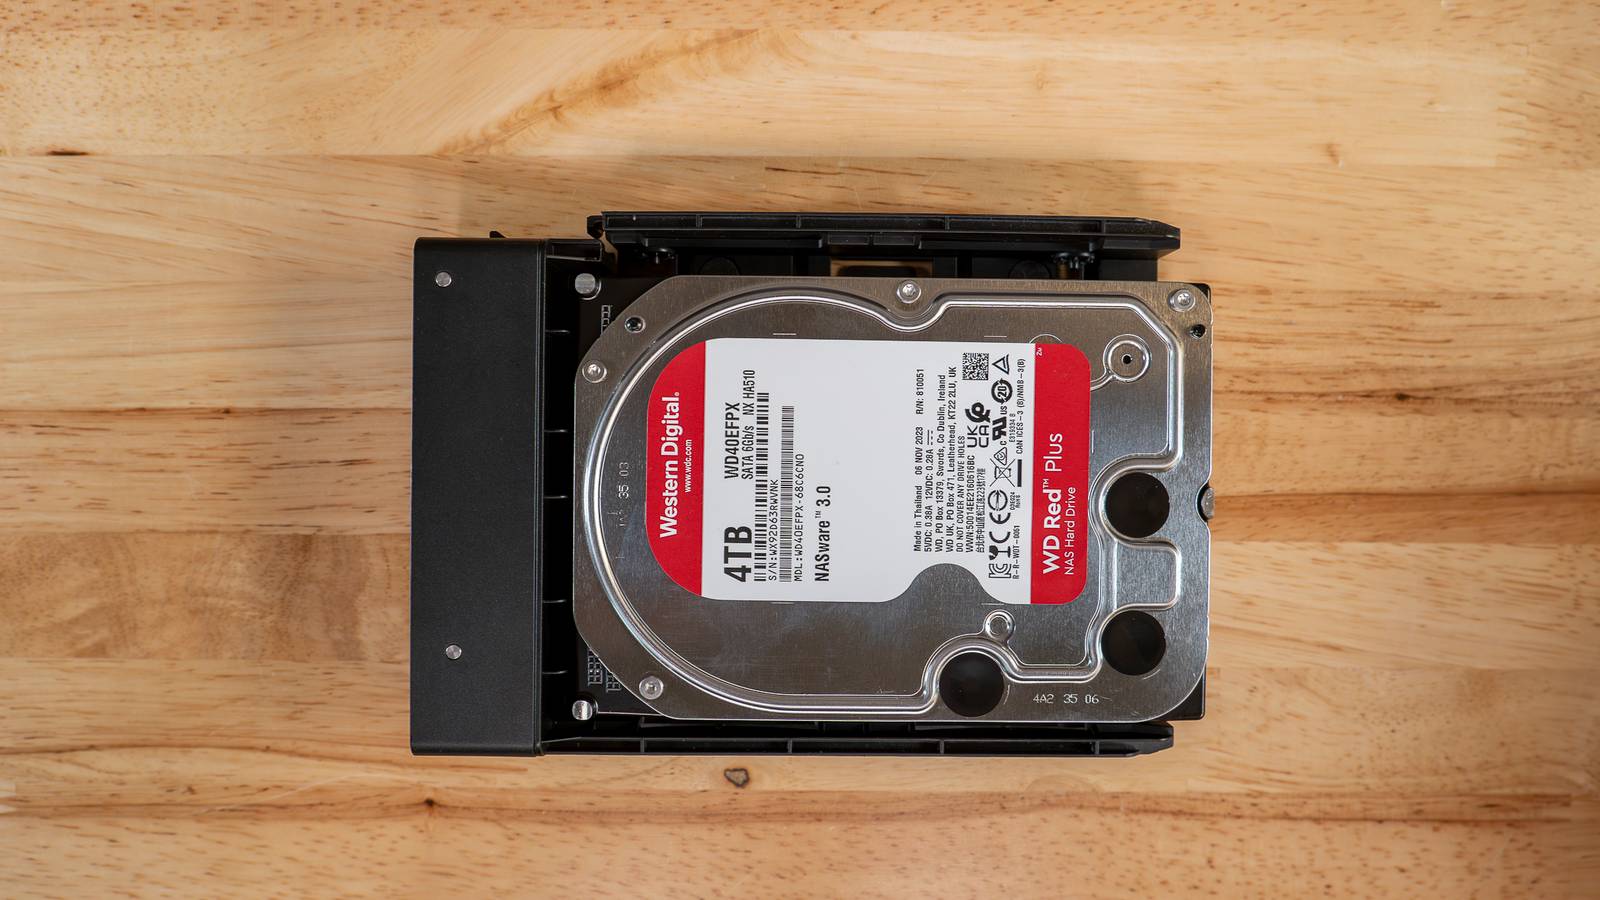
Buy all the same size hard drives It just makes things easier While I absolutely love Unraid and think it’s the best way to build a home NAS, I still wish I had started off my homelab with all the same size drives.Because I have such a mix-and-match collection of drive sizes, I to use Unraid if I want to maximize my storage.There are benefits to using traditional RAID setups such as RAID 5, like the speed increases you get from striping the data across multiple drives.
Unraid (or non-striped parity in general) doesn’t give you this benefit, meaning you to have an SSD cache in front of the drive pool.With my RAID 5 setup of six drives, I actually achieve pretty close to the same transfer speeds as I do on my Unraid server using an NVMe cache.My Ugreen NAS (where the RAID5 setup lives) also has a RAID0 set of NVMe drives where I can achieve the biggest speed improvement yet in my storage system.
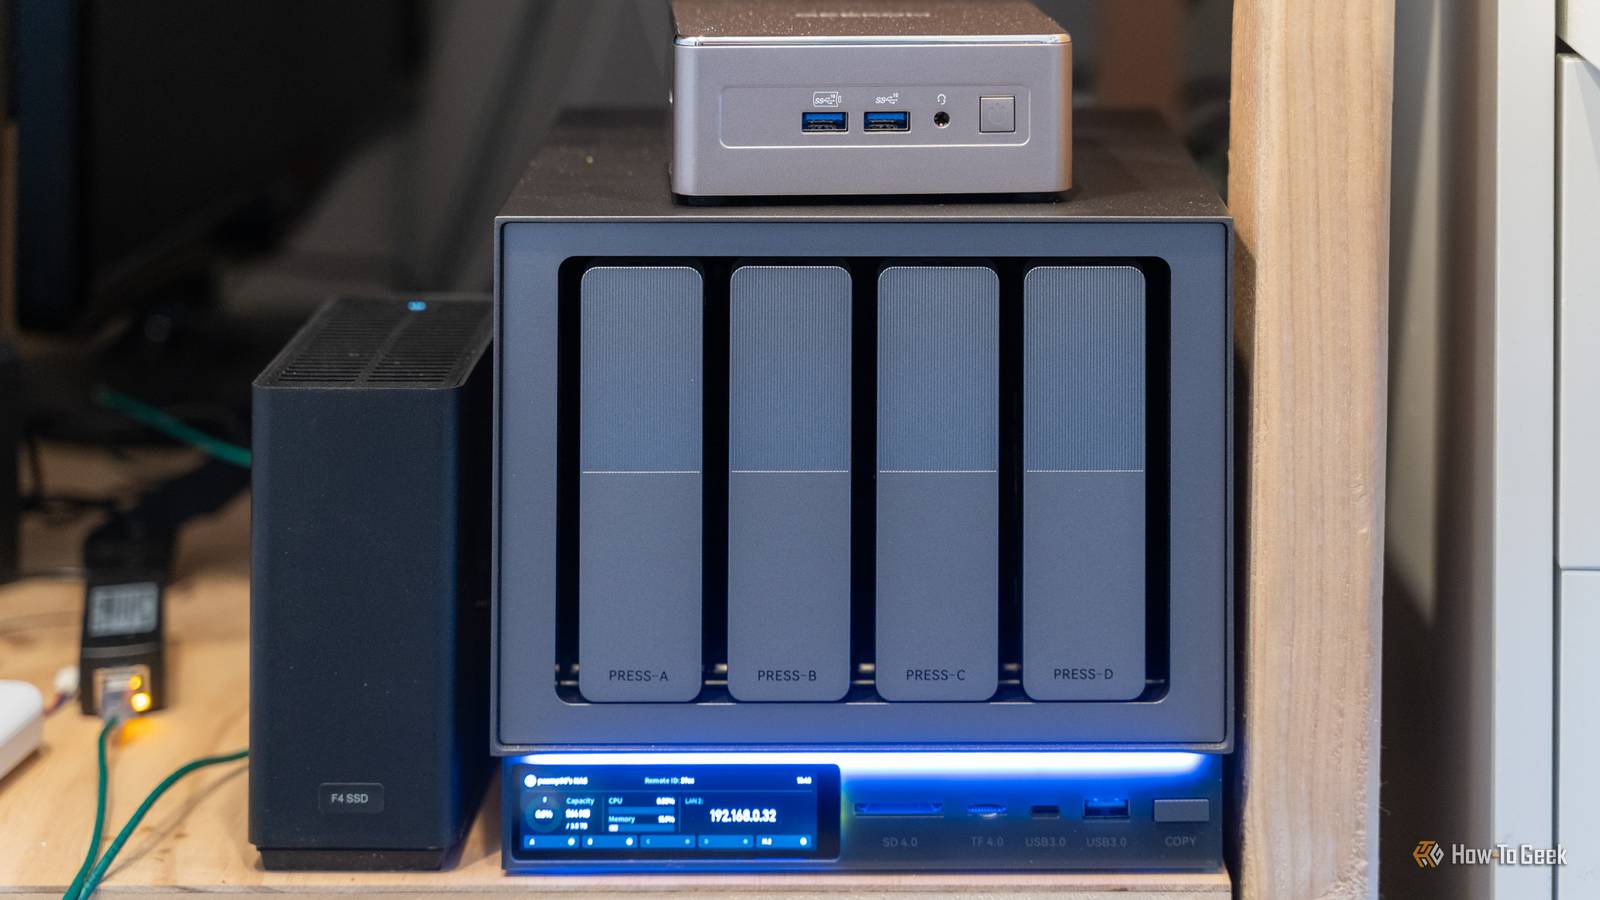
The issue is, I have too many drive sizes to effectively use traditional striped parity in myhomelab—and there are times when I definitely wish I could.Ugreen iDX 6011 Pro AI NAS Brand UGREEN CPU Intel Core Ultra 7 255H The Ugreen iDX 6011 Pro AI NAS is one of the most powerful NAS servers in the Ugreen lineup.With Intel's Core Ultra 7 255H 16-core processor and 64GB of LPDDR5/x RAM onboard, there's more than enough power to handle anything you can throw at this system.
Add to that dual Thunderbolt 4 ports, dual 10GbE LAN ports, an OCuLink expansion port, and more, and you have a very solid network attached storage system.$2599 at Ugreen Expand Collapse Start with multiple servers, even just a few Raspberry Pis, mini PCs, or old laptops Keeping your services separate from your storage is nicer than I originally thought When I first started my homelab, I had one server that did everything.It had plenty of RAM and cores to handle whatever I threw at it, and I even put a low profile graphics card in it to handle GPU transcoding.
It felt like the best solution because I could just have one, big, powerful server to handle everything—but I was wrong.A few years into homelabbing I picked up a few more servers and moved all of my non-storage services to a separate server.This was a great move, but it still wasn’t the ideal setup.
It was actually really nice to have my services separate from my storage server, though.Now, if I needed to replace a drive, add a new drive, or just maintenance the storage system, my websites or smart home platforms wouldn’t go down.However, two systems still wasn’t ideal.
If I could go back and start over, I would have a storage server and then at least two other systems.The two other systems could be two Raspberry Pi’s, a few old mini PCs, an old desktop, an old laptop, new equipment—just a minimum of two application servers in addition to the storage system.Why at least two systems plus the storage server, you ask? Having two application servers means that you can migrate services between servers if you need to maintain one application server, you can migrate the services to the other.
Or, you can use one as a pseudo high-availability system—this is what I do with Pi-hole, I have two Pi-hole instances running, so that way my network is never down when working on servers.However you slice it, beginning your homelab journey with one storage server and two application servers is the best way to start out, and I wish that’s my journey began.Grow your homelab with the hardware you need, not the hardware you want Adding bigger servers than you need to the mix is more headache than it’s worth I mentioned that I had just one server for a few years until I picked up two additional servers—but I picked up the servers.
You see, I found a great deal on Reddit and traded a guy some old hardware I had lying around for two big rack-mount servers.My other server was a rack mount already, so why not have three rack mount systems? I was very wrong.Those three rack-mount servers produced a few thousand BTU worth of heat in my office, and collectively drew about 0.75kW of power at idle.
Not to mention, they were noisy and not the easiest to maintain.If I could go back and do it again, I wouldn’t have aimed for big, power-hungry (but powerful) rack servers as the expansion for my homelab—I would have gone for some mini PCs or Raspberry Pi’s.Those big servers were definitely nice, and they had a crazy amount of capabilities.
One server had 12 3.5-inch drive bays with two more 2.5-inch bays filled with 10 3TB drives.The other had 16 2.5-inch drive bays on the front with another two 2.5-inch drive bays on the back.Both had 20-core 40-thread processors (two 10-core/20-thread CPUs) with hundreds of gigabytes of RAM (360GB of RAM between the two).
Subscribe for Practical Homelab Tips and Fixes Discover practical homelab strategies and hardware trade-offs - subscribe to the newsletter for focused guidance on drive sizing, server roles, and efficient builds, plus broader infrastructure coverage to help you avoid common setup mistakes.Subscribe By subscribing, you agree to receive newsletter and marketing emails, and accept our Terms of Use and Privacy Policy.You can unsubscribe anytime.
The servers were more powerful than I would ever need them to be, and it led me to run my homelab in a very inefficient manner.When I had an issue with a VM, I would just throw more RAM at it—I had 192GB on my VM server, after all.Instead, had I started with lower-power systems (that also used less power from the wall), I would have built better habits from the beginning, instead of having to figure things out later on.
I was eventually able to get rid of the two big servers and downsize my system to two mini PCs, but I had to go through an over-specced i9-13900K 96GB DDR4 RAM server before getting there.Now, my homelab is my two storage servers and two mini PCs, and I wish I just started here in the first place.GEEKOM A5 mini PC Brand GEEKOM CPU AMD Ryzen 5 7430U The GEEKOM A5 mini PC packs 16GB of user-replaceable RAM, a user-swappable NVMe SSD, plus two other storage slots, giving you plenty of user-upgradability in this compact system.
The Ryzen 5 processor packs plenty of power for general tasks, and it's even great at lightweight gaming and CAD work too.$409 at Best Buy $409 at GEEKOM Expand Collapse KAMRUI Hyper H2 Mini PC Brand KAMURI CPU i5-14450HX The KAMRUI Hyper H2 Mini PC features an Intel Core i5-14450HX 10-core 16-thread processor and 16GB of DDR4 RAM.The included 512GB NVMe SSD comes with Windows 11 pre-installed so the system is ready to go out of the box.
$479 at Amazon Expand Collapse
Read More