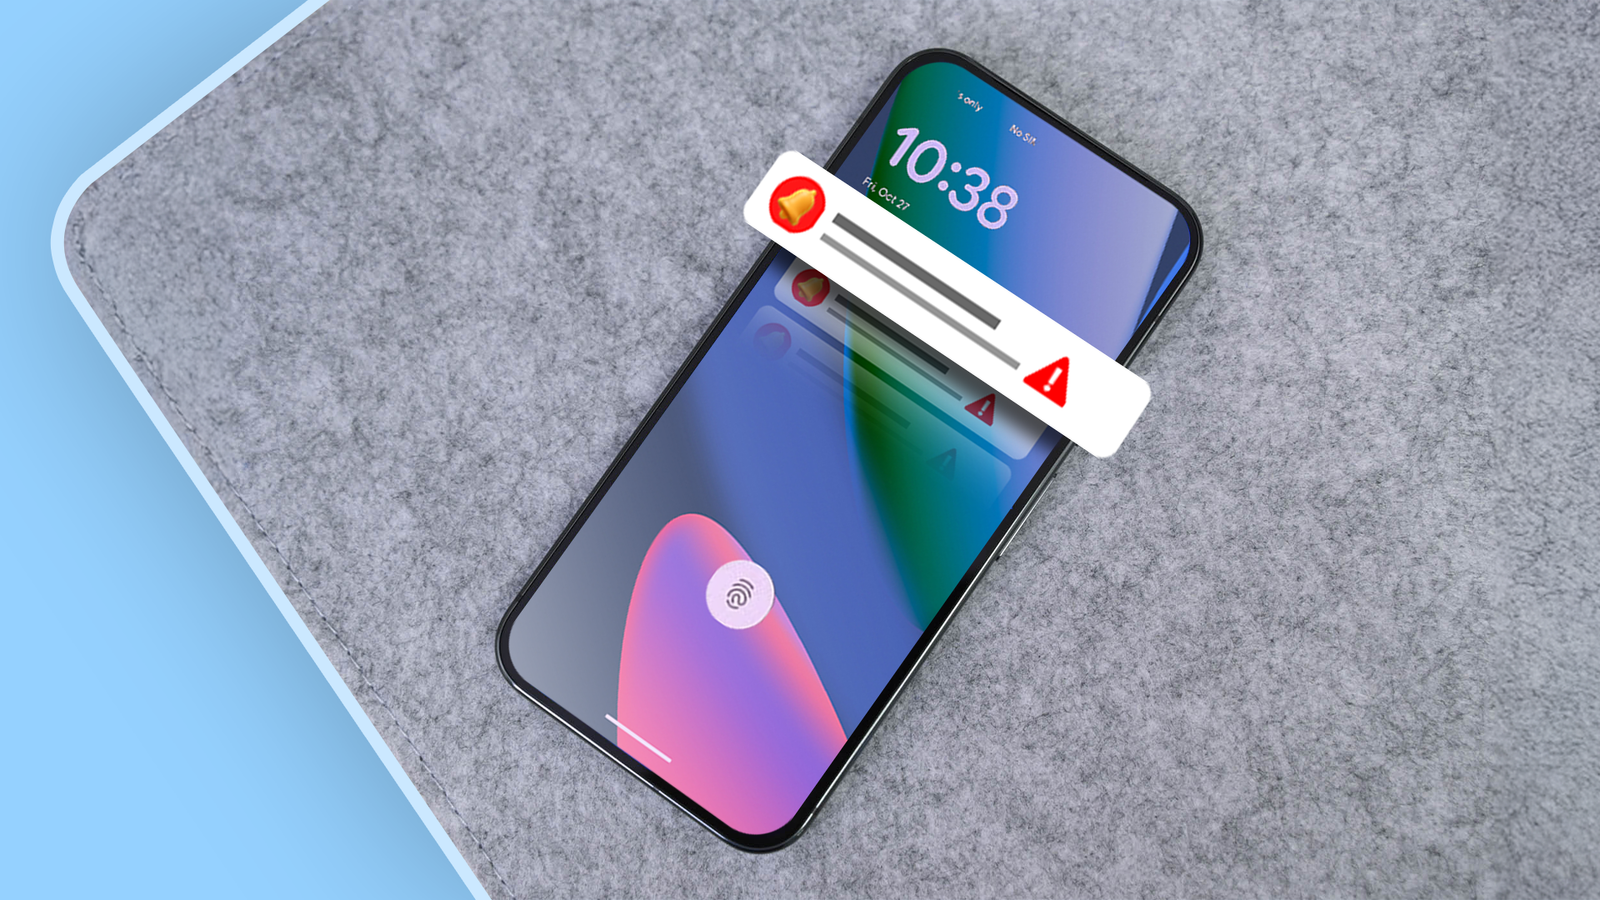
Apps are always competing for your attention.I easily get more than 300 notifications a day on my Android phone, and maybe 50-100 are important enough to go through.Unwanted or less important notifications steal your attention and drain your phone’s battery a little as well.
So let me walk you through some practical tips that I’ve been practicing for some time to organize and declutter your notifications panel.Turning off notifications for "once-in-a-while" apps The elimination game Apps are the main culprit of notification overload.I mean the apps we rarely use and are just for utility.
Fortunately, the Android policy has an “off by default” rule, which suggests that push notification permission for pre-installed and newly installed apps is disabled by default.But most of us, while setting up an app in a hurry, might allow notifications for all the apps we use.It is suggested to turn off notifications for apps we use once in a while.
It may be a utility app like Adobe Scan, a travel booking app, or a shopping app if you're not a frequent shopper, and you don’t want to fall for the lucrative push notifications.On most Android devices, the process to turn off notifications is pretty straightforward.You just long-press an app icon, head on to “App Info,” find “Notifications,” and disable it.
That’s it; it might seem like a simple step, but you’ll feel its effectiveness once you start to feel that your notification panel is less noisy and feels less like a promotional billboard.Aware of notification categories Preserving your attention for important notifications Close Android has this interesting feature where it allows app developers to categorize notifications and gives users the power to control each category of notifications the app sends.For instance, take a food delivery app as an example; you might need important order alerts right on the notification panel, but not their pushy offers and promotions.
That’s when notification categories on Android come into the picture.Most apps we use have category separation, so you can turn off/on notifications for that particular category alone.This allows users to focus their attention on important notification categories of an app, instead of just a single on/off switch.
Most Android-based software skins, including Pixel’s stock UI, have these notification categories placed right under the notifications settings of an app.But if you’re a Samsung user like me, there’s an extra step.You first need to enable the categories option by opening the Settings, navigating to "Notifications," and selecting "Advanced settings." From there, toggle the "Manage notification categories for each app" setting to enable it.
After you enable this, you can follow the usual steps to tweak notifications of any given app.Close This trick has genuinely changed the way I perceive notifications on my Android phone.I urge you to try these and experience the benefits.
Custom notification sounds Stop looking at your screen: The custom tone trick Close Another feature of notification categories is the ability to tune the desired notification tone for each category.By default, every app’s notification on your Android phone sounds the same, forcing you to pick up the phone to see if it's important.But if you’ve heard the notification tone of Snapchat, Slack, Teams, or Outlook, you might recall that each app has a unique notification tone, which is set by the developers by default when you install them.
When you hear a custom notification tone from any of the mentioned apps, you uniquely identify it and pay attention—it may be an urgent office email or a snap from your loved ones.They are simply leveraging Android’s capability to tweak the notification tone of each category.You can do the same for any app you use.
Simply open the App Info page, head on to "Notifications," and select "Categories." From there, click on the specific category text (e.g., Messages category) and select "Sound" to choose your desired tone.I personally have unique tones for Instagram and WhatsApp messages, SMS OTP, and WhatsApp group notifications, allowing me to instantly identify the intent of the notification when it arrives.When tweaked for your desired use case, you’ll be able to streamline your attention and even control the times you unnecessarily wake up your Android phone.
In messaging apps like WhatsApp, you also get the ability to set unique tones at the contact level, allowing you to prioritize notifications from your desired contacts.Snoozing notifications A "save for later" option for important notifications Close Notification snoozing on Android allows you to snooze an alert from the notification panel for a set time, after which it will be notified again.This is like a “save for later” feature for your notifications panel.
Many times, you will receive an important notification that might require your attention, but you want to delay the action.In such a case, you simply tap the bell icon right at the end of that particular notification to snooze it for a later time.You’ll be allowed to snooze a notification for up to 2 hours on a Samsung device, after which the notification will show in the panel.
But the catch is, this option is disabled by default on Android devices and requires users to enable it manually via settings.On Pixel or stock Android devices, you get the option to snooze by opening the Settings app, navigating to "Notifications," and turning on the "Allow notification snoozing" setting.But on Samsung, open the Settings app, go to "Notifications," and select "Advanced settings." From there, toggle the "Show snooze button" to enable it.
Related 5 underrated Android features I'm constantly showing people Your Android has a lot of features hiding in plain sight.Posts 4 By Cory Gunther Enabling notification history A safety net for your notifications Close When my notification panel is flooded, I often go into quick-swipe mode, clearing most notifications by swiping constantly.While the quick clean-up of digital clutter feels great, sometimes I accidentally close important notifications.
Thankfully, Android has this hidden feature called "Notification history" that retains every notification you receive on your phone for up to 24 hours.This is more of an undo button for accidental notification swipes.Like the snoozing feature, this also requires users to enable it manually via settings.
On Pixel or stock Android devices, you get the option to enable history by just opening the Settings app, navigating to "Notifications," and turning on the "Notification history" option.But on Samsung, open the Settings app, go to "Notifications," and select "Advanced settings." From there, toggle the "Notification history" setting to enable it.Though it may feel like a small addition to your notification system, it will come in handy when you receive a ton of notifications across apps and want to trace back notifications without opening an app.
It has certainly helped me in situations where I wanted to trace back a few messages from various apps without opening and checking apps one by one.Take control of your notification panel Though we spend most of our screen time swiping down the notification panel to check for updates, it remains one of the most overlooked aspects of smartphone usage.Fortunately, these Android customizations can make your notification system feel more personal and help you focus on what actually matters, rather than whatever the apps decide to push you.
Read More