I mostly mess with 3D printers as a hobby, but since 3D printing is an expensive hobby, I also sell 3D printed models at a local market, which helps pay for filament, and also gives my friend who runs the stall every week more stuff to sell at no cost to them.The problem is lots of people are doing this, which means I need to do some sort of branding.Up to now, this hasn't been necessary where I live, but the time has finally come to put some sort of identifying mark on the models we print.
I want people to know which prints came from me One of these things is not like the other Close I haven't yet graduated to selling models I've designed myself.Instead, I sell 3D models that have a paid commercial license.Either a once-off fee, or one that requires an ongoing subscription.
This means I am allowed to sell awesome 3D prints made by some of the most talented modelers, but it also means I don't have anything exclusive to sell yet.So if the person three tables down from me is paying for and selling the same models I am, how can I differentiate what we're doing? There is actually a difference here.For example, I have a dedicated person (paid by the hour) who quality-controls and cleans the models before they go up for sale.
We use higher print quality settings, which takes more power, time, and filament in some cases.I've moved to multi-material printing in some instances, with custom color designs.In other words, even though we're all working from the same blueprints, I'd like to think I'm putting in a little more effort, and if I'm not, I'm going to try and up my game.
The point is, I needed to figure out how to "watermark" my models so that it would be easy to associate a certain level of quality with use, rather than someone else.ELEGOO Slicer makes adding the watermark surprisingly easy They knew you'd want to do this I'm going to use ELEGOO Slicer to demonstrate how I personally put marks on a 3D print, but it's just a fork of Orca Slicer, so if you're using Orca or another rebrand of it, the basics should be the same.If you're using a different slicer altogether, it's certain to have very similar features, but you'll have to look up the process yourself.
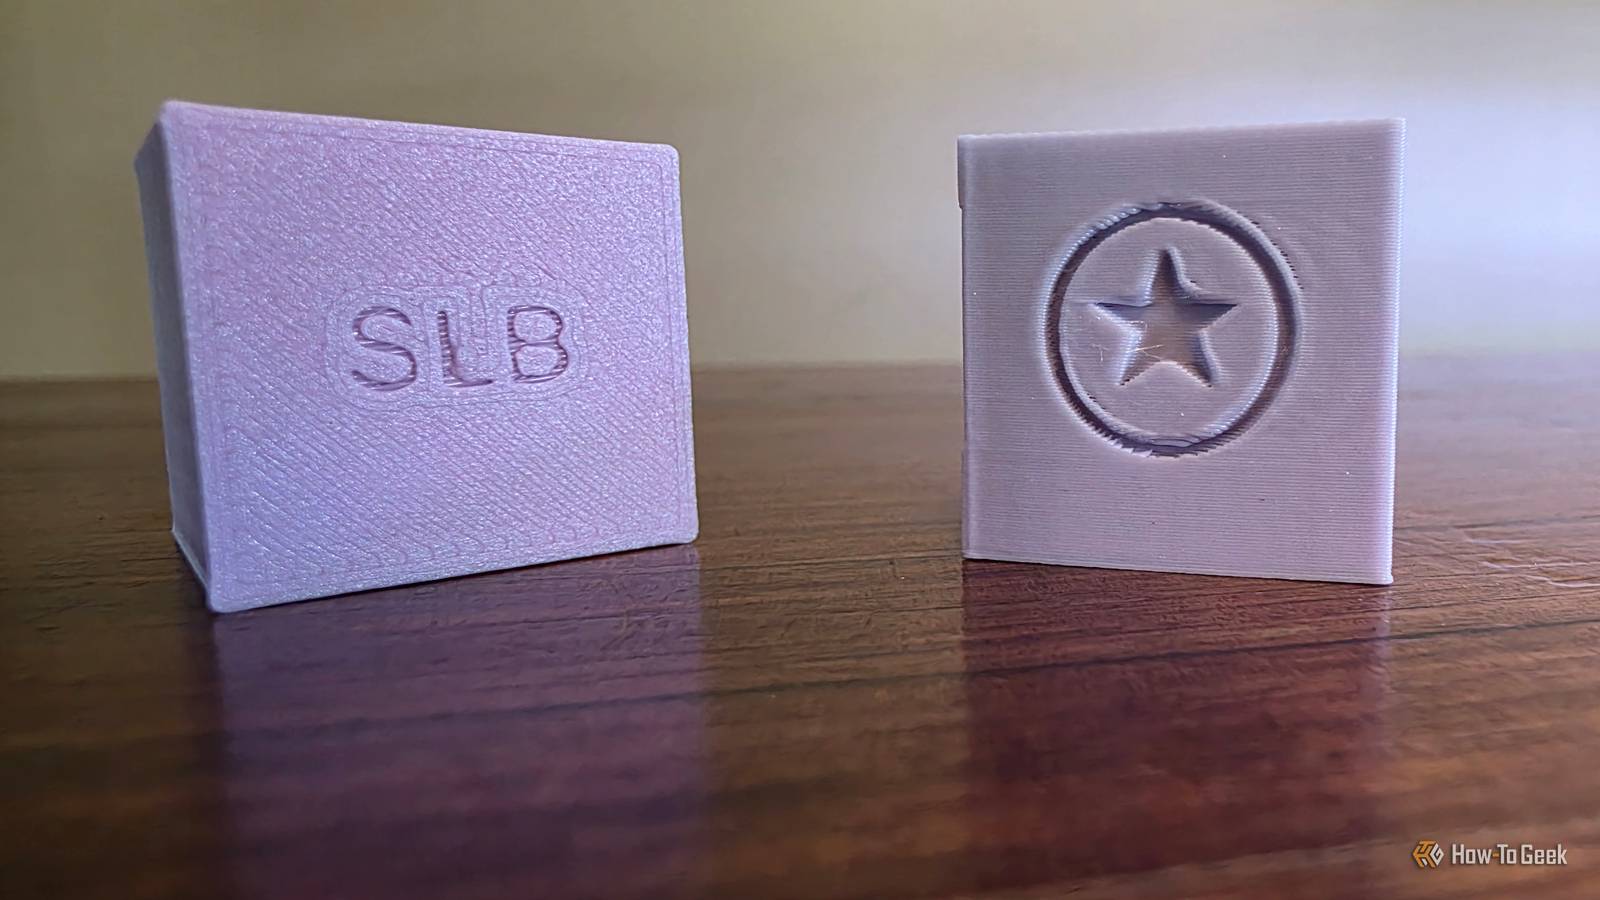
For this demo, I'm just going to use a basic primitive cube model generated by the slicer itself, and all the marks here aren't the real ones.They were created for this demo specifically.There are two tools we care about here: "emboss" and "import negative part." Emboss is the easiest, so let's start with that.
First, rotate the model in the preview so that the face you want to add the text to is facing you.Then click on the "Emboss" icon.This opens up a text editor most people will be familiar with.
Type the text you want (in this case I just used my initials) and then set the font, style, height, and depth to your liking.Depth will determine how deep into the surface we cut here.Once that's all done, change "operation" to "Cut" then position the text to your satisfaction, and choose "Done." Now when you preview your print, you should see the lettering engraved into the model.
This is fine for a basic mark, but anyone can replicate it.If you need something more sophisticated, then ELEGOO/Orca Slicer has a neat feature where you can import an SVG file as an object.So you could design a logo, import it as an SVG file, and then use that to engrave a mark.
First, switch to the object rather than global view in the left-hand pane, then right-click the model you want to mark in the object list.Following that, choose Add negative part > SVG, Open the SVG of your choice and use the settings box to position and size it as you like.You can use the "face camera" button to adjust its rotation in 3D space, and you can use "To surface" to move it to the surface of the face you're working with.
The rest of the controls are pretty self-explanatory, but obviously depth matters here.I like 1mm of depth, but it's up to you.Once you're happy, just slice and print as usual.
Positioning matters! You can add your mark to any spot on the model, but since I mainly sell print-in-place models, the best spot is usually the bottom.That's because all of these models have a flat side, and when used or viewed normally the mark would be invisible.So it doesn't impact the functionality or aesthetics of the model in any way.
Since your addition to the model is part of the G-code every copy of the file you've sent to the printer will now permanently include your mark.
Read More