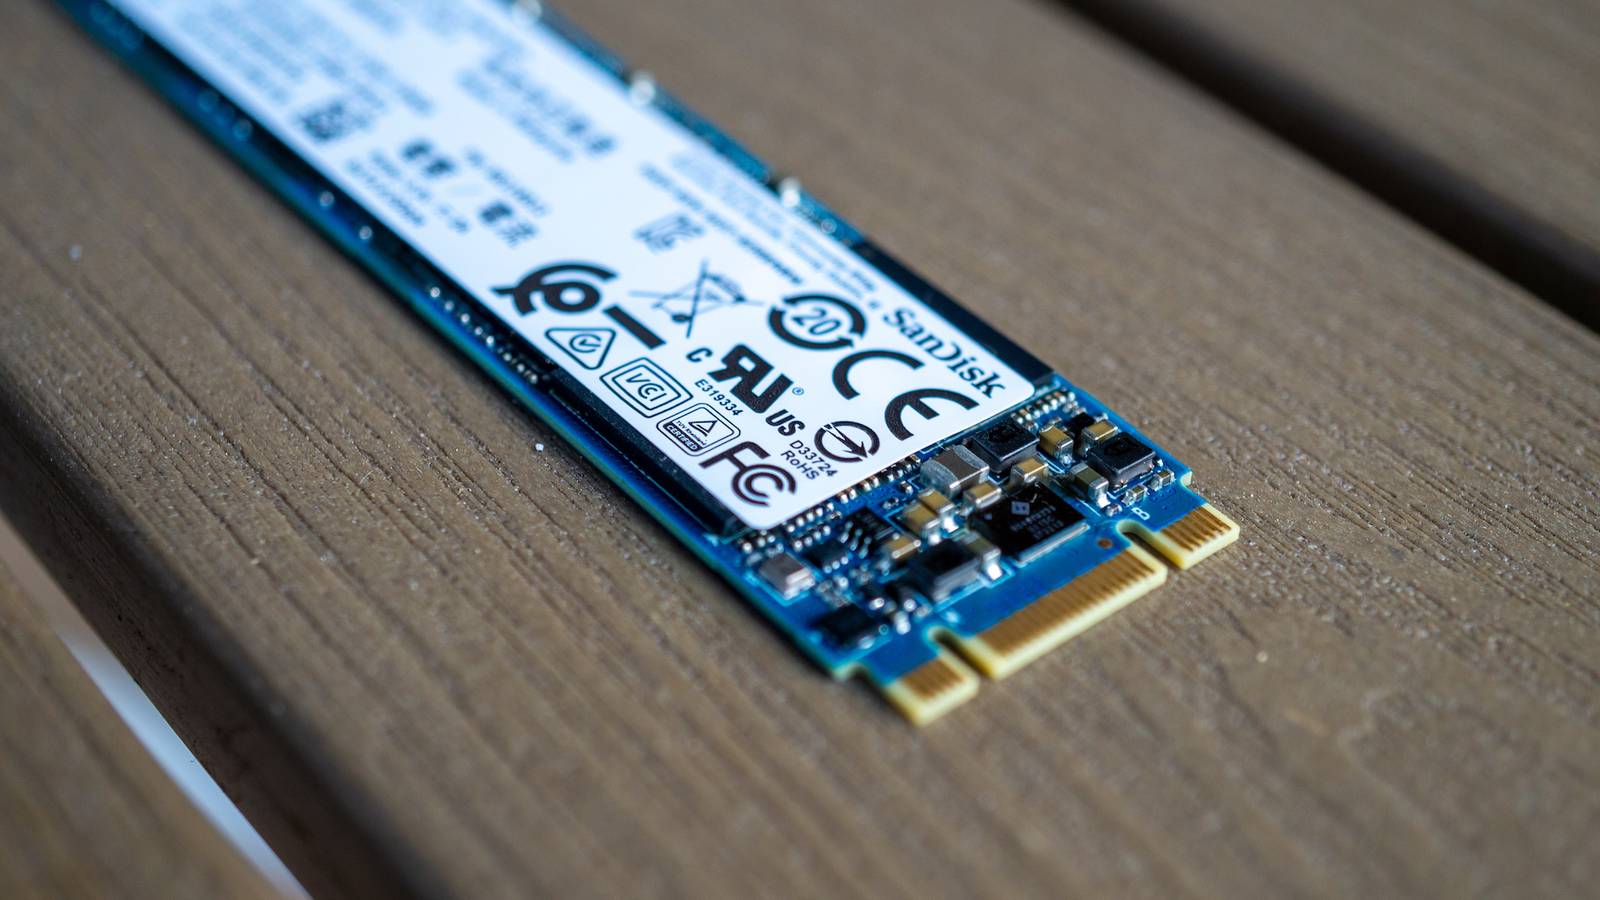
SSDs are fast, but even they can be slowed down over time.If you live for speed and feel like your SSD starts to get just a little slower sometimes, especially near the end of a week, there is one setting you might want to check out called TRIM.What is TRIM? It's all in the name Close TRIM is a particular SSD command that does something very simple.
It tells an SSD that data has been deleted, and that the space that data used to occupy is free to use.Why would you need to do that? When you delete files on your computer, they are not actually deleted right away.When the TRIM command is sent to the SSD, the OS tells it which blocks are now free.
The SSD controller will use that information during a process called garbage collection to erase all of those empty blocks, which prepares them for new data.Specifically, it goes something like this.You "delete" a file on your computer.
Your OS sends a TRIM command to the SSD, letting it know that the block with that data is not needed any longer.The SSD doesn't delete the data right away, it just makes a note of it.When your computer is idle and not doing much, the SSD runs a process called garbage collection, and this is when those blocks flagged by TRIM are deleted.
The point of all of this is that your SSD doesn't have to "figure out" which blocks are free space and which blocks aren't.Thanks to TRIM, it doesn't have to run an operation to go through the SSD and search for valid or invalid data on its own.Think of it like a child doing the dishes; if you tell them to just figure out where everything goes, it will take them a while to do the job.
If you tell them where every dish goes, they will finish it much more quickly.So, TRIM means your SSD has to perform fewer operations while conducting maintenance and clearing old data.Every SSD has a limited lifespan and number of theoretical operations it can complete before going kaput, so cutting down on operations via TRIM extends your SSD's lifespan.
TRIM is automatically enabled for most SSDs, and has been since Windows 7.You don't need to turn it on in most cases, but you can optimize it to make your SSD faster.Related 5 proven ways to speed up an aging desktop (and 1 scam to avoid) Don't fall for various software that promises to turn an old PC into a monster computer Posts By Monica J.
White Adjusting TRIM schedule to speed up your SSD When should you tweak TRIM? The whole process we talked about above happens on a schedule.Most often, TRIM commands are sent once a week, and this is what we actually want to change.Let's say your computer's weekly TRIM operation occurs on Sunday.
Well, if you delete something (which is actually just flagging it for deletion) from the SSD on Monday, it's not actually deleted for real until the TRIM operation occurs.That means your SSD is still keeping that data throughout the entire week.Naturally, that means space isn't actually being freed up on your SSD until long after you "deleted" something.
So if you were deleting stuff in hopes of speeding up your SSD, it's not actually helping until the weekly TRIM operation occurs.However, you can change the frequency of TRIM operations if you want.You could change it to happen every few days, or even every single day.
This would increase the frequency at which your SSD actually deletes old data and consolidates existing data.In other words, you can increase how often your SSD is actually running at peak efficiency, with its data all sorted and its maximum amount of free space.This can, in turn, make your SSD a bit faster if it's been acting sluggish throughout the week.
Now, admittedly, unless your SSD is chock full of data on the regular, the benefits of accelerating its TRIM schedule might be minuscule.If your SSD has 120GB of space available, pushing TRIM forward so it has 140GB instead probably isn't going to make a huge difference.But if your SSD has very limited space left, running TRIM more frequently can ensure you get access to your free space after deleting something as soon as possible.
Another situation where accelerating the TRIM schedule helps is if you use your SSD for heavy and frequent data swapping, which is common with things like large databases or video editing.In those situations, you may be writing and deleting large files very frequently, in which case you'll probably want your data blocks freed up and available as quickly as possible.Outside of that, you probably don't need to worry about it.
If you use your SSD for ordinary, everyday use, the default TRIM schedule is fine.But if you do want to change the TRIM schedule for any reason, it's not hard to do.Quiz 8 Questions · Test Your KnowledgeDIY PC buildingTrivia ChallengeFrom socket types to cable chaos — test your knowledge of building computers from scratch.HistoryHardwareTroubleshootingQuirksTipsBegin 01 / 8HistoryWhat year did Intel release the first consumer processor that popularized the DIY desktop PC market — the Intel 8086?A1972B1975C1978D1981Correct! The Intel 8086 launched in 1978 and gave birth to the x86 architecture still used in PCs today.
It was a 16-bit processor running at 5–10 MHz — a far cry from today's multi-GHz giants.This chip laid the foundation for decades of DIY computing.Not quite — the Intel 8086 debuted in 1978.It introduced the x86 instruction set that still underpins virtually every desktop and laptop processor sold today.
IBM later used the cheaper 8088 variant for its first PC in 1981, which is sometimes confused as the origin point.Continue 02 / 8HardwareWhen building a PC, what does 'POST' stand for in the context of the boot process?AProcessor Output Self TestBPower-On Self-TestCPrimary Operating System TransferDPower Output Signal ThresholdCorrect! POST stands for Power-On Self-Test, a diagnostic routine your motherboard runs every time you boot up.It checks that critical components like RAM, CPU, and GPU are present and functional.If POST fails, you'll often get beep codes or LED indicators to help diagnose the problem.The correct answer is Power-On Self-Test.
Every time you press the power button, your motherboard runs POST to verify that essential hardware is connected and working.Failed POST is one of the first hurdles new PC builders encounter, often caused by unseated RAM or a forgotten power connector.Continue 03 / 8QuirksWhy do experienced PC builders recommend touching a metal part of the case before handling components?ATo warm up your hands for better gripBTo check if the case is properly grounded before installingCTo discharge static electricity from your bodyDTo magnetize your fingers for handling small screwsCorrect! Static electricity built up on your body can silently destroy sensitive PC components in an instant — a phenomenon called electrostatic discharge (ESD).Touching bare metal grounds you and neutralizes that charge before it can zap your CPU or RAM.
Anti-static wrist straps work even better for extended build sessions.The answer is to discharge static electricity.Your body can carry thousands of volts of static charge without you feeling a thing, but that invisible zap can permanently damage a CPU or RAM stick.It's one of the oldest and most important safety habits in PC building — cheap insurance for expensive parts.Continue 04 / 8TroubleshootingA newly built PC powers on, fans spin, but there's no display output.
What is the MOST common first thing to check?AReplace the CPU thermal pasteBEnsure the monitor is plugged into the GPU, not the motherboardCReflash the BIOS using a USB driveDCheck the SATA cables are firmly connectedCorrect! This is arguably the most common rookie mistake in PC building — plugging the monitor into the motherboard's video output when a dedicated GPU is installed.The motherboard's HDMI or DisplayPort is disabled by default when a GPU is present.Always connect your display directly to the graphics card.The most common culprit is having the monitor plugged into the motherboard's video port instead of the dedicated GPU.
When a graphics card is installed, most systems disable the motherboard's integrated video outputs automatically.It's such a frequent mistake that it has become a running joke in PC building communities.Continue 05 / 8HardwareWhat is the purpose of thermal paste when installing a CPU cooler?AIt acts as an adhesive to hold the cooler in place permanentlyBIt fills microscopic imperfections between the CPU and cooler to improve heat transferCIt insulates the CPU from electrical interference caused by the coolerDIt lubricates the cooler's fan bearings for quieter operationCorrect! Even finely machined metal surfaces have tiny imperfections and air gaps at the microscopic level.Thermal paste — also called thermal interface material (TIM) — fills those gaps to ensure maximum heat conduction from the CPU to the cooler.
Without it, air pockets act as insulation and temperatures can skyrocket dangerously.Thermal paste fills microscopic gaps between the CPU lid and the cooler's base plate.Metal surfaces may look flat and smooth, but at a microscopic scale they're riddled with tiny ridges and valleys that trap air — and air is a terrible heat conductor.A thin, even layer of thermal paste eliminates those gaps and keeps temperatures in check.Continue 06 / 8HistoryThe ATX motherboard form factor, which became the standard for DIY desktop PCs, was introduced by which company and in what year?AAMD in 1990BASUS in 1993CIntel in 1995DIBM in 1988Correct! Intel introduced the ATX (Advanced Technology Extended) standard in 1995, replacing the older AT form factor.
ATX standardized component placement, power supply connectors, and airflow direction — making DIY builds far more practical and interchangeable.Nearly 30 years later, ATX and its derivatives like Micro-ATX and Mini-ITX still dominate the market.ATX was introduced by Intel in 1995.It was a major leap forward from the previous AT standard, defining a common layout for motherboards, cases, and power supplies that made mixing and matching components from different vendors straightforward.
That standardization is a huge reason DIY PC building became so accessible.Continue 07 / 8TipsWhen installing RAM into a motherboard with four slots, where should you install two sticks to enable dual-channel mode on most boards?ASlots 1 and 2 (the first two slots nearest the CPU)BSlots 1 and 3, or slots 2 and 4 (alternating slots)CSlots 3 and 4 (the two slots farthest from the CPU)DAny two adjacent slots work equally wellCorrect! Dual-channel mode requires RAM to be installed in matched pairs on alternating slots — typically A2 and B2, or slots 2 and 4.This allows the memory controller to access both sticks simultaneously, effectively doubling memory bandwidth.Your motherboard manual will show the exact recommended slots, usually color-coded for convenience.To enable dual-channel mode, RAM should go in alternating slots — such as slots 2 and 4, often color-coded on the motherboard.
Placing both sticks in adjacent slots (like 1 and 2) forces single-channel operation, which can noticeably reduce performance in memory-intensive tasks.Always check your motherboard manual for the exact recommended configuration.Continue 08 / 8QuirksWhat is 'coil whine' in the context of a newly built gaming PC?AA rattling sound from an improperly secured case fanBA high-pitched noise produced by electromagnetic vibration in inductors under high electrical loadCThe sound of a CPU cooler fan spinning at maximum speed during stress testsDNoise caused by the hard drive's read/write head seeking data rapidlyCorrect! Coil whine is a high-pitched, sometimes whirring or buzzing noise caused by tiny electromagnetic coils (inductors) on a GPU or PSU vibrating at audible frequencies under heavy electrical load.It's technically a defect in manufacturing tolerances but is extremely common and not usually harmful to the component.
Ironically, it's often loudest in high-end GPUs under uncapped framerates.Coil whine is that annoying high-pitched squeal coming from inductors on your GPU or power supply vibrating under electrical load.It tends to be loudest when framerates are uncapped or during heavy computational tasks.While alarming to new builders, it's usually harmless — though some manufacturers will replace components with severe coil whine under warranty.See My Score Challenge CompleteYour Score/ 8Thanks for playing!Try Again How to change your SSD TRIM schedule It's almost too easy Changing your SSD's TRIM schedule is super easy.
Just go down to the search box in your taskbar, and type "optimize." One of the options should be "Defragment and Optimize Drives." Click on that.This will open a very simple window showing all of the drives on your computer.At the bottom of a new window will be a section called "Scheduled optimization".
Click on the button down there that says "Change settings." A new window will open, and you will see that your automatic optimization schedule is likely weekly.From here, you can change the frequency of SSD trimming to daily if you so wish.You may not need to touch these settings Modern SSDs are very efficient already.
In many cases, you won't need to mess around with too many of their settings.But if you are the type of person who loves to optimize absolutely everything to the max, adjusting the TRIM schedule of your SSD might be just what you need to get those last few smidgens of performance ability out of your hardware.
Read More