As much as Android phone cameras have improved over the years (it's a lot), there's still only so much a small sensor can do with poor lighting.You can't just snap a photo in low light and expect it to be good.A few helpful tricks can make all the difference.
The good news is that Android brands have been working hard to maximize the potential of smartphone cameras.There are inherent limits that come with squeezing multiple cameras into thin devices, and that's resulted in some creative solutions.Using Night Mode at the wrong time It's not a universal cure We have to start with what most phones call "Night Mode." Google is largely responsible for kicking off this trend with "Night Sight" in 2018.
Back then, it was a mode you needed to manually switch over to, but now it's usually automatic.That can sometimes be a problem.See, Night Mode captures multiple photos at varying exposure levels and shutter speeds.
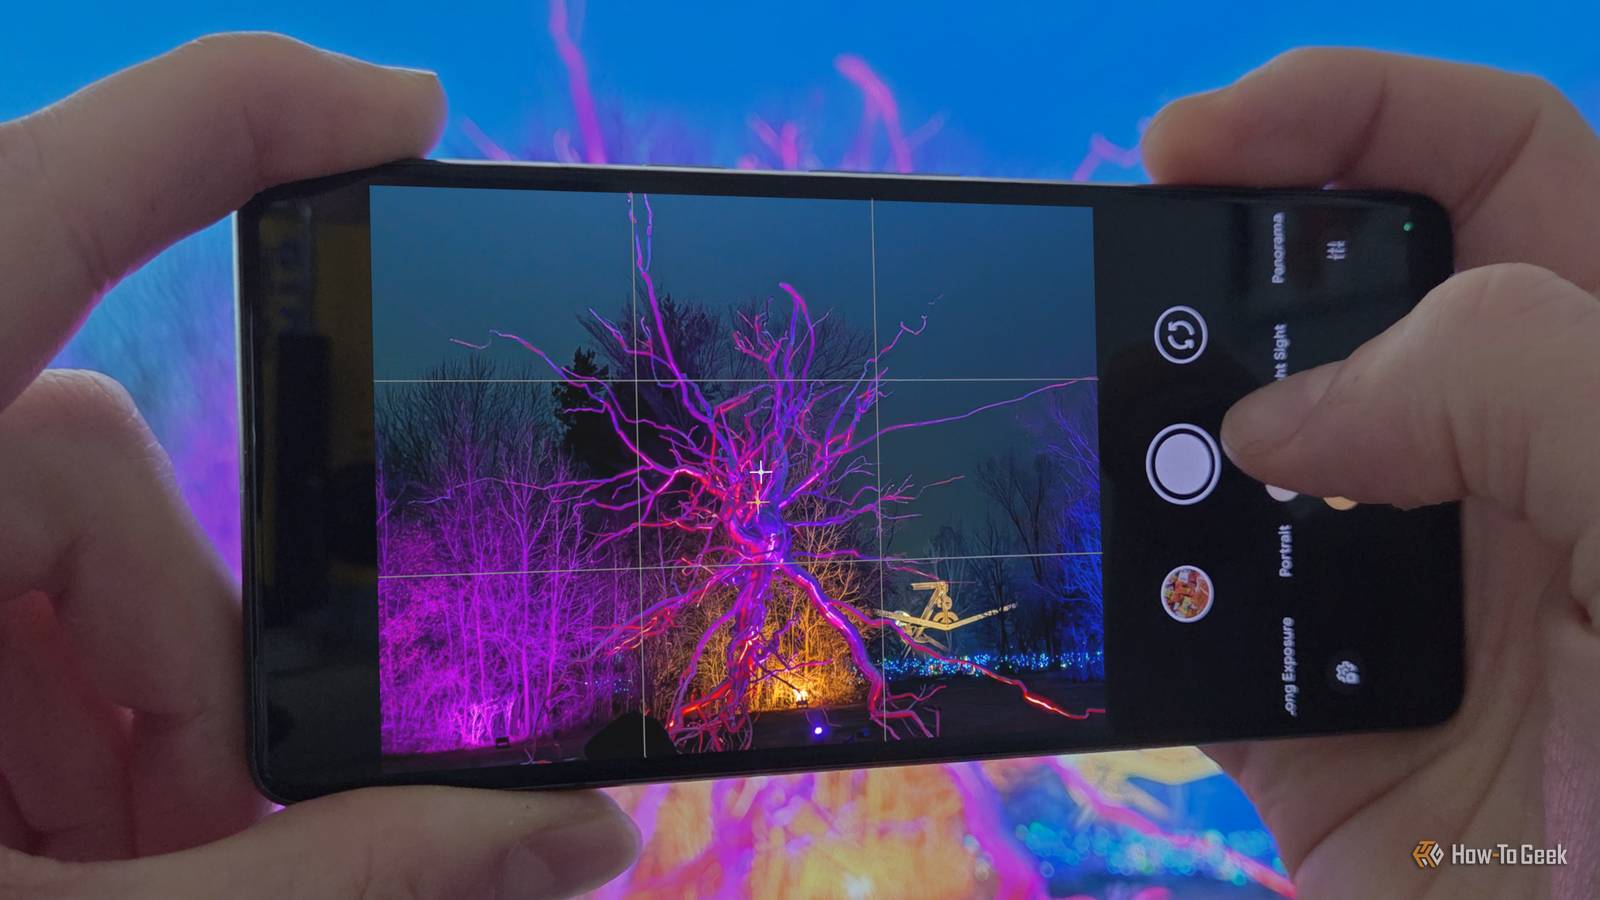
This process takes a few extra seconds than a normal photo.That means it's very important to keep the camera steady.You've probably noticed the little ball in a circle on the screen that helps you keep the phone in its original position.
Therein lies the big limitation with Night Mode: it's not for action shots.Keeping the phone steady is only half of the equation — the subject needs to be steady, too.Any movement will result in blurriness since the multiple photos are essentially being stacked on top of each other.
So, only use Night Mode for still, static shots.Letting autofocus take over You need to be in control If there's one thing to keep in mind when taking low-light photos, it's that you need to be more involved.In perfect lighting conditions, you can pretty much let your phone's camera automatically find the focus and adjust exposure.
You shouldn't do that at night, though.This is where I've made mistakes most often.When it's more difficult for the camera to see what's in the scene — like in low-light — it can easily lock focus on the wrong thing.
You review the photo only to find that everything's blurry except your finger on the lens.This can easily be avoided by tapping the area or subject on the screen to manually focus.It's simple, but it can literally save your photo.
Cropping photos with digital zoom Know your phone's true zoom abilities Close Nearly every camera app will have buttons or gestures for zooming in while taking a photo.However, not all zoom is created equal.There's a massive difference between "digital" zoom and "optical" zoom, and it's important to know which one your phone has.
"Digital" zoom is essentially the same thing as cropping a photo.You're "zooming" in the same way that you would spread your fingers to enlarge a photo on the screen.It cuts down the resolution from the original camera source, which means more noise and less detail.
These are things you can't afford in low-light photos that are already at a disadvantage.Related What’s the Difference Between Digital and Optical Zoom? Zoom is the current buzzword in smartphone camera marketing.But are you really getting 100x zoom? Posts By Harry Guinness "Optical" zoom, on the other hand, uses an entirely separate telephoto camera.
The specific magnification level is usually 2X, 3X, or 5X.It's possible to use digital zoom with a telephoto camera, but as long as you stay on that precise setting, you're not cropping a larger photo.The trick is to check your phone's telephoto camera specs for the magnification level.
For example, I know my Pixel 10 has a 5X optical zoom, so I only ever zoom to that level.Ignore terms like "Super Zoom" and look for the optical number.Overreliance on flash Save it for the '90s digital camera aesthetic You know that flash on the back of your phone? You may think it's for taking photos at night, but it's not.
Let's just pretend it's only there to be a flashlight, because using flash in low-light conditions is a big no-no.The problem is, smartphone flashes are too small and harsh to be any good.They blow out people's faces, create massive shadows, and paint over the background in pure black.
Sure, you'll be able to see more than you might without it, but it likely won't be a usable photo.The one exception is if you're taking a photo in a situation where there is literally no light at all.The results will be much better if you keep the previous two tips in mind and shoot without flash.
You'll be surprised by how much detail will be revealed by simply using Google Photos' automatic enhancement filters.In fact, that's a good general rule for low-light smartphone photography.It's better to make adjustments after they've been taken.
You may not see a whole lot in the viewfinder in the moment, but a few edits can change that.However, blurry Night Mode, wrong focus, cropped details, and blown-out flash are harder to fix.Related This flashlight app was one of the most downloaded Android apps of 2013—until the FTC found out what it was really doing Shining a light on a shady app.
Posts 8 By Joe Fedewa
Read More