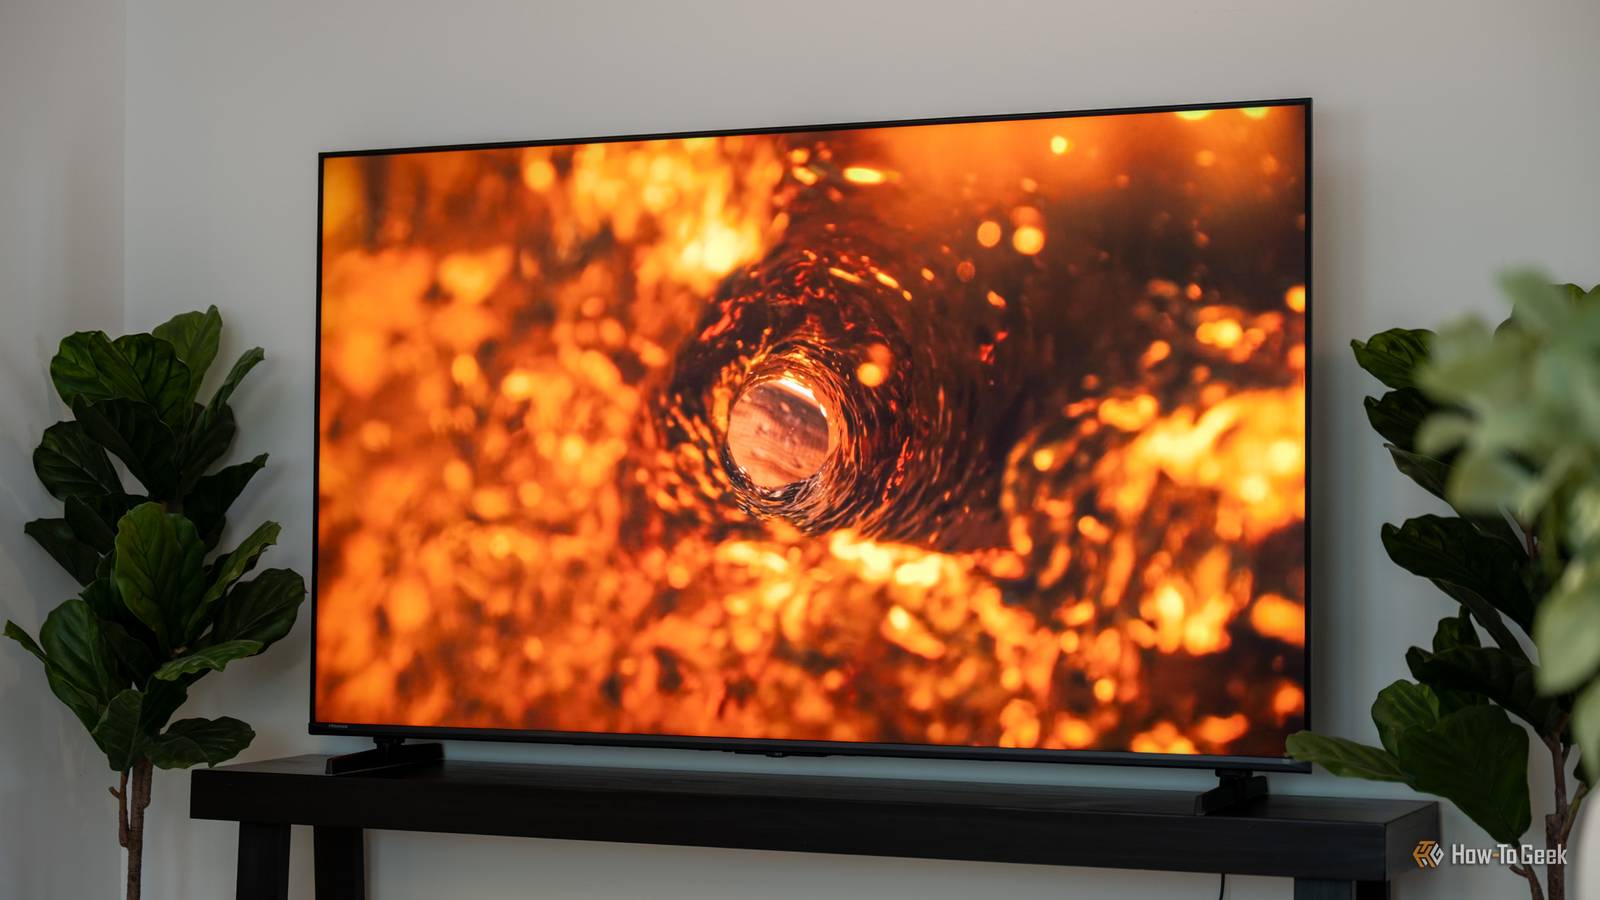
Filmmaker Mode, created by UHD Alliance, is often considered the gold standard picture mode for your 4K TVs.It promises a viewing experience as close as possible to what a filmmaker intended by preserving the right aspect ratio, colors, and frame rates, and by removing unwanted post-processing.But after testing it across multiple screens, I rarely use it.
The problem? Filmmaker Mode assumes you are watching movies in a pitch-black studio.In a standard living room with ambient light sources, windows, and daytime glare, the picture often looks dim, muddy, and lifeless.If you aren't as happy with your TV’s Filmmaker mode as you hoped to be, a few manual settings tweaks can make a surprising difference and bring you an experience close to the actual mode and even better as you tweak it for your own liking.
Start with Cinema or Movie mode as your foundation Lock in Hollywood color accuracy without crushing overall brightness Close Most of us hardly tweak our TVs' out-of-the-box color tuning, sticking to Standard or Vivid modes.Filmmaker mode's primary job is to set the White Point: D65 colors on your TV to match Hollywood standards.However, you can get a similar color tone without being handcuffed by Filmmaker mode's dimmer defaults.
Instead of curating the perfect picture mode from scratch, you can start with Cinema or Movie mode as your foundation.Just head on to your TV settings and enter display settings to find the picture modes.Depending on your brand, select Cinema (Sony, LG, or Panasonic) or Movie (Samsung) instead of Standard or Vivid.
Make sure the color level is set to 50.For the best results, you may also need to adjust the color temperature to a warmer setting, such as Expert 1 (Sony's default for Cinema mode), Warm 2 on Samsung TVs, or the corresponding warm setting on LG TVs.Once you've made this tweak, you can instantly notice your TV screen taking on a warmer, slightly yellowish tone.
Rest assured, this is closer to the industry standard D65 white point, and your eyes should gradually adjust to warmer tones within 60 seconds.Before moving on to brightness tuning, dig into your TV's power or general settings to turn off the ambient light sensor and Eco/energy-saving mode settings, if available.This prevents the TV from dimming itself to save power or adjust brightness to ambient light levels.
Adjust panel luminance and gamma for your environment Bring back shadow detail without washing out the contrast One of the major drawbacks of Filmmaker mode is its relatively low brightness or backlight levels, which are too dim for my liking.Once you've enabled Cinema or Movie mode, go to Picture settings, find Brightness, and set it between 40 and 50.By default, the brightness level is set to 40 in Cinema mode on my Sony BRAVIA TV.
Also, make sure your TV's Black Level staysat 50 and contrast at 90.Do note that these brightness levels will be automatically overridden when you play HDR or Dolby Vision content.Another setting worth tweaking based on your preference is the Gamma levels.
By default, mastering studios target a 2.4 gamma curve (which translates to -2 on my Sony TV), which is perfect for pitch-dark environments.But if your living room has ambient light or windows, leaving the gamma at 2.4 will crush mid-tones and swallow dark details.I usually shift my TV's gamma level to 0 (a 2.2 gamma curve) for daytime viewing, which promptly increases the shadows to cut through ambient glare.
Further, to prevent your screen brightness from constantly fluctuating frame by frame, it's recommended to turn off the Adv.Contrast Enhancer (Sony) or Contrast Enhancer (Samsung).This prevents TVs from artificially boosting brightness during scene cuts.
Tweak motion handling without overdoing it Fix 24fps panning stutter with custom motion settings Filmmaker mode suggests the motion smoothing/interpolation on any TV be turned off.But when I did that, I faced occasional stutters on my TV when viewing slow-panning shots across landscapes or cityscapes.When I dug a little deeper into why it had happened, I found that fast pixel response times on modern TV panels can make this effect more noticeable.
On panels with very fast pixel response times, such as OLEDs, leaving motion smoothing off can make the inherent sample-and-hold stutter more noticeable during slow panning shots.To fix this and find a sweet spot without over-smoothing frames, which brings a "soap opera effect," manually tweaking the motion handling is the solution.Different TV manufacturers call this tech differently — TruMotion (LG), Picture Clarity (Samsung), or Motionflow (Sony).
Once you find the right setting, set the smoothness level to 1 or 2, or whichever you feel is the minimum, but not zero.This instantly removes frame stutters during slow-panning shots without over-smoothing content.Advanced features to actually disable Strip away artificial color boosters and noise reduction Close While most modern TVs offer advanced features such as Live Color or Noise Reduction that dynamically adjust colors and reduce noise in the picture, they can sometimes alter the filmmaker's intended presentation.
A filmmaker may intentionally use a particular color tone or film grain in a scene, but these processing features can alter that completely, resulting in an artificial look.To avoid such effects, first, disable the Live Color (Sony) or Color Enhancer (Samsung/LG) by going to Settings, followed by Display/Picture settings.You should find these options in the Advanced settings section.
Then, turn off Random Noise Reduction or Digital Noise Reduction under Clarity or the corresponding aspect of Advanced settings.Related 5 free fixes that make every smart TV perform like a premium model I've made 5 free "upgrades" to every smart TV in my home, so stop accepting the default settings your TV manufacturer doesn't want you to change.Posts 20 By Jorge A.
Aguilar Finding the right balance between the filmmaker's intent and your viewing experience With these manual tweaks, you're personalizing your TV's viewing experience while preserving the filmmaker's intent.Once you move beyond the comfort zone of using standard presets as they are, you'll find plenty of options to play with and take your home cinema experience to the next level.Start with a simple preset baseline like Cinema or Movie, and curate the experience for your living room—not a Hollywood studio.
Read More