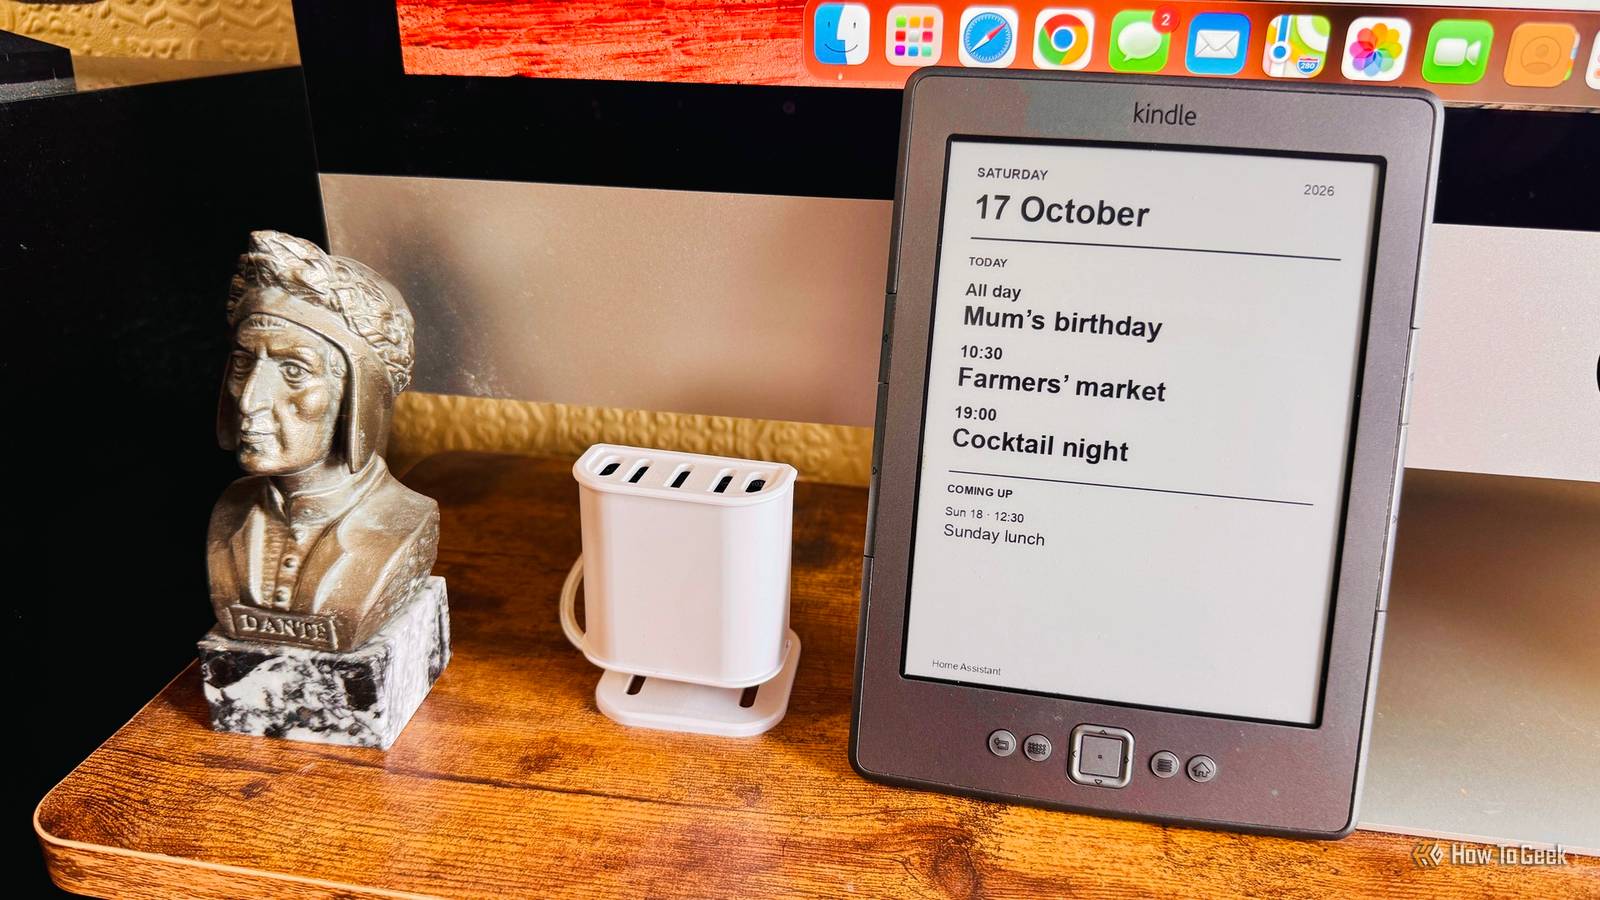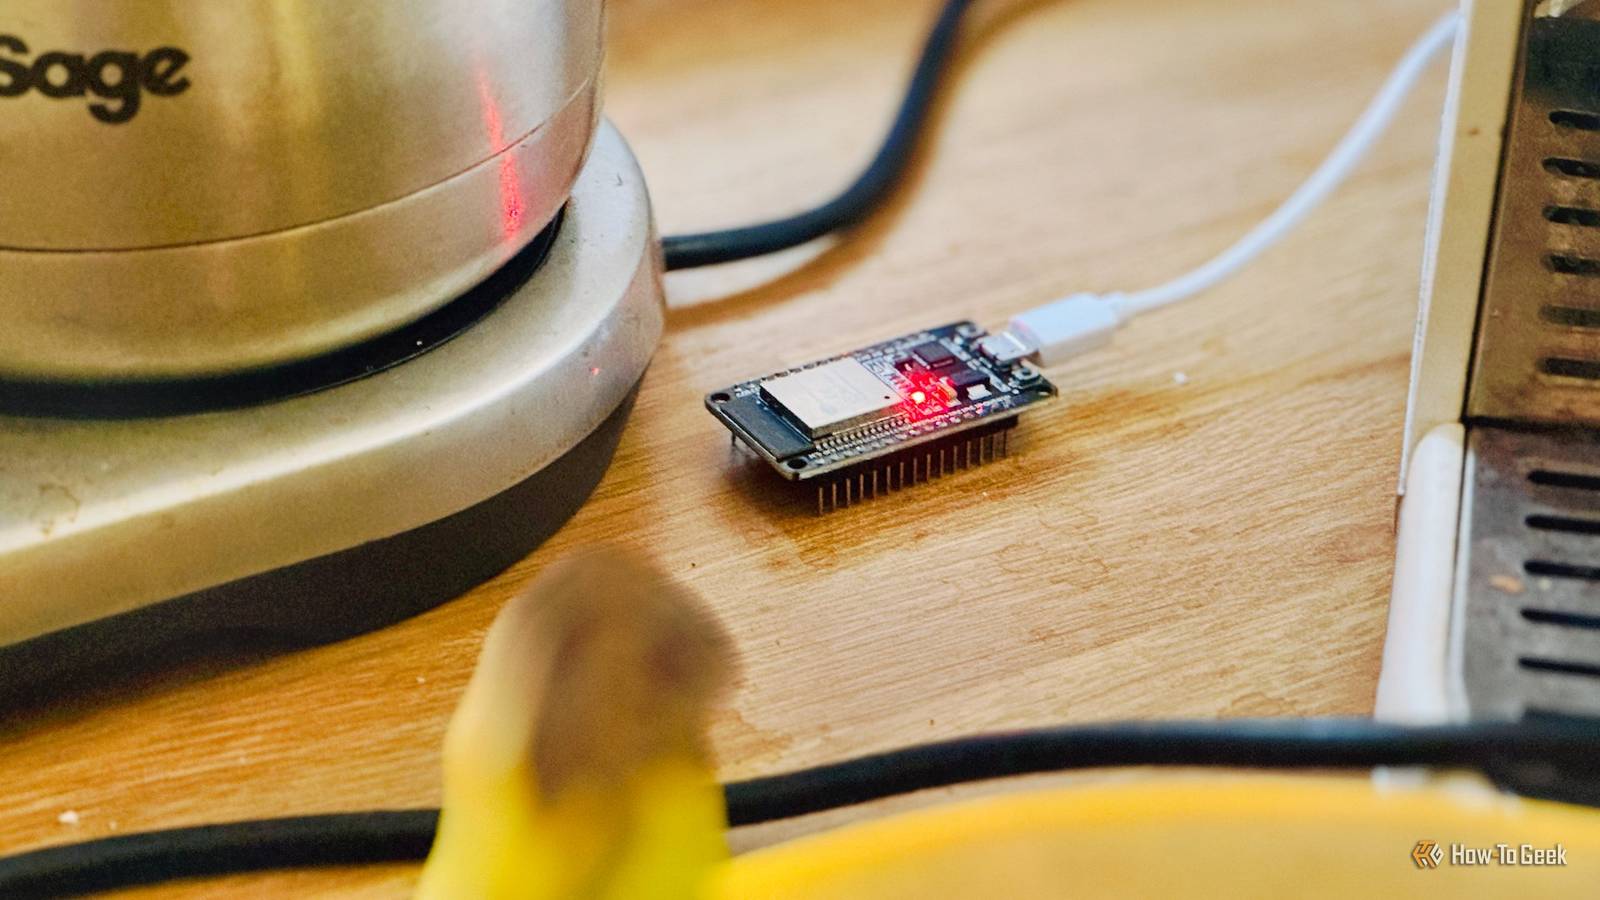
If you've ever thought about building your own smart home devices, you may have been put off by learning how microcontrollers work or writing complicated code.I've built several smart home devices using ESP32 boards, and thanks to ESPHome, I haven't had to write a single line of code to get them working.Why ESPHome is so useful Turn an ESP32 into almost anything you want Close An ESP32 is a small, inexpensive microcontroller, and many boards come with built-in Bluetooth and Wi-Fi, making them a great choice for building your own smart home devices.
You can connect additional components such as sensors, buttons, and LED strips to the pins of the ESP32, often without the need for soldering.Unlike single-board computers like a Raspberry Pi, which run a full operating system, an ESP32 runs dedicated firmware that controls the board and any connected hardware, such as sensors.This firmware needs to be written in a language like C++, but the good news is you don't need to write any code yourself.
ESPHome is a free, open-source platform that can generate the firmware for you.Instead of writing the code yourself, you tell ESPHome what hardware you're using and what you want the device to do.Related My internet went down for hours before I noticed—so I built an internet status light with an ESP32 I know when my internet is on the blink.
Posts 2 By Adam Davidson I started with ready-made projects Some devices can be set up with just a few clicks The easiest way to get started with ESP32 projects in ESPHome is to try one of the ready-made projects.These projects include firmware packages that are already configured, so you don't need to set anything up yourself.All you need is the relevant ESP32 hardware for the project, and you're ready to go.
I first built a Bluetooth proxy.This lets you use your ESP32 to communicate with Bluetooth devices via Home Assistant, extending Bluetooth coverage around your home.Bluetooth is a short-range communication protocol, so if a device is too far from your server, Home Assistant may not be able to talk to it.
You can place a Bluetooth proxy near a Bluetooth device, then communicate with Home Assistant over Wi-Fi and pass the relevant information back and forth to your device over Bluetooth.Building a Bluetooth proxy is easy: connect your ESP32 to your computer via USB, then follow the instructions for the Bluetooth proxy project on the ESPHome website.It installs the relevant firmware on the device, which you can then add to Home Assistant.
Other ready-made projects include a voice assistant, a media player, an infrared and RF proxy, and more.The Device Builder lets you make custom devices You can choose components to add instead of writing code Close The ready-made projects are easy to build because the configuration is already done for you.If you want to build your own custom devices, you need to configure which ESP32 model you're using, which sensors or other devices are connected to it, and what you want the device to do.
Traditionally, this involved writing a YAML configuration yourself.YAML is a human-readable language for configuration files, and while it's far less complicated than writing C++ code, it still has its own learning curve that can be off-putting for many.Thankfully, there's now a much easier option in ESPHome.
In Home Assistant, you can use the ESPHome Device Builder to create configuration files.This visual editor lets you build a configuration file by selecting building blocks such as core configurations, connected components (like sensors), and automation steps.As you select blocks in the Device Builder, the YAML file is automatically generated.
For example, you can choose which ESP32 board you're using, add a block for a temperature and humidity sensor that you've connected to the ESP32, and build a small automation that says that when the humidity rises above 80%, turn on the on-board LED on the ESP32.The Device Builder turns this into a YAML configuration, which it can then compile into firmware to run on your ESP32.I've found that for complicated projects, compiling the firmware within Home Assistant can be a struggle on my relatively weak hardware.
If this is the case, you can compile the firmware on another device such as a laptop or desktop.Home Assistant is where the magic happens The ESP32 doesn't need to handle the automations While you can build automations that run on-device using the ESPHome Device Builder, you don't have to.Because ESPHome integrates with Home Assistant, you can easily add the devices you build to the smart home software.
The different sensors, buttons, LEDs, and other components of your ESP32 device can all appear as entities in Home Assistant that you can monitor or control.You can then build complex automations that can tell your custom smart home device how to behave without those automations having to live on the ESP32 itself.ESPHome handles hardware communication, and Home Assistant handles the logic.
This also makes it much easier to change how your ESP32 device behaves.You don't have to edit the YAML file or recompile the firmware; you can simply change a few things in the Home Assistant automation.ESPHome and Home Assistant really are a perfect match.
You don't need to be a programmer to build your own devices If you don't want to spend a fortune on smart home devices that don't do everything you want them to, there's nothing stopping you from building your own.You don't need to know C++, and you no longer even need to write any YAML.With ESPHome and Home Assistant, you can build great projects without ever writing a single line of code.
Read More