Stopping a 3D print midway in order to enclose an item—be it a weight, a magnet, or another printed object—is a neat trick.But you should never do this with glitter, sand, or similar loose items, or you’re risking a nasty surprise.Today we’re going to learn from other people’s mistakes.
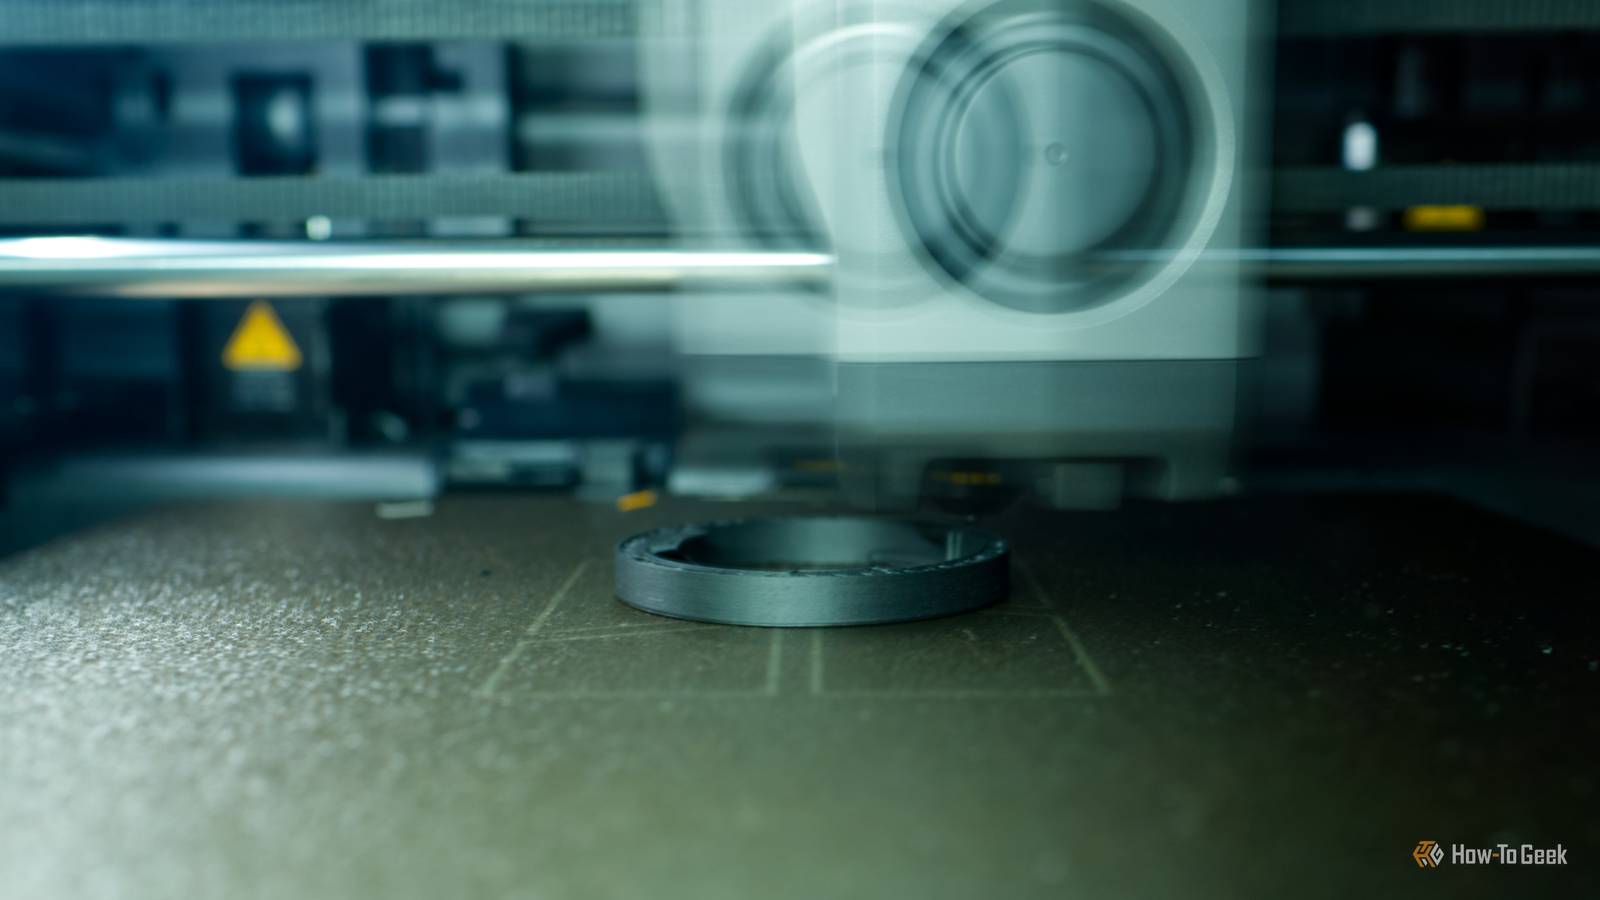
Why pause a print at all? Adding pause points to your prints is easy 3D printers “grow” items from the bottom layer up by depositing layer after layer of filament.If you’re printing a simple cube, you can pause the print right before the top of the cube has been added, add whatever it is you want to hide inside, and then continue the print to seal it back up.Doing this is easy using most slicers.
In Bambu Studio or OrcaSlicer, you can use the layer slider that appears to the right of the object preview box to preview the print before it happens.Once you’ve found the layer you want to pause at, right-click the slider and use the Add Pause button.When the item prints, the job will be paused at the layer of your choosing.
It won’t resume printing until you explicitly give it permission to do so using your printer’s control panel or related software.Ideally, you should leave the item in the printer, though magnetic print beds can help you get the item back in the right place before restarting the print.Perhaps the most obvious reason to do this is to add weight to an item.
A lot of 3D printing enthusiasts use coins and other metal items at this stage in the print.What will cost you cents in loose metal would cost dollars in terms of filament.Filament is also notoriously lightweight, and even printing a solid item is only going to get you so far.
For others, hiding items inside the print is the point.You might want to print a gift that requires the recipient to destroy the box to get to the gift card, cash, or whatever else is inside.I’ve seen cat toys that put balls within balls, though many of these take the form of impressive print-in-place models instead.
Glitter and fans do not mix Sand is even worse Close If you’re thinking that this tale must be inspired by a real-world confession, you’d be right.Redditor u/GetMeOffThisRidePlz posted about the lesson they learned when they decided to print some squishy dumpling toys for their daughter.The items were printed with TPU, a flexible and often semi-transparent filament type that can be challenging to work with.
The poster decided to add glitter to the print for a bit of visual flair to accompany the tactile feel that these toys are famed for, alongside a sparse 2% infill density.This would leave enough space to add glitter, while ensuring that the print had a bit of rigidity to help it maintain its shape.To quote from the original post: “Having to pause the auxiliary fan so I could pour it in should have been my first clue.” After adding the glitter to the center of the item and restarting the print, the Bambu Lab P1S immediately re-engaged the chamber fan, causing glitter to be blown everywhere.
Glitter has a reputation for a reason.Though you can buy biodegradable glitter that should decompose in a reasonable timeframe (unlike the stuff many of us grew up with), it’s still broadly seen as a menace to society.Once you’ve spilled glitter, you’ll be finding it until you move out or the house burns down.
To add insult to injury, the poster revealed that the bottom of the dumpling print leaks glitter and the top didn’t seal up properly.Glitter sucks, but it’s debatable how much damage it will cause to the printer.The general consensus is that glitter accidents can largely be remedied with a good clean, keyboard putty, vacuuming, and re-lubrication of rods and belts.
It’s a hassle, but you’ll be ok.Sand is another substance you might want to turn to when adding weight to prints, and many have considered it before you.The problem with sand is that it’s just as flighty as glitter when exposed to your printer’s fans, with the added hazard of being coarse and potentially very damaging.
What to do instead Custom G-code or superglue The easiest remedy is to avoid using glitter or sand in the first place, but if you do want to enclose some sort of loose substance inside a print, there are options.The first is to add your own custom G-code for that specific layer, which prevents the fans from turning on when you resume the print.In Bambu Studio and OrcaSlicer, you can do this by right-clicking the print layer slider and choosing Add Custom G-code.
The caveat here is that you’ll need to know exactly what G-code to use for your specific printer, and trust that you’ve got it right.Getting it wrong will result in the aforementioned glitter bomb (or worse).Alternatively, you might just want to use the cut tool to cut your item in two along the horizontal axis.
This will print the item in its open state, and a “lid” alongside it.You can then use a dab of superglue to seal the two up.Looking for more 3D printing tips? Check out some slicer tips that can speed up your prototypes.
Read More