You can guess why the “C3” in the name – an ESP32-C3 chip at the heart.By now, I’m well familiar with modern radar presence sensors, having used and reviewed the Seed product and various from Apollo to name, but two.I wrote this blog entry on January 7, 2026 and added the pretty images in May 27.
It’s been a very busy year to date.I did think Apollo was going to be unbeatable, and the jury is out for accuracy.However, looking at the new IoTorero presence sensor, it is production boxing, not 3D printed.
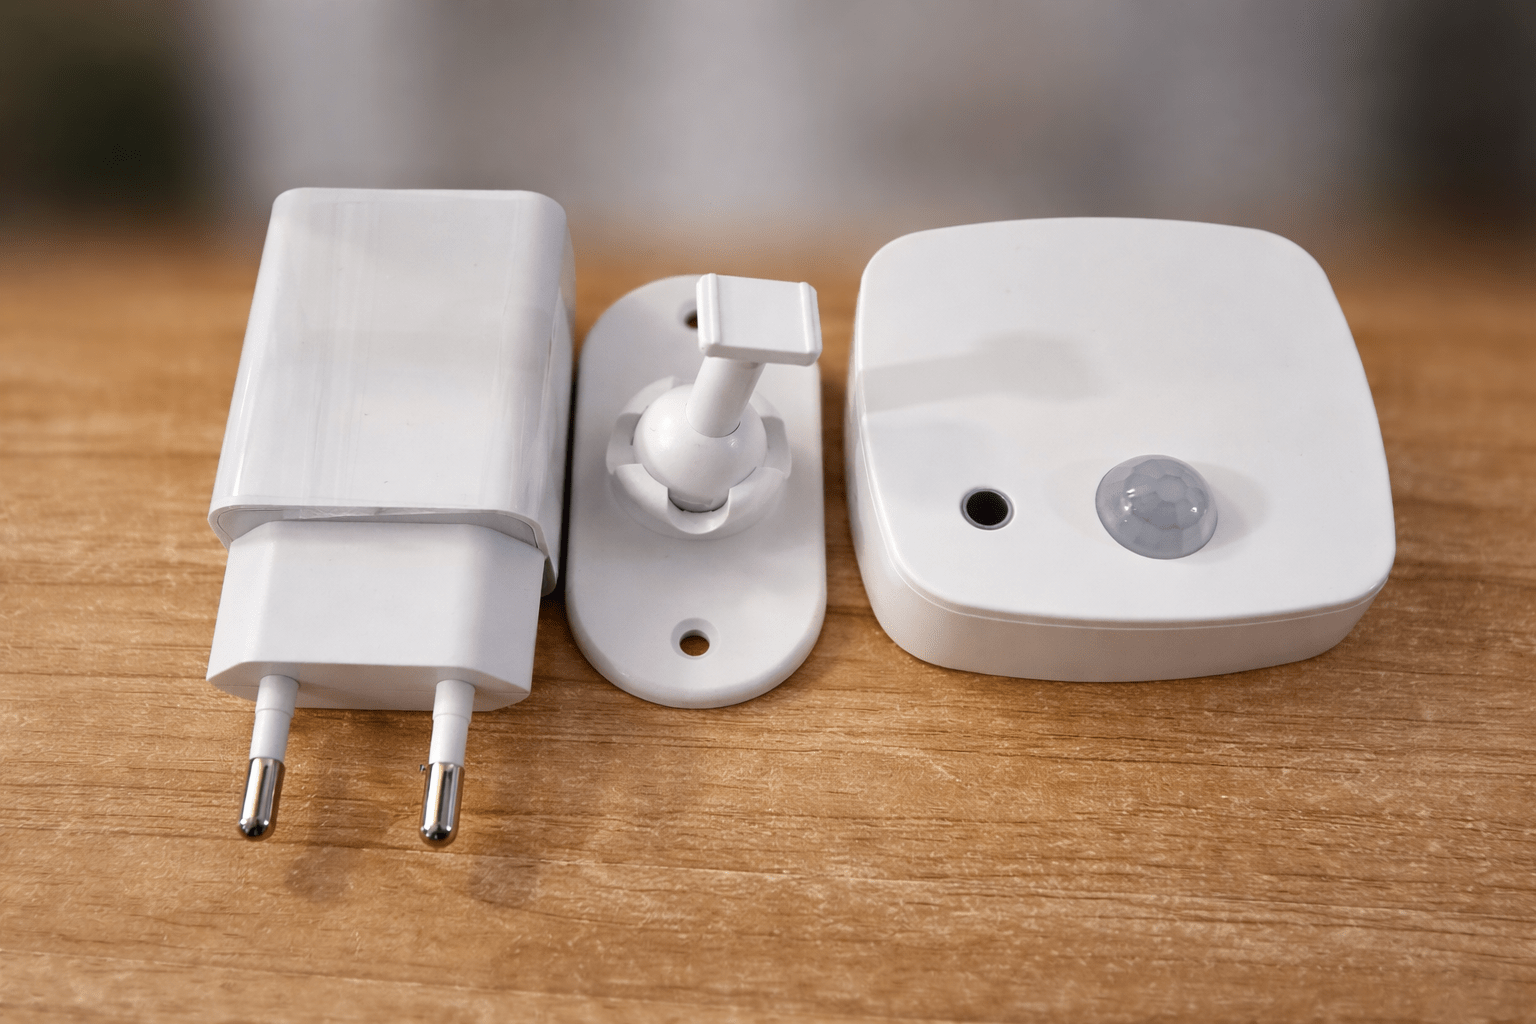
It looks very nice and simple.It also has a PIR sensor and it’s the easiest I have come across to set up yet.The unit comes complete with its own USB -C Connector and power supply, as well as instructions and various fitting tools.
However, I just took the main unit out of the box and plugged it into a handy USB-C lead I had lying around.If you take a look here you’ll see the general idea for adding the new IoTorero-branded devices to Home Assistant – suffice it to say that with power applied, a little blue light on the right-hand side of the unit started flashing at which point I told my phone to go looking for new access points, and sure enough, one appeared.I went to that in the phone, and it showed me my Wi-Fi access points.
I selected the nearest, and that was it.The unit was all set up on my network which took merely a few seconds and no work on my behalf.I then went to Home Assistant, and lo and behold, a new device had appeared.
I saved it with a name that suited me rather than the rather long name given by default.I just called it Athom Presence.Mainly because I still remember the company branded their products as Athom until not that long ago.
But looking at the codes in their software can you blame me? They all start “athom”… Looking at the new device in Home Assistant, I find a large selection of entities to play with – just like the Apollo units.This is going to take some going through – for now, this has all the kinds of entities you might expect in one of the Apollo units… including multi-target tracking and the actual radar device as you can see above is the LD2450 – which I’ve used quite a lot now.Not entirely sure where the PIR comes into this.
Multi-target is turned on by default.Bluetooth is turned on by default for using the unit as a BT Proxy and there’s more.The IoTorero doesn’t have the handy RGB light of the Apollo units – a @(very) minor shame.
For comparison – check out my Apollo blog entry – there is no CO2 sensor in the IoTorero product but then that’s an optional extra in the Apollo units.We’re about to move to a larger home and you can be sure that this Iotorero human sensor will find a place there – more when we are in and settled.There is lots of information on using LD2450-based devices in the ESPHOME LD2450 documentation.
I like it.Finally (update May 2026) I wrote about the Apollo units some time ago and in Home Assistant I added a nice graph courtesy of the home assistant “custom:plotly graphs”… here is one modified for the Iotorero unit using entities like athom_presence_zone_1_x1.Sadly the little blue guy is right up at the top as my hand had to reach the keyboard while typing up this blog entry… The units are mm.
Ah but moving VERY quickly I could get about 1.5metres away from the PC and then rush back to hit PrtSc.All good but I’ve done something wrong as I asked my wife to come into the room and it could only see one person not two… I’m almost suer that’s down to me.When I crack it I’ll include the HA code..
Finally don’t forget there is also a light level sensor and simple PIR.
Read More