While there are some interesting specialty filaments for 3D printing, most of us stick with basics like PLA.It has many great qualities, but I’m often left feeling like my prints don’t feel substantial enough.The solution isn’t more infill—it’s plaster of Paris.
What do I mean by “substantial”? Well, take my custom vintage-inspired smart speaker for example.On first glance, it looks like wood and metal, but pick it up, and you’ll quickly realize there’s not much to it.In other words, it feels cheap.
Weight has practical purposes, too, and I’ve been trying to think of ways to add more to my prints without using more filament.I think I finally have the right method.Plaster of where? Weird name, effective purpose If you look around popular 3D printing communities, you’ll find a few common suggestions for adding weight to prints.
The two most popular seem to be sand or metal in the form of BBs and washers.Personally, I’m not a fan of these options.Loose sand is messy, and I worry about trying to enclose it mid-print.
Metal BBs are heavier than sand, but you’ll hear them rattle around any time the object is moved.Washers are also quite heavy, but the size can be limiting—they don’t fill a void as well.Plus, metal weights are always going to be the most expensive.
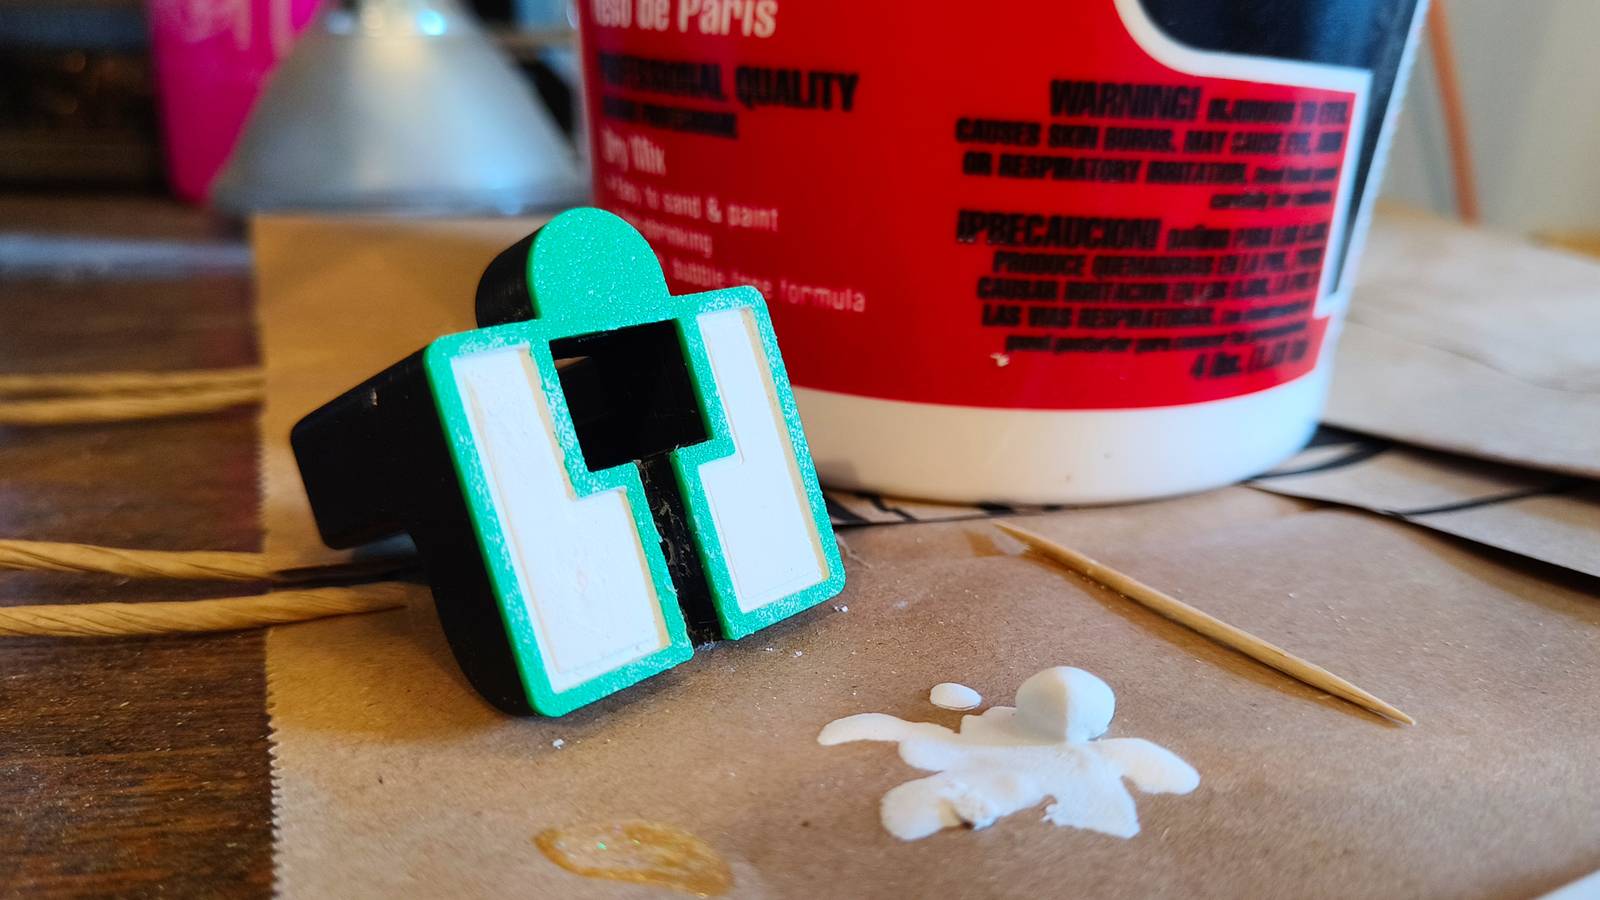
The perfect solution would be something that can completely fill any shape or size of cavity, like sand, but is solid like metal.Recently, I remembered I had a bucket of plaster of Paris in my garage and decided to use it to add some weight to a smartwatch charging stand.It worked perfectly.
Plaster of Paris is also known as “gypsum plaster,” and it’s the same stuff you find inside drywall.The name comes from the fact that it was originally made from a large deposit of gypsum in the city of Paris.Nomenclature aside, it’s a fast-setting plaster that’s cheap and super easy to work with.
Adding weight to 3D prints with plaster Some pre-planning goes a long way First things first, you can buy plaster of Paris from any hardware store—it’s not a specialty product.My local Home Depot has a 4 lb carton for only $10.That’ll last you a if you’re only using it in 3D prints.
You’ll likely want to mix it up a little differently than the instructions explain.Typically, plaster of Paris is used for drywall applications, which require a thick, spreadable paste-like consistency that won’t drip down the wall.However, for our purposes, a runnier, pourable texture will work the best.
But I’m getting ahead of myself.Plaster of Paris For general wall and ceiling repairs and so much more.Sets fast in 20-30 minutes without shrinking.
Smooth formula provides great results every time.Can also be used to mix your own DIY version of chalk finish paint.See at Home Depot Expand Collapse Before you start mixing plaster and water, you need to think about where it will go.
While some weights can be added mid-print, I wouldn’t recommend that with plaster of Paris.Instead, design a cavity into the bottom of the object.It’s a lot easier than you might think.
Here’s a simple model I whipped up in Fusion for a Galaxy Watch charger.I’d like it to have some weight to it so it doesn’t slide around on my nightstand so much.So, I simply started a sketch on the bottom of the model and used the Offset tool to create a thin perimeter.
Then, I extruded the shape into the object to cut away a small cavity.Alternatively, you could use the Shell tool to hollow out the entire model (last image in the gallery below).I chose not to do that because I only wanted to fill the bottom portion with plaster.
You can probably guess how the process goes from here.After printing the model, mix up a batch of plaster of Paris to fill the cavity you created.This isn’t an exact science.
Just estimate the portions and ratio of plaster to water until you have a thick, but pourable mixture.Fill up the cavity and let it dry.Simple as that.
Another tool in your arsenal Close The cool thing about plaster of Paris is that it dries pretty quickly.Unless you’re filling a huge cavity, it will be solid to the touch in under an hour.It’s also incredibly easy to sand and wash away if any of the mixture spills out.
Just like that, you’ve added weight that perfectly conforms to the shape of your model and doesn’t even need to be contained with a cap.Of course, you don’t have to stop at using it only for adding weight.I’m already thinking about how I could use plaster of Paris with 3D printing to create molds for casting—but that’s another article.
It’s a cheap, easily accessible material that all DIYers should be familiar with.Related I was wrong about 3D printed phone cases Unlocking a new ability.Posts 3 By Joe Fedewa
Read More