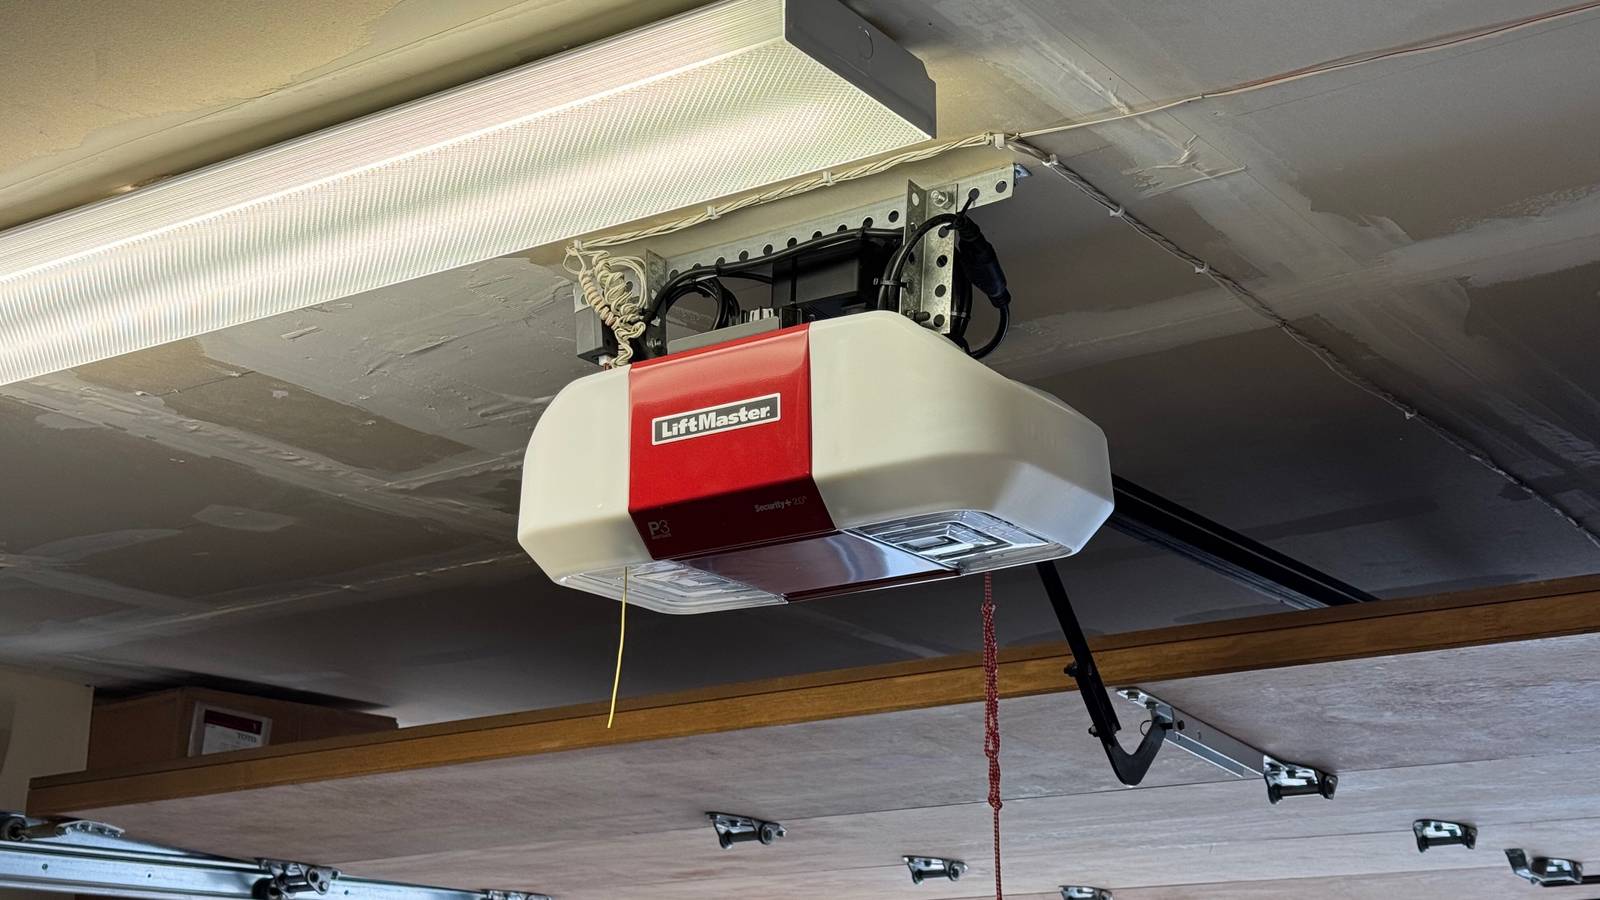
Opening a garage door manually is no fun, but even a basic garage door opener can do the job at the push of a button.Smart garage door openers are even better, allowing you to control your garage door remotely, but they don't always come cheap.You may be able to turn your dumb garage door opener into a smart one for as little as $10.
You don't need much to make your garage door opener smart A few inexpensive components will do To turn a compatible garage door opener into a smart version, you only need a handful of components.You’ll need a relay module that can trigger the garage door opener, some wires to connect things up, an ESP32 board to allow Home Assistant to control the relay remotely, and a USB charger to power the ESP32.If you buy inexpensive components in multipacks, you may be able to get all these components for around $10.
If you want to know when the garage door is open and when it's closed, you'll also need a contact sensor.You might want a second contact sensor if you want to know when the garage door is completely open as well as completely closed.Even if you buy two contact sensors, the total cost can come in at under $20, which is a small price to pay to make a garage door opener smart.
Seeed Studio XIAO ESP32C3 Brand Seeed Studio The Seeed Studio XIAO ESP32-C3 is the perfect budget-friendly microcontroller for smart home projects.With Wi-Fi and Bluetooth built-in, it also features a super deep sleep mode for low power usage when it isn't doing anything.The compact size makes this ideal for building smart home projects, and ESPHome allows it to easily integrate into Home Assistant.
$5 at Seeed Studio $10 at Amazon Expand Collapse Checking compatibility and connecting the relay The relay mimics that wall button Ensure that the garage door opener is disconnected from power before you start installing any wiring.You should only ever connect wires to the low-voltage wall button terminals and should never modify or interfere with the mains-voltage wiring inside the garage door opener.If you are not comfortable working around electrical wiring, consult a qualified electrician or technician.
This project works by reproducing what happens when you press the wall button for your garage door opener.For many compatible models, there are two low-voltage terminals that activate the opener when briefly connected.However, some modern openers use proprietary encoded wall controls and cannot be triggered by connecting a basic relay directly across the wall-control terminals.
If you still have the manual or can find it online, this is the best place to look.It should show the correct terminals to connect to the wall switch in the wiring diagram.If you can't access the manual, and your wall switch is already connected, you can follow the low-voltage wires running from the wall switch to see which terminals on the garage door opener they're connected to.
Once you've located the correct low-voltage terminals, you can connect the common and normally open terminals from your relay to the control terminals for the wall button.You can leave the wall button connected in parallel, so you can still use the switch.You can then connect the relay to the ESP32.
If your relay module can be powered and triggered directly by the 3.3V signal from the ESP32, you can connect it directly.If it uses a 5V relay coil, it will need a suitable 5V power supply, and you may also need a transistor driver or logic-level converter so that the ESP32’s 3.3V GPIO signal can control it safely.Related The best smart home sensors are the ones you'll never see Your smart home doesn't need to look like one.
Posts 1 By Tim Brookes Flash ESPHome and test everything You don't know it works until it works With the relay in place and hooked up to your ESP32, the next step is to get the ESP32 to talk to both Home Assistant and the relay.Thankfully, you don't need to write any complex microcontroller code; you can use a less complicated configuration file and let ESPHome convert this into the firmware for the ESP32.If you're not sure where to start with the ESPHome configuration, an AI chatbot may be able to help.
If you provide the relevant details such as which GPIO pin controls the relay, whether the relay is active-high or active-low, and that the relay must pulse briefly rather than stay switched on, a chatbot can generate the YAML for you to test.ESPHome will validate the configuration before flashing, but you'll still need to test it out to ensure that everything works as you expect.If all goes to plan, you should end up with a control in Home Assistant that will turn on the relay for a moment, which then triggers the garage door to open or close.
Add a sensor to expose the garage door's state You'll want to know when your garage door is open Close The final piece of the puzzle is adding your contact sensor to determine the state of your garage door.You can wire this sensor up to your ESP32 and create a single device that exposes both the garage door control and the open/closed state.You don't have to do this, however.
There's no reason why you can't set up a contact sensor independently of the garage door opener.You'll get two devices in Home Assistant instead of one, but the information you have access to will still be the same.Once it's working, the fun begins Home Assistant can do far more than a standard controller Once your smart garage door opener is up and running, you can enjoy the benefits of having added it to Home Assistant.
Since Home Assistant can now both control your garage door and determine when it's open or closed, it opens up a world of possibilities.You can set up alerts that let you know if the garage door has been open for more than 15 minutes.You could also use an actionable notification to close it, but for safety, you should only add unattended remote closing if your setup includes appropriate obstruction detection and audible and visual warnings.
You can create automations that open your garage door automatically as you're pulling up to your house in your car or even open your garage door just by asking your voice assistant.This flexibility can be well worth the time it can take to set it up.A little effort can save you a lot of money A smart garage door opener can cost as much as $100 more than a dumb one.
Even a smart add-on can set you back as much as $80.With a little time and effort, you can make your garage door opener smart for under $20 and save yourself a significant amount of money.
Read More