Google has kickstarted a new category of premium, AI-focused laptops with Googlebooks, and that means a brand-new operating system to master.Taking screenshots should be a simple affair, and fortunately it is pretty straightforward on Googlebook OS.I'll break down how to use the new Googlebook Screen Capture tool, which should handle all your screenshot and screen recording needs.
Accessing the Screen Capture tool on your Googlebook Lots of ways to capture the screenshots you need Fortunately, Google has made it extremely easy to either immediately take a screenshot of your entire screen, or to access the Screen Capture tool that gives you more control over what you capture and how you capture it.Here's every trick under the sun on Googlebook OS.To immediately take a screenshot of your entire screen, press Google + S on your keyboard.
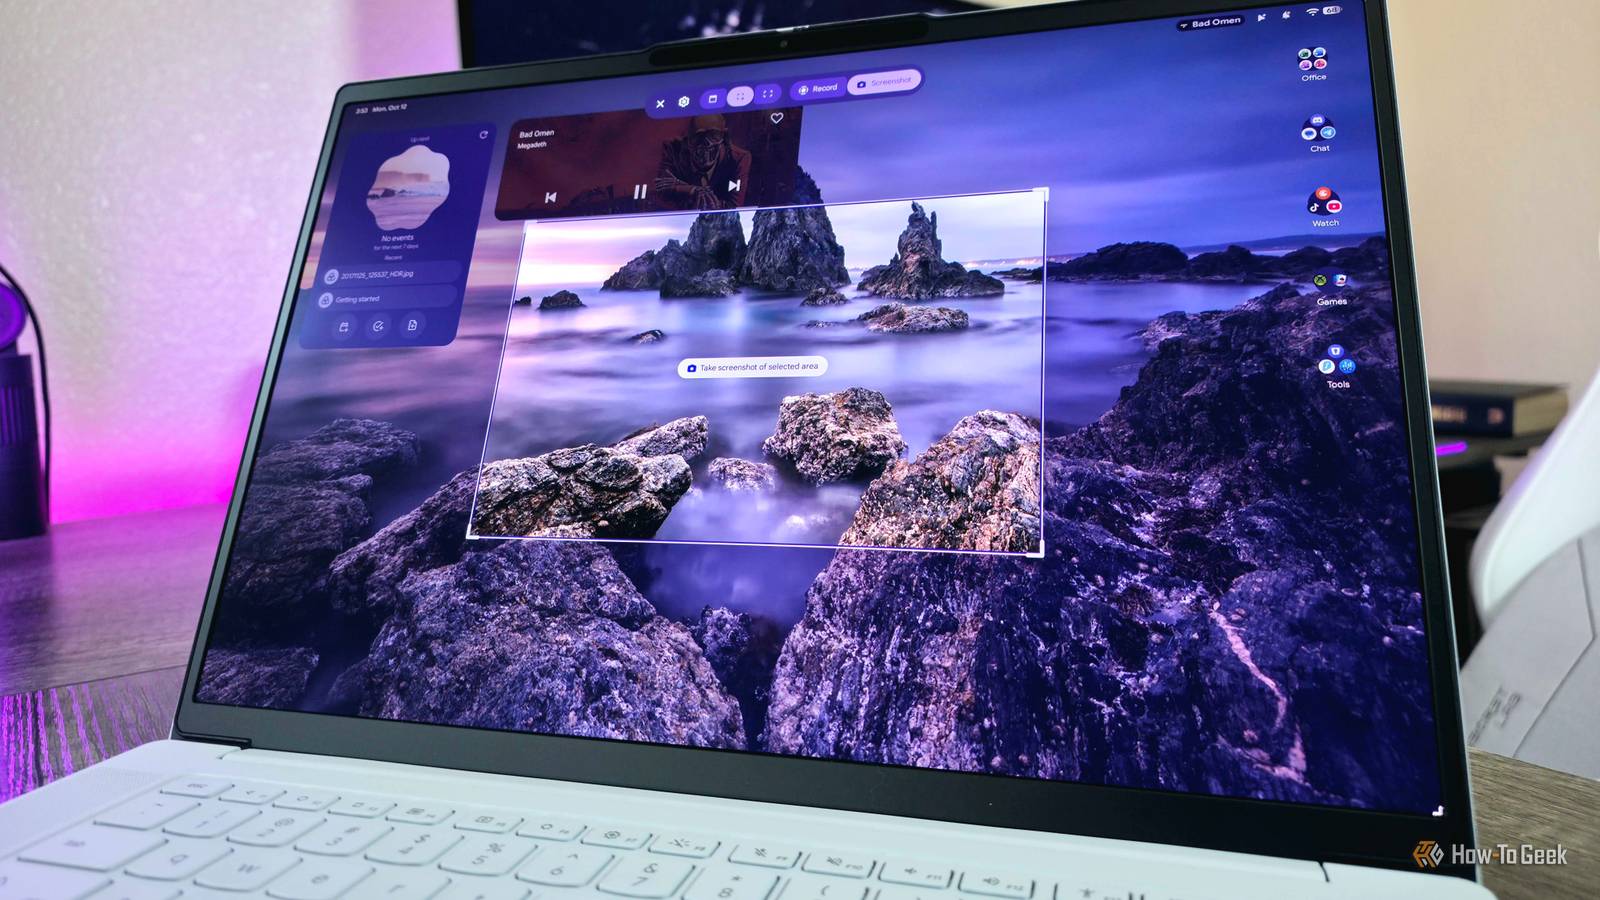
Notably, this takes a screenshot first opening the Screen Capture tool, which means you can screenshot elements that may be closed by opening the Screen Capture tool—or screenshot the Screen Capture tool itself, which I did for this article.To open the Screen Capture tool to the Take screenshot of selected area option (to screenshot just part of your screen), you can press Google + Ctrl + S on your keyboard instead.As this doesn't take a screenshot immediately, it works differently than the previous shortcut does.
You can access the Screen Capture tool by clicking the Screen Capture tile in Quick Settings.You can access Quick Settings by clicking the indicators in the top-right corner of your screen, swiping down from the top of the screen, or pressing Google + Q on your keyboard.If the Screen Capture tile isn't visible by default, you may need to edit your Quick Settings by clicking the Edit Tiles button in the top-left corner of Quick Settings.
Depending on your Googlebook, the F5 key in your function row may be a dedicated Screen Capture shortcut, as is the case with my Lenovo Googlebook 15.If the F5 key doesn't open Screen Capture by default or has a different function, pressing Ctrl + F5 on your keyboard is the Screen Capture keyboard shortcut for Googlebooks.If you are here for screen recording, there's no easy keyboard shortcut to skip straight there—you'll just have to open the Screen Capture tool using any of the above methods and manually select the Record mode.
Tips and tricks for taking screenshots on your Googlebook Everything else you need to know about Googlebook OS' Screen Capture tool Close To be frank, the Screen Capture tool built into Googlebook OS isn't particularly powerful or versatile, falling behind even the Windows 11 Snipping Tool (which has admittedly improved a lot over the years) in terms of features.You can't do something as simple as changing the file type of screenshots, as they'll always be saved as PNGs, for example.There's still plenty to keep in mind when using the Screen Capture tool, though, so let's dive in.
You can choose to take a screenshot of your entire screen, a part of your screen, or a single app window.If you want to capture a part of your screen, you can move the selection box by clicking and dragging inside it.If you click and drag outside the selection box, you can create a new box with the exact shape and dimensions you want.
You can find all your captured screenshots in the Screenshots folder of the Files app, which is always present in the left-hand navigation menu.If you need to navigate to this folder from your Googlebook's home directory, the Screenshots folder is located inside the default Pictures folder.At time of writing, you cannot change where screenshots are saved on Googlebook OS.
You create a new keyboard shortcut for taking an immediate screenshot or opening the Screen Capture tool for a partial screenshot.Open Keyboard shortcuts by pressing Google + / on your keyboard, and then click Customize near the upper right-hand corner.Scroll down until you find Take screenshot and Take partial screenshot, and you can click the Add plus symbol to create a new keyboard shortcut using the Google key.
Opening a screenshot will open the Viewer app, which lets you crop, resize, add text and drawing annotations, print, and share your screenshot.There's also an Edit in Photos button, which lets you use the more powerful editing tools and AI features in Google Photos to edit your screenshot.Speaking of Google Photos, screenshots and other device folders are automatically backed up in Google Photos, but you can enable backup by opening Google Photos, and then navigating to Settings, Backup, Default Backup under Backup options, and finally Device folders under Other options.
Here you can select the local device folders you wish to backup to Google Photos.Related 8 Snipping Tool Features You Need to Know Snip and record like a pro! Posts 1 By Shan Abdul A simple screenshot tool, but it does get the job done The Screen Capture tool for Googlebook OS may not be packed with features, but it is incredibly easy to use and has been consistently , which is important for any screen capture tool to nail.The Screen Capture tool also handles all your screen recording needs on Googlebook OS, and that feature is just as simple to master as taking screenshots.
Read More