Raspberry Pis are popular because they're small, don't consume much power, and are extremely versatile.However, the default method of booting one—from the microSD card—is best avoided if possible.Here's how you can do it.
The trouble with microSD cards on a Raspberry Pi MicroSD cards are great when you need something small, lightweight, and portable.However, if you're trying to run a computer on one, you're asking for trouble.Even in the best case scenario, the microSD card port on the Raspberry Pi tends have a maximum write and read speed around 40 megabytes (320 megabits) per second, even if the microSD card is technically rated for higher speeds.
Moreover, microSD cards are designed to be inexpensive and have high data density, which corresponds to low durability.They're dramatically more likely to become corrupted and suffer a random failure than a solid-state drive.If you're occasionally transferring pictures or storing games for your Nintendo Switch that sort of risk might be acceptable.
If you're trying to use your Raspberry Pi for some kind of long-term project, where stability and longevity matter, then it is probably a risk best avoided.Flash drives, though they're usually much faster than microsD cards, don't offer much better longevity and stability.If you're using a Pi for something you're self-hosting, there is a better option.
You should use an SSD for your Raspberry Pi Solid-state drives are a much better option if you plan to use your Pi for anything in the long term.Unlike microSD cards and flash drives, SSDs are designed to have an enormous amount of data written to them over their usable lifespan—usually they're rated for hundreds of terabytes, but those estimates tend to be a bit conservative.In the real world, drives tend to outlive their rated lifespan.
Part of that longevity comes from the flash memory itself: SSDs use TLC or MLC cells, which are longer-lasting than the QLC you'll find in microSD cards and flash drives.The other part comes from the more sophisticated wear-leveling present on SSDs.Wear-leveling ensures that one group of cells doesn't wear out prematurely by ensuring that *all* cells receive an even number of writes.
That makes SSDs less prone to random sector corruption than microSD cards or flash drives, which use less reliable wear leveling techniques, if they're used at all.Related Please stop using flash drives for backups (do this instead) Don't lose those precious memories.Posts 9 By Nick Lewis As an added bonus, SSDs are typically much faster than microSD cards or flash drives.
Even the slowest PCIe 3.0 NVMe SSDs are around 5x faster than the USB ports on a Raspberry Pi 4.Even inexpensive external SSDs usually have write speeds measured in gigabits per second.That means you're not going to run into any performance bottlenecks because of the drive itself; you'll only be limited by the speed of the USB port, which is plenty fast for most use cases.
On the other hand, the microSD card slot is all but guaranteed to limit you if you do anything remotely intensive.Booting a Raspberry Pi from an SSD Unfortunately, how you boot a Raspberry Pi from an SSD changes depending on which model you have.The Raspberry Pi 5 natively supports an M.2 PCIe SSD via a special hat, so if you have the latest model, booting from an SSD is pretty easy.
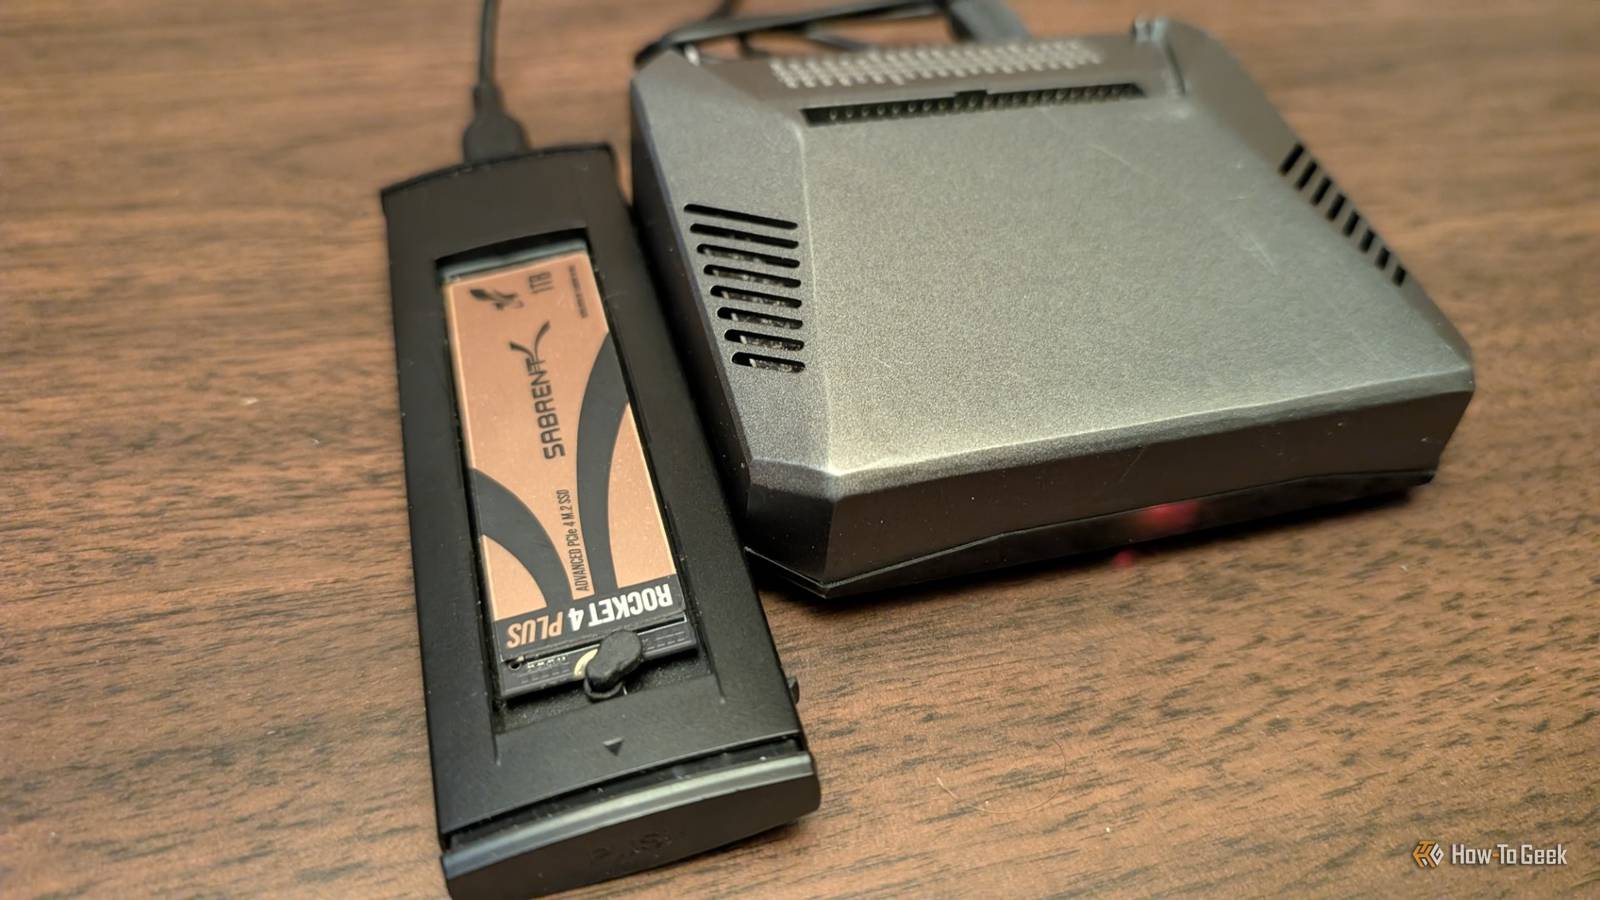
You need to buy the hat, then buy an M.2 2230 SSD.You can buy an official, Raspberry Pi branded model, or buy a different brand.If you're using an older Raspberry Pi, however, like the Pi 4 or the 3b, there isn't native support like that.
However, you can boot the older Raspberry Pi models from the USB port instead of the microSD card slot.In that case, you're only limited by the maximum speed of the USB ports.In the case of the Raspberry Pi 4, your theoretical maximum is 5 gigabits per second, or about 625 megabytes per second.
To configure your Raspberry Pi to boot from the USB drive, you'll need three things: A microSD card A microSD card reader that connects to your PC The Raspberry Pi imaging app Connect the microSD card to your PC with the reader, then fire up the Raspberry Pi imager app and select your Raspberry Pi model.Subscribe for practical Raspberry Pi SSD and hardware guides Get the newsletter for hands-on Raspberry Pi guidance: deeper looks at SSD booting, hardware recommendations, troubleshooting approaches, and project ideas.Subscribe to access practical, usable guidance you can apply to your Pi builds.
Subscribe By subscribing, you agree to receive newsletter and marketing emails, and accept Valnet’s Terms of Use and Privacy Policy.You can unsubscribe anytime.Then, navigate to Misc utility images > Bootloader > USB Boot, and hit next.
Follow the rest of the steps through the imaging software to create your microSD card.Once you have your microSD card in hand, put it into your Raspberry Pi, turn it on, and then wait.There is a green activity light near the red power light that will start blinking quickly but steadily when it is done.
My Pi is in a case so it is a bit harder to see, but it'll be very obvious if it is out of a case.Once the green light is blinking, go ahead and power off the Pi and remove the SD card.Now all you need to do is use the Raspberry Pi imaging software (or Rufus, if you prefer) to burn whatever operating system you'd like to an external SSD.
Luckily, you don't really need a super expensive SSD to breathe new life into your Raspberry Pi—because of the limits of the USB port, almost any SSD will do the trick.
Read More