My experiments with a Pi-hole started as a way to fix a few common problems: a network that was getting bogged down, smart devices phoning home, and ads that made websites unusable.On a whim, I fired up a Pi-hole on my Raspberry Pi (then a 3b) to try and get an idea of what was going on.I didn't really intend to keep it running—I spin up and then delete new services However, the net gains were immediate and very noticeable, so it has stayed around.
A Pi-hole intercepts traffic between your devices and DNS servers A network-wide DNS sinkhole For the cost of a Raspberry Pi (even a Pi-Zero), you can create a device that quietly becomes the most relied-upon piece of hardware in your house.A Pi-hole works by acting like a miniature local DNS server.You tell every device on your network to submit DNS lookup requires (which link common website names to IP addresses) to the Pi-hole.
If the DNS lookup involves a domain on a block list, then the request ends there, and the device gets nothing back.Effectively, that domain is completely blocked.If the address isn't on a block list, the Pi-hole forwards the request to an "upstream" DNS server, like Cloudflare's 1.1.1.1 or Google's 8.8.8.8, which sends back the appropriate IP address, allowing you to connect.
Related Your DNS server knows every website you visit—here's why Google's 8.8.8.8 is different 8.8.8.8 offers more than just a simple alternative—there are potentially privacy benefits, too.Posts 35 By Nick Lewis In that position, the Pi-hole can filter ads, block trackers, prevent you from accidentally stumbling onto malicious or phishing domains, and more.It is a customizable filter for the entire internet.
You don't have to manage per-device settings or create accounts for every family member.Furthermore, because it is self-hosted, your filtering rules and query data stay on hardware you own rather than being handed over to a third-party cloud service.When you use this approach, one installation protects every device automatically.
You get coverage for devices that can't run traditional security or privacy extensions, such as smart TVs, gaming consoles, and IoT gadgets.A Pi-hole is great for diagnostics and troubleshooting The real draw for me initially wasn't the ability to block domains, but rather its ability to keep an eye on my network activity.The admin dashboard logs every DNS query on your network in real time.
This makes it trivial to spot a device that's wasting bandwidth by phoning home to the manufacturer or a suspicious app making unexpected outbound connections.Overzealous block lists can cause problems and your Pi becomes essential By routing all your traffic through one device, you create a single point of failure.If the Pi goes down or the microSD card becomes corrupted, DNS breaks for the entire network and the internet stops working.
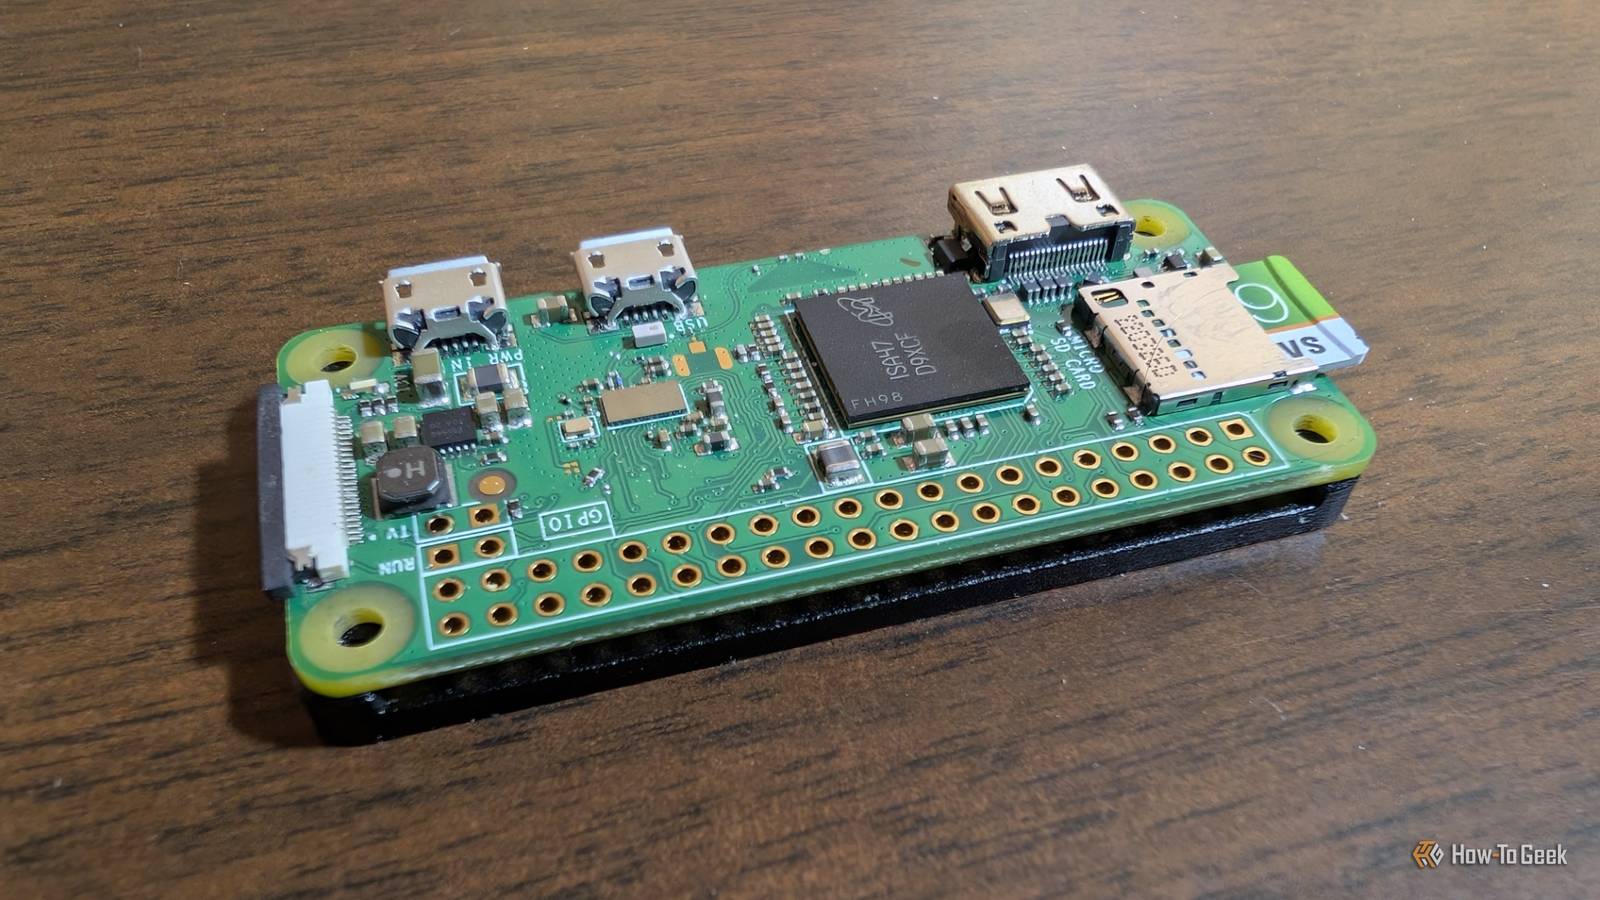
I'd recommend running a second instance on a low-power, inexpensive device to ensure that doesn't happen.Raspberry Pi Zero 2 W Brand Raspberry Pi CPU Quad-core 64-bit ARM Cortex-A53 Memory 512MB of SDRAM The Raspberry Pi Zero 2 W is super tiny and super affordable, but it packs enough computing power for a variety of DIY projects.You can use it to create a handheld retro gaming console, for Klipper/Mainsail, a super compact home or media server, and more. $40 at Amazon $19 at adafruit $16 at CanaKit Expand Collapse You also have to accept that it isn't a catch-all solution.
It blocks ads served from different domains, but it can't block video ads served from the same domain as the content, which is the case for sites like YouTube.You will also occasionally encounter false positives that cause a problem with a website or website feature, which requires you to manually tweak the blocklist to fix the problem.It is more than diagnostics or adblocking Once you have it up and running, you can pair it with software like Unbound to create a local recursive resolver, which makes your lookups faster and more private by removing the need for an upstream DNS server entirely.
It can also serve as the backbone for custom local DNS, which allows you to give you to give easy-to-remember names like "nas.home" or "printer.home" to your devices instead of IP addresses.If you use a VPN, you can also configure the Pi, so your filters stay active .Getting a Pi-hole running What do you need? To get started, you'll need a Raspberry Pi.
If you want to run multiple services on the same device, go for a Raspberry Pi 4 or 5.If you're just hosting a Pi-hole, a Pi Zero 2 W is plenty.You'll also need a reliable power supply, a microSD card, and a case.
Setting up the Pi and Pi-hole Start by flashing Raspberry Pi OS Lite (64-Bit) to the microSD card using Raspberry Pi Imager.Make sure that you enable SSH; you'll need it to configure the Pi remotely later.Once everything has been formatted and the Pi is booted up, SSH into it and run the official Pi-hole installer script.
It'll walk you through choosing an upstream DNS provider and a few other configuration settings.While that installs (it won't take long), set the Pi as the DNS server within your router's DHCP settings.Once that is done, log into the web dashboard to confirm that your Pi-hole is successfully receiving DNS requests from devices on your network and blocking things according to your blocklist.
A Pi-hole is the self-hosted service that keeps on giving People start using a Pi-hole because it promises to function as a network-wide adblocker, but the reality is that it is much more than that.Today, my Pi-hole blocks some ads, prevents me from stumbling into malicious domains, stops my smart devices from phoning home, and serves as an irreplaceable way to keep an eye on what device on my network is actually doing behind the scenes.
Read More