I had spent months refining my Linux desktop environment.Every config file had a place, my command line tools were selected for the way I worked, and my desktop shortcuts, panel layout, themes, and custom scripts were configured exactly the way I wanted.I had already automated much of the process.
I could clone my repositories, install packages, restore configuration files, and run setup scripts.Even then, rebuilding a Linux desktop from scratch remained a time-consuming process.Instead of rebuilding the system after installing Linux, I wanted to take the system I was already using, turn it into an ISO, and install that environment on another machine.
That led me to Penguin’s Eggs.Discovering Penguin’s Eggs Turning a running Linux installation into an ISO Penguin’s Eggs is designed to remaster an existing Linux installation into a bootable hybrid ISO.The current project supports all major distros.
Basically, it takes the running operating system, prepares the filesystem for remastering, creates a compressed SquashFS image, and builds the bootable ISO around it.Related I let Claude customize my Linux PC—and it did a better job than I ever could If you already let Claude write your code, why not let it write your dotfiles too? Posts 8 By Dibakar Ghosh Penguin’s Eggs is not something new and has been around for some time and has also evolved internally.The command-line interface is exposed through eggs, while coa is the Go-based orchestrator and works as an interchangeable command alias.
Close Configuring Penguin’s Eggs Choosing what goes into the image Close Before starting the remastering process, I used the configuration interface: sudo coa config The current configuration interface lets you modify settings such as the live user’s password, compression algorithm, compression level, ISO filename prefix, and the list of files that should be excluded from the SquashFS image.The settings are stored under /etc/penguins-eggs.d/.This is useful because the default configuration does not have to dictate how every ISO is produced.
For example, if I want to exclude a directory from the image, I can add it to the custom exclusion list rather than manually deleting the directory from my source system.The configuration step also gave me a chance to decide whether I wanted a clean live system or a clone containing my user data.A normal remaster produces a live system without preserving the complete contents of /home.
The clone mode is specifically intended to preserve users and /home in the generated ISO.Creating the bootable ISO Remastering the running system Close Once the system was cleaned and configured, I could create the ISO with the current command: sudo coa remaster The resulting ISO is written to the Penguin’s Eggs working directory, which defaults to /home/eggs.Since I wanted the ISO to contain my user environment, I used clone mode: sudo eggs remaster clone The clone option tells Penguin's Eggs to preserve users and /home in the generated image.
Related I replaced Docker Desktop with native Linux containers and never looked back Your containers should not need a secret virtual machine to feel simple! Posts 5 By Umair Khurshid During remastering, Penguin’s Eggs builds the live filesystem and packages it into a bootable hybrid ISO.The current project supports both BIOS and UEFI booting, which makes the resulting image suitable for testing in a virtual machine or writing to a USB drive.The amount of time required depends heavily on how much data needs to be compressed.
A system with a large home directory and many installed applications will naturally take longer than a minimal desktop installation.When the process finished, I checked the output: ls -lh /home/eggs/*.iso At this point, my running Linux installation had become a bootable image.Testing the result Booting the ISO before installing it Close I did not immediately install the image onto another physical machine.
A virtual machine provided a much safer test.I booted the ISO with QEMU and checked whether the desktop environment, applications, configuration files, and scripts appeared as expected.This was also a useful way to catch problems before writing the image to a USB drive.
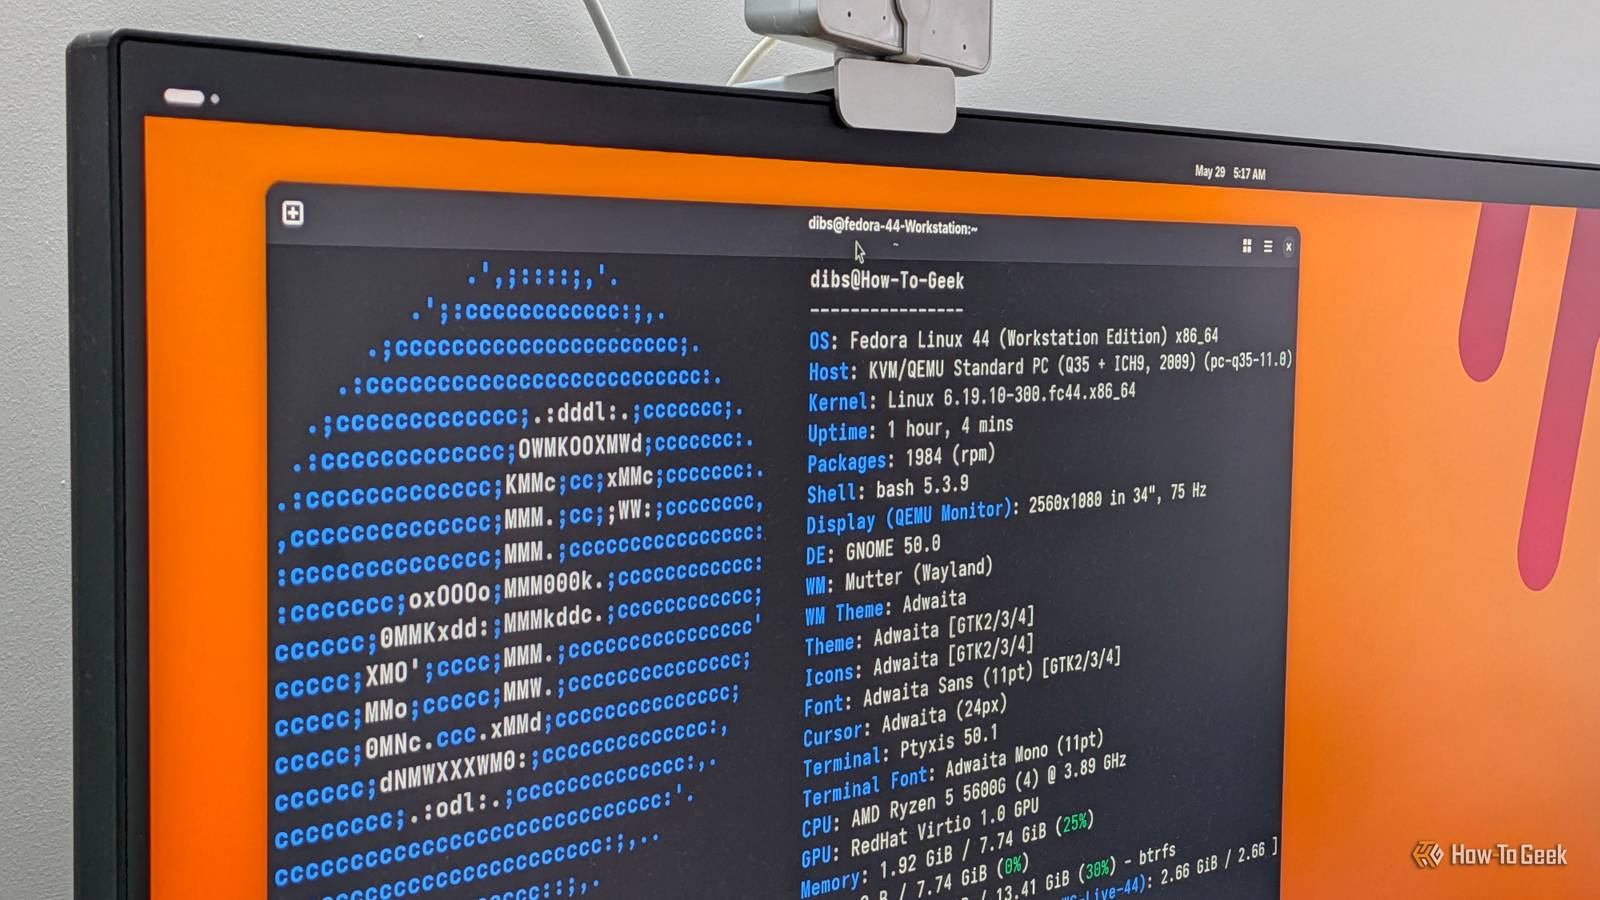
The live system (chick of penguin...it's a fun name!) gave me a close representation of the environment I had captured.My desktop configuration was present, my applications were available, and the files included in clone mode were accessible.
The next step was testing the installation process itself.The current installer is exposed through sysinstall.Penguin's Eggs supports Calamares as a graphical installer and Krill as its terminal-based installer.
For a graphical installation, the current command is: sudo coa sysinstall calamares For the terminal interface: sudo coa sysinstall krill Krill, which is Penguin's default, is particularly interesting because it provides a text-based installation workflow for systems where a graphical environment is unavailable.I used the installer inside the virtual machine and completed a fresh installation to a virtual disk.After rebooting, the installed environment looked much closer to my original system than a conventional fresh Linux installation would have.
The real test was moving the ISO to another machine.Instead of installing a distro, I booted the machine from the ISO and started the installer.The process still required some normal Linux installation work, such as selecting the target disk and configuring the installation, but the environment itself was already prepared.
Related These 5 simple Linux tools make Windows 11 look outdated And why I'll never go back to Windows.Posts 21 By Faisal Rasool I could also use the same image in a virtual machine when I wanted to test changes before applying them to my main installation.Hardware differences still matter.
A desktop with a different GPU, storage controller, network adapter, or display configuration can require additional work after installation.Penguin’s Eggs handles much of the distro and boot configuration, but it cannot eliminate every hardware-specific issue.My Linux environment is now portable There is an obvious limitation to cloning a running workstation.
A Linux installation configured around one GPU, a particular storage layout, or a specific network interface can behave differently after being moved to another computer.The portable ISO approach works best when the source system is kept reasonably hardware independent.Once that limitation is understood, though, the benefits become much more practical.
For me, the biggest advantage is the time saved when rebuilding a workstation.I no longer have to remember every package, desktop preference, and small configuration change that accumulated over months of use.My Linux environment has become something I can capture, test, store, and deploy again.
That is a much more useful form of reproducibility than keeping a collection of dotfiles on Git alone.
Read More