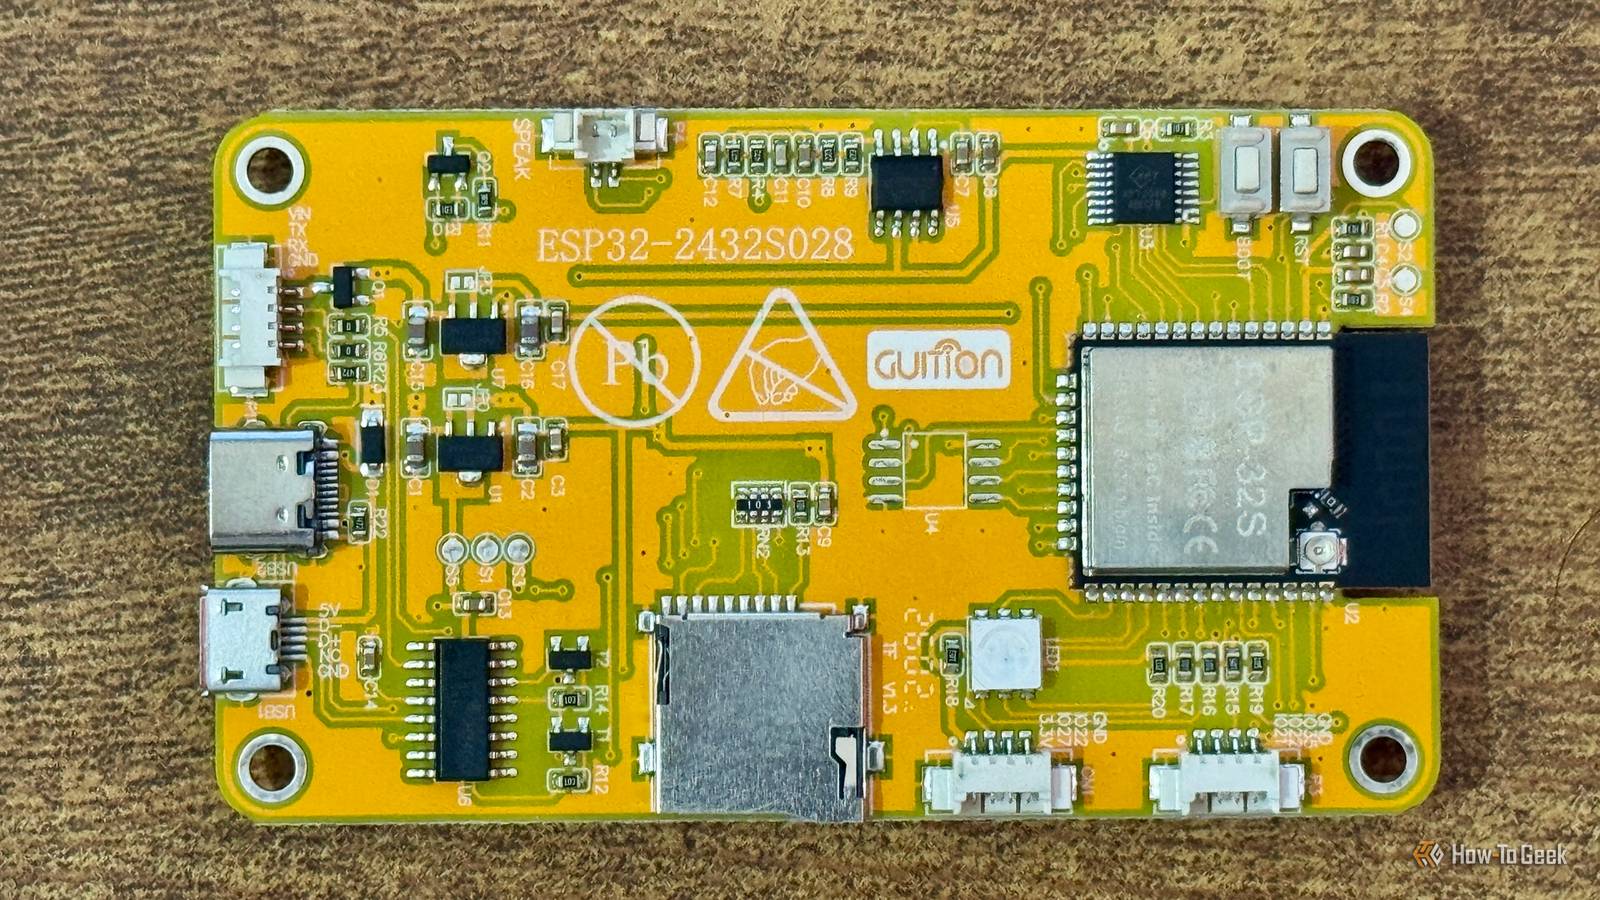
Cheap Yellow Display, or CYD for short, is a catch-all term for an affordable microcontroller and touchscreen combination.These devices include everything you need to get started with ESP32 projects that depend on a display, offering a larger footprint than a standalone microcontroller but an easier onboarding for many projects.What is a Cheap Yellow Display? The clue’s in the name Close The term “Cheap Yellow Display” appears to have originated on Brian Lough’s GitHub repo several years ago.
The term originally referred to the ESP32-2432S028R, a 2.8-inch touchscreen with a resolution of 320x240 and an ESP32 microcontroller with both Wi-Fi and Bluetooth.The printed circuit boards (PCBs) that connect the display to the microcontroller are bright yellow, and you can pick up a CYD for less than $10 on AliExpress.The ESP32-2432S028R is particularly useful for its resistive touchscreen, which allows you to interact with it directly.
The term has since been adopted to incorporate a variety of embedded systems, including many that lack yellow boards.As is the case when buying microcontrollers on websites like AliExpress, the company selling the device matters as much as the ESP32 embedded in it.There are many variations on the theme, which include different-sized displays, different touch interfaces, and different USB connections.
One reason to buy a “real” CYD is how well supported the devices have become among the maker community.Brian’s GitHub repo is a great place to get started as it includes a getting started guide, code examples, pin-out diagrams, information about which additional hardware is supported, mods, and more.Brian also produced a YouTube video condensing much of this information into an eight-minute package.
Why you'll want one (or several) CYDs The more you buy, the cheaper they get There are some big benefits to an embedded device like the CYD, particularly given how well-documented they have become.Accessibility is a big part of getting stuck into a project, and many of us simply don’t know where to start.You can build very simple devices like Bluetooth proxies with just an ESP32, but your horizons become far broader when you throw a display into the mix.
The CYD takes the pain of having to learn to solder or piece together a circuit using a breadboard before you can get started.The display is connected to the microcontroller; all you need to do is connect it to your computer and start building something.There are platforms like ESPHome that make this easier than ever, allowing you to write entire projects using easy-to-understand YAML.
Take a look at decryption’s blog post on getting started with using a CYD with ESPHome for an excellent crash course in what’s possible.This even includes code for you to copy and paste or modify as you see fit.If you’re interested in CYD projects, it can’t hurt to have a few of these boards lying around.
This allows you to experiment without sacrificing your previous creations, and you’ll also get a bulk discount for ordering several at once.This is often the case on websites like AliExpress, particularly since you only need to pay for shipping once.The “real” CYD (ESP32-2432S028R) uses a basic ESP32 microcontroller that’s showing its age a bit now, but that keeps the cost down.
You can find many other embedded ESP32 microcontrollers with newer variants like the ESP32-C6 or ESP32-S3, which include smart home protocols like Thread and Zigbee and improved performance at the cost of power consumption (though you might have to do a bit more digging to get things working).Some ideas for how to use your CYD Some projects are ready to go Close Perhaps the most interesting CYD project out there is the “Cheap Yellow” port of the ESP32 Marauder.The ESP32 Marauder is a self-described “suite of WiFi/Bluetooth offensive and defensive tools for the ESP32” designed for penetration testing.
It’s a great way to test your own network’s defenses, and the port works on a range of CYD variants including touch, non-touch, USB-C, and different-sized displays.Beyond this, you can pair a CYD with your framework of choice and build away.These devices have great use in the smart home for delivering information like temperature, notifications, and offering simple control of devices like HVAC or lighting.
Another fun project that you can make by following a simple guide is the Cydintosh, a Macintosh emulator that runs entirely on the embedded display.There are even 3D-printable 3MF and STL files available for printing your own enclosure (plus CAD files if you want to modify anything).A similar project you might enjoy if you want a retro gaming experience is getting 8- and 16-bit game emulation running via RetroGo on a CYD.
This is a more involved hardware-focused project, which requires additional components like buttons, an IO expander, switches, speakers, resistors, a battery, and a charging circuit.Interface design can typically be a pain point for these sorts of devices, but there are tools out there to help you.The ESPHome Display Designer lets you easily plan a layout, add dynamic elements like Home Assistant sensor data, make it look pretty, and spit out the necessary code.
The premium tool Lopaka also makes this possible with free examples and a paid designer.For unparalleled flexibility, you probably want to pair your microcontroller with the right sensors and other components using a breadboard or soldering iron.Before you do that, you’ll need to figure out which ESP32 to buy.
Read More