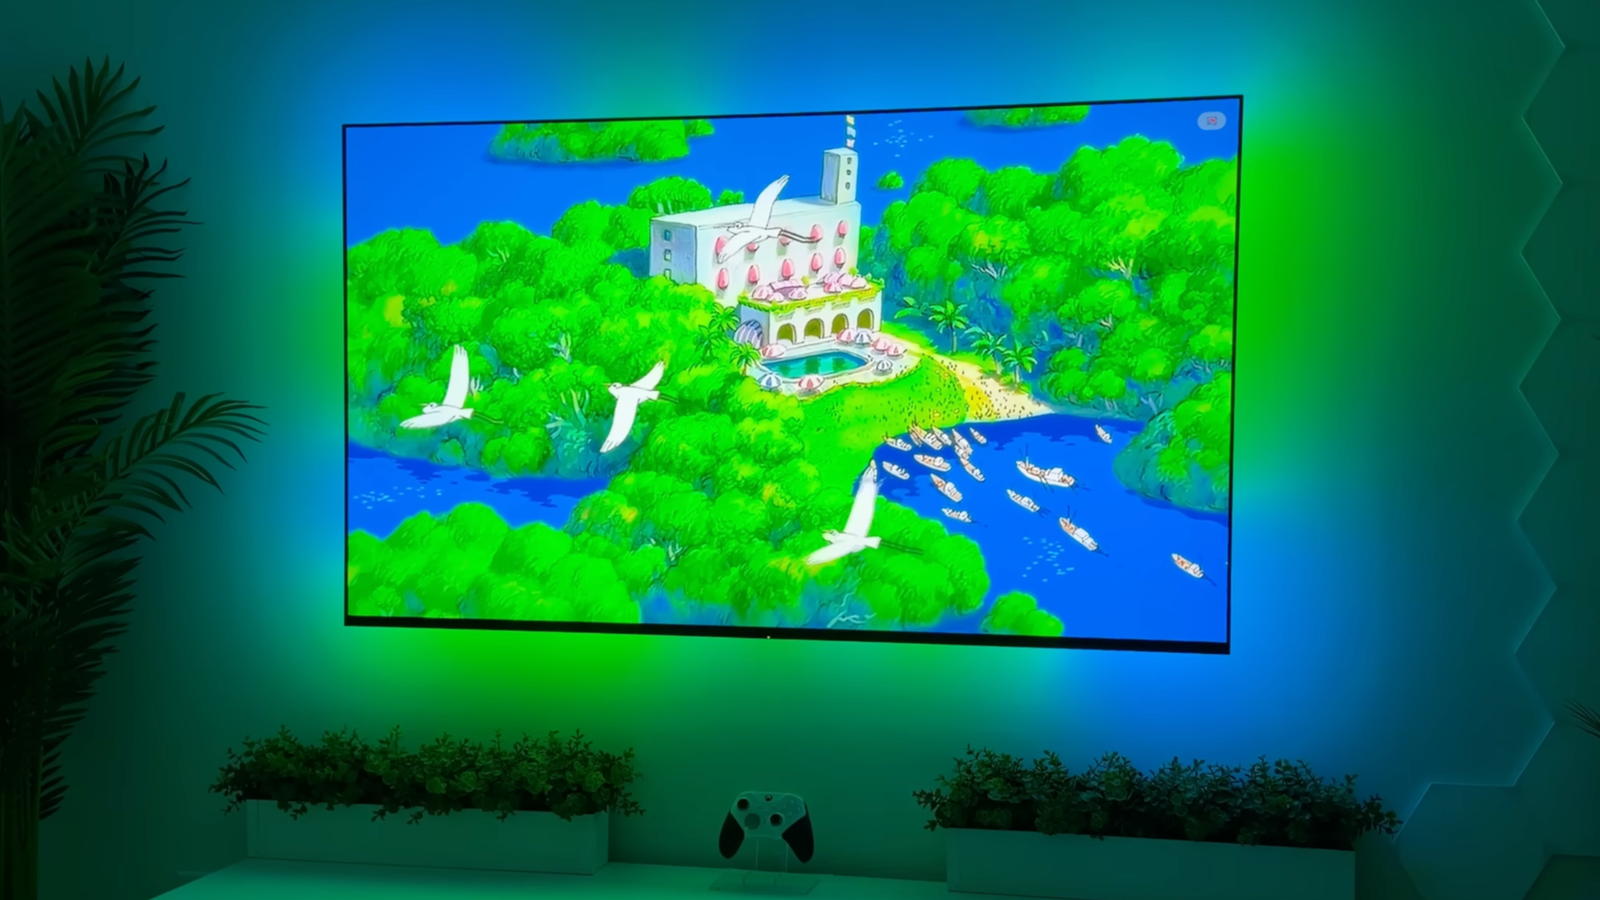
Ambient lighting doesn’t need to stop at static LED strips or color-changing smart bulbs.Reactive ambient lighting, or the “Ambilight” as Philips calls it, can enhance immersion with dynamic bias lighting on the back of a TV or monitor.To get this effect, you could buy a Philips TV or some sort of aftermarket product, or you could try and build something yourself for much less.
As an added bonus of these projects, you’ll end up with a WLED device that you can use independently of your Ambilight when you’re not watching or playing anything (it even integrates with Home Assistant).Ambilight controller with HDMI 2.1 for external devices A dedicated device into which you can plug virtually any source The most involved project on this list, Vigonotion’s DIY Ambilight with HDMI 2.1 support, is a complete build into which you can plug virtually any HDMI 2.1 source.First, you take an HDMI switch for connecting inputs like set-top boxes, consoles, laptops, and so on.
This feeds into an HDMI splitter, which sends a signal to the TV and another to the Ambilight controller.The device itself comprises a capture card and a Raspberry Pi.The Pi runs open-source software known as HyperHDR, which “performs real-time analysis of video and audio streams to create immersive LED lighting.” From here, a signal is generated that controls an ESP32 running WLED over the network to drive the LED strips on the back of a TV or monitor.
Though it sounds complex, the guide is fairly detailed and includes hardware recommendations for splitters, switches, and capture cards to use.The main downside to this method is that any content running directly on the TV (for example, through a built-in app) won’t drive the Ambilight.Software-controlled LED for computer monitors A simple solution for a desk setup Close For a much simpler setup, you can skip the dedicated hardware side of things and do away with the Raspberry Pi altogether.
This is perfect if you want ambient lighting for a desk setup, where you play games or watch movies and TV.This technique relies on free software known as Hyperion.ng, which is the “next-generation” successor to Hyperion (it’s also what HyperHDR used in the device above is based on).There’s an Instructables guide you can follow, but ultimately you’ll probably be able to figure this one out for yourself.
Your ESP32 will need to be flashed with WLED and connected to an LED strip of your choice.Once you’ve set up that side of the equation, install Hyperion.ng on the computer you’ll be using.It works on Windows, macOS, and many different flavors of Linux.
From here, you can follow the Hyperion setup guide and point the software at your WLED instance and configure it correctly.The end result will be a highly responsive ambient lighting solution that reacts to whatever it is you’re doing on screen.A dedicated Android TV app combined with WLED Perfect for anyone with an Android TV The last technique is perfect for anyone running Android TV, and useless to anyone who doesn’t (sorry).
Many TVs already come with Android TV software (Sony springs to mind), but you can also buy streaming devices from the likes of NVIDIA and Xiaomi, plus budget brands like ONN also run the operating system.Just be sure to avoid the no-name boxes that could put your security at risk.SceneGlow is an app that runs natively on Android TV devices, capturing whatever is happening on screen and passing it on to configured LED strips.
The app costs $10.99 and talks to multiple WLED instances for a truly immersive experience.It features Home Assistant integration, adjustable brightness, and color correction.ScreenGlow is the free version of SceneGlow, which is limited to a single WLED instance.
It’s a great way to test out the tech on your own WLED setup and TV before deciding to go full immersion and pay for the premium app.It’s definitely worth doing this first if you have an older device or doubts about whether your TV will struggle keeping up, since the software was primarily designed for the notoriously performant NVIDIA Shield TV devices.Looking for more ways to put a microcontroller to good use in your home? Check out these ESP32 projects for your kitchen!
Read More